Wood Panelling, Timber, Plywood and MDF Surfaces
How to apply limewash to wood surfaces
LaRosa Limewash can be used on a range of unpainted wood surfaces, particularly low tannin timbers such as pine and plywood. It can create anything from a soft, translucent wash that allows the natural grain to remain visible through to an opaquer mineral finish. Because limewash has a completely matte finish and is not designed for frequent handling or scrubbing, it is best suited to decorative wood surfaces rather than high contact architectural elements such as doors, architraves and skirtings.
This is the right guide if you want to learn how to:
- Determine whether your timber surface is suitable for LaRosa Limewash
- Limewash unpainted decorative furniture
- Limewash plywood, pine, matchboard and suitable timber panelling
- Prepare new, weathered or previously painted wood
- Prepare MDF for decorative use
- Create either a visible woodgrain or more opaque finish
- Apply LaRosa Limewash correctly for an even, natural result
- Whisk or electric mixer
- Bucket or suitable mixing container
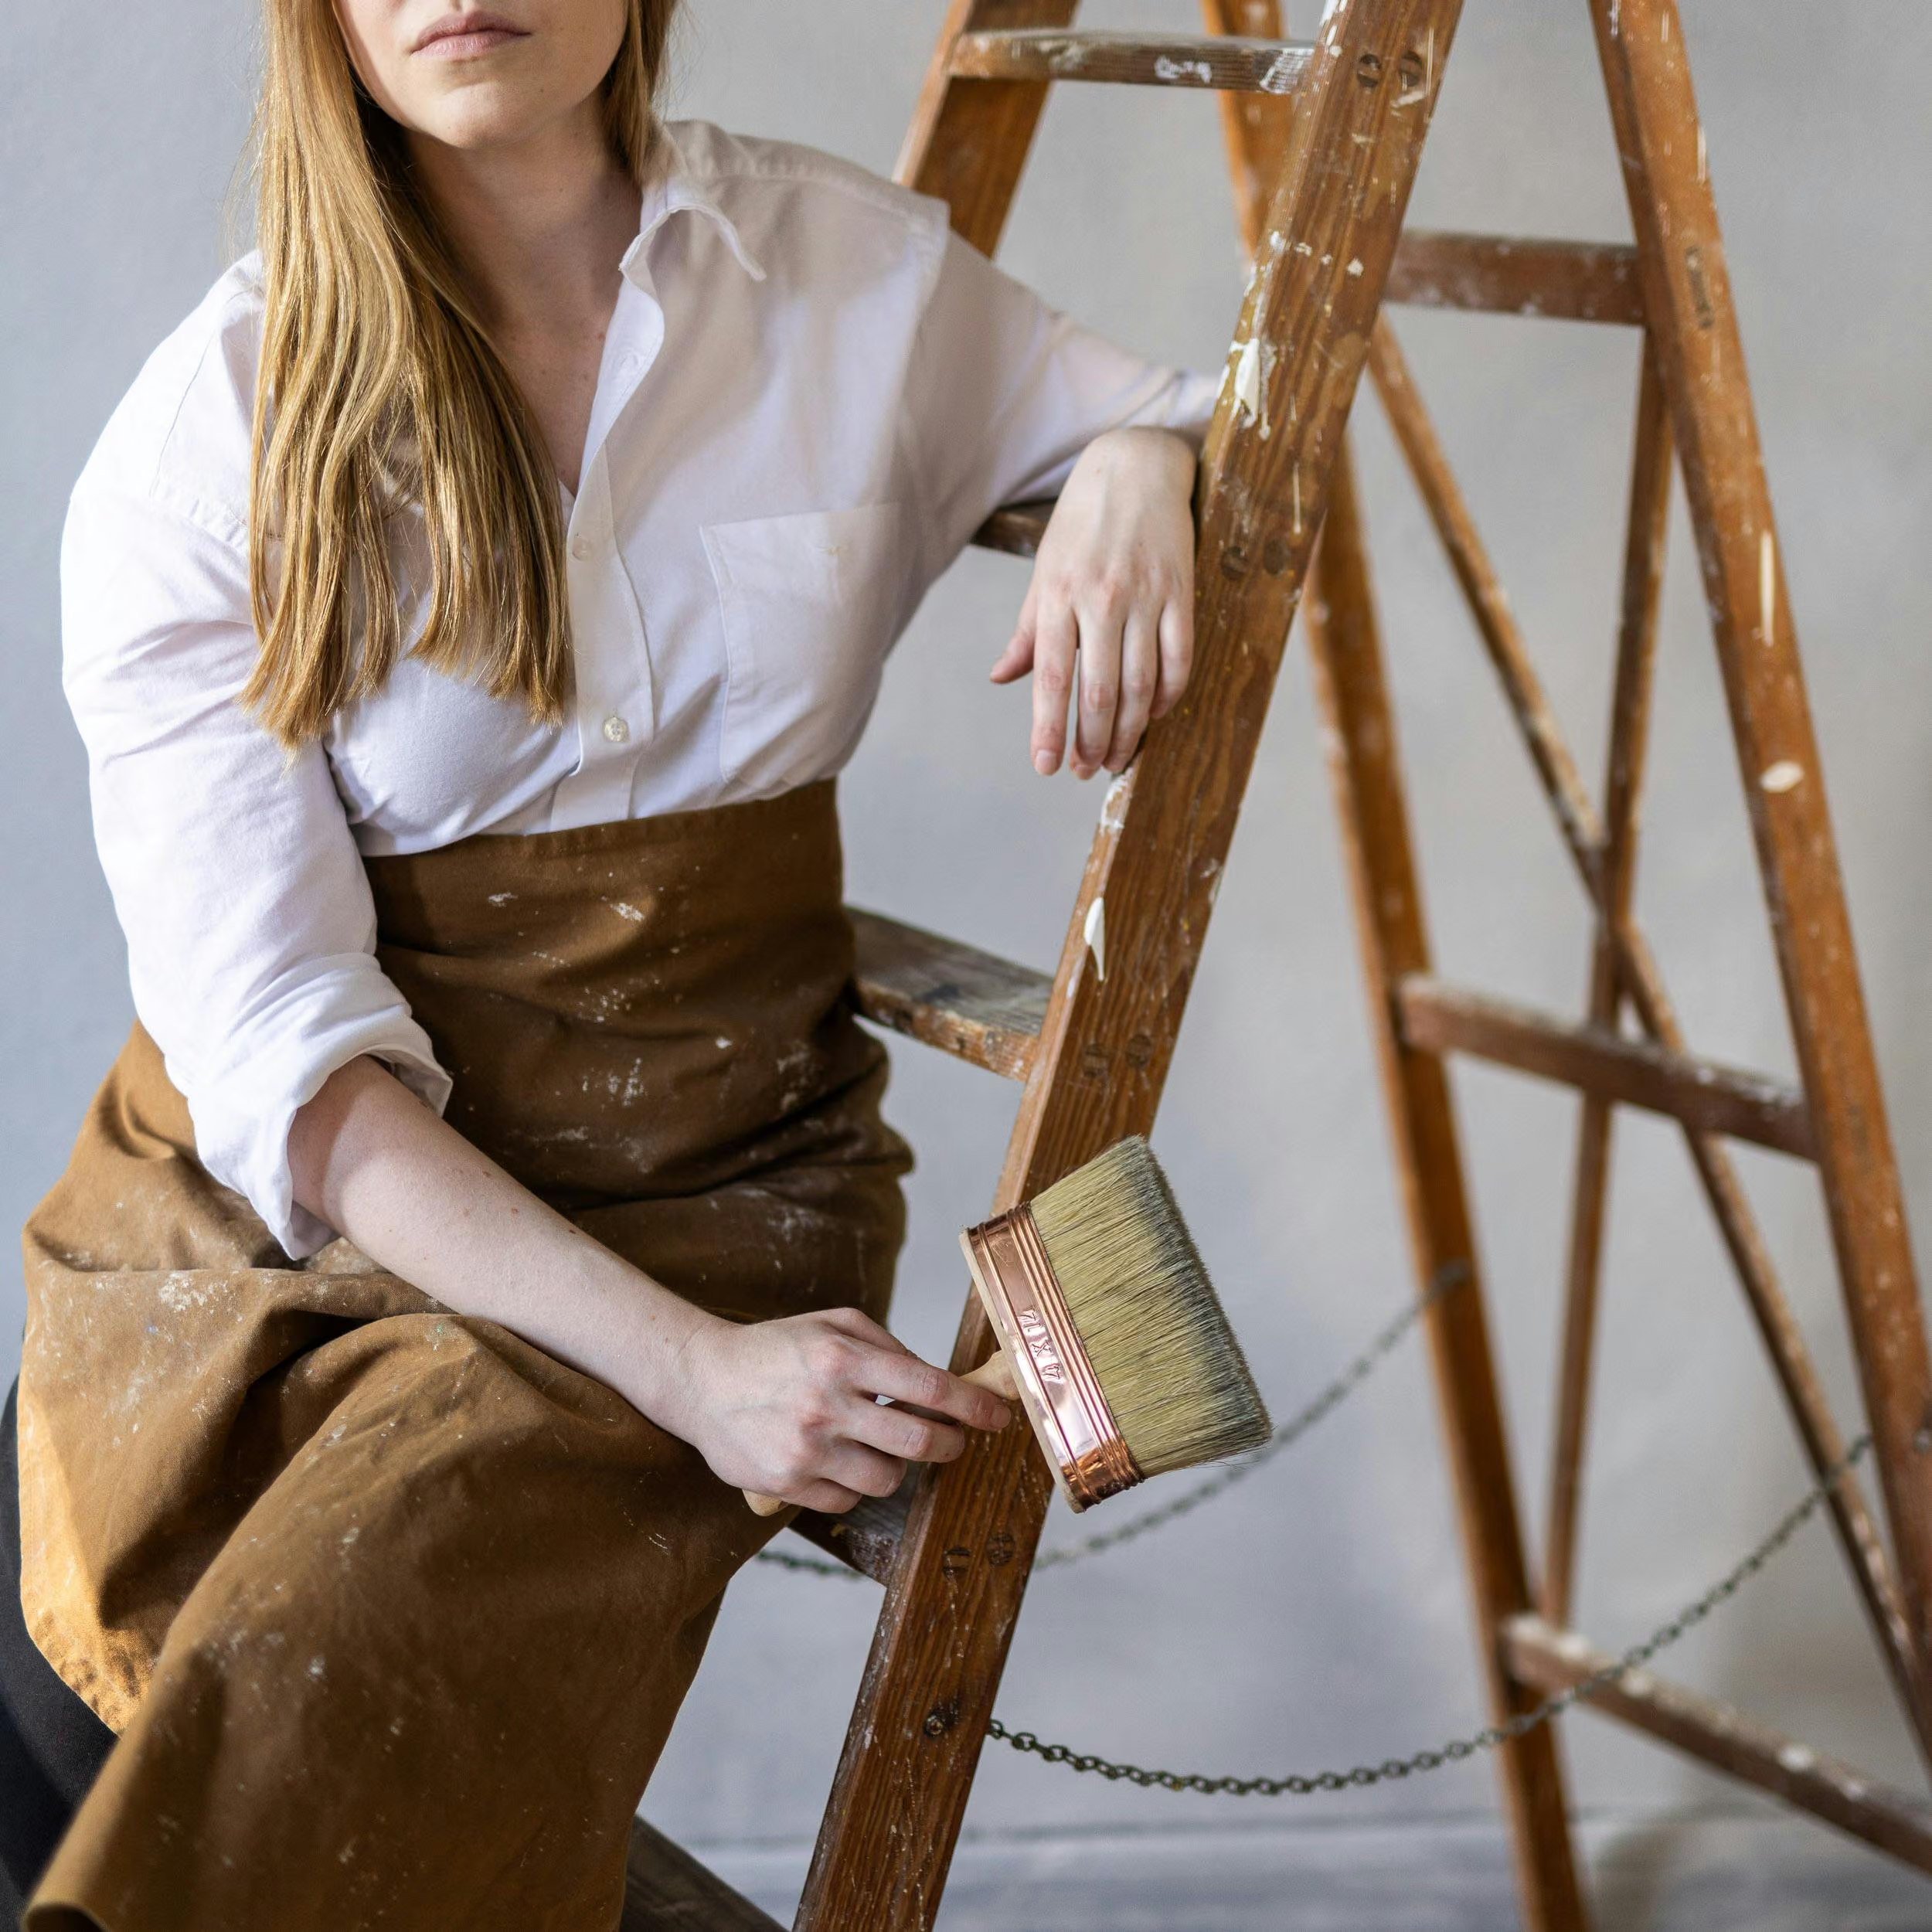
- LaRosa 4 × 14 Limewash Brush
- Clean water
- LaRosa Limewash
- LaRosa Prep Coat
- Clean rag
- Sponge
- Sandpaper
- Suitable water based primer, where required

Lime Wash Brushes
Limewash Paint

Mixing Tool
Wood Surface Suitability
LaRosa Limewash is generally suitable for unpainted timbers with relatively low tannin content, such as pine and plywood. Higher tannin woods, including oak, teak and jarrah, can sometimes allow tannins or natural staining to show through the finish, so always test your chosen surface first. The final appearance can be adjusted depending on how much of the natural timber you want to retain. A lighter application allows more woodgrain to remain visible, while preparation with LaRosa Prep Coat creates a opaquer and more consistent finish.
LaRosa Limewash is suitable for:
- Unpainted decorative furniture
- Plywood and pine
- Match boarding and suitable timber panelling
- Decorative ceilings made from pine, plywood or chipboard
- MDF for decorative use when prepared with LaRosa Prep Coat
Not recommended for:
LaRosa Limewash is generally not recommended for high contact architectural elements such as:
- Doors
- Architraves
- Skirtings
- Frequently handled timber surfaces
- External timber applications
Planning and Preparation
Consider surface wear
LaRosa Limewash has a fully matte, mineral finish. Unlike a conventional gloss or washable paint, it is not intended to withstand frequent scrubbing or repeated handling. For this reason, avoid using limewash on surfaces that are regularly touched, knocked or cleaned. Decorative panelling, ceilings and furniture with limited handling are generally better suited.
Fillers and repairs
Fillers, jointing compounds and repaired areas can absorb limewash differently from surrounding timber and may become visible through the finished surface. Where possible, use timber plugs or other timber based repair methods for imperfections rather than relying heavily on fillers. If fillers or repaired areas are unavoidable, additional primer preparation may be required to help even out absorbency.
Planning and Preparation
During construction or renovation, schedule LaRosa Limewash as one of the final trades. This helps protect the finished surface from dust, damage and contact with other building work.
Planning and Preparation
Test your colour first
We always recommend testing LaRosa Limewash before beginning your project. On unpainted timber, apply a LaRosa Colour Tester to a separate piece of the same or similar wood wherever possible. This allows you to see how the colour interacts with the natural grain and absorbency of the timber. If testing directly on the finished surface, choose a discreet area and keep the test patch irregular with feathered edges. Allow it to dry completely before making your final colour decision, as limewash appears darker and more transparent when wet and becomes lighter and opaquer as it dries. Move your sample around the room and view it in different lighting conditions before committing to the full surface.
Coverage
Coverage will vary depending on the timber species, porosity, texture, preparation and desired level of opacity. Raw absorbent wood: approximately 10–15 m²/L/coat, with 2–3 coats generally required for fuller coverage. Previously painted or sealed wood: approximately 15–20 m²/L/coat, with 2–3 coats generally required. These figures are a guide only. More absorbent or textured timber may require additional product, while smoother or previously prepared surfaces may use less. A LaRosa Colour Tester is the best way to understand both the colour and how the product behaves on your particular timber before starting the full project.
LaRosa Surface Preparation
Surface Cleaning:
Unpainted new timber
Lightly dust the timber with a clean rag. Dampen the surface lightly with clean water and allow it to dry. This helps raise short timber fibres before painting. Once dry, lightly sand the surface to remove the raised fibres and leave the timber smooth. Remove all sanding dust with a clean rag before continuing.
Unpainted weathered timber
Sand the timber to smooth the surface and remove built up dirt or loose material. Dust thoroughly with a clean rag. If the timber is particularly weathered or uneven, take extra care to remove loose or friable material before applying limewash.
Previously painted timber
Lightly sand any glossy or highly sealed areas to improve the surface for preparation. Remove all sanding dust before continuing. Previously painted timber will generally require LaRosa Prep Coat before limewashing.
Surface Preparation
The preparation required depends on the condition of the timber and the finish you want to achieve. Unpainted wood with no fillers, patches or jointing compounds
LaRosa Limewash Paint Preparation and Application
For a visible woodgrain finish:
No primer or Prep Coat is generally required. Prepare the timber as outlined above, then apply LaRosa Limewash directly.
For an opaquer finish:
Apply 1 coat of LaRosa Prep Coat before applying LaRosa Limewash.
Decorative MDF:
MDF is highly absorbent and should be prepared before limewashing. Apply 1 coat of LaRosa Prep Coat to create a more suitable and consistent surface for the limewash finish.
Wood or MDF with patches, repairs or jointing compounds:
Where timber contains filled joints, screw holes, patches or repairs, these areas can absorb limewash differently and may become visible through the finished surface.
To help prevent this variation:
- Apply 2 coats of a good quality water-based primer.
- Allow the primer to dry and cure according to the manufacturer’s instructions.
- Apply 1 coat of LaRosa Prep Coat.
Previously painted wood:
If the timber has not been stripped back to bare wood:
- Lightly sand glossy areas.
- Remove all dust.
- Apply 1 coat of LaRosa Prep Coat.
- Allow it to dry according to the product instructions before applying LaRosa Limewash.
Prepare Your LaRosa Limewash:
Before painting:
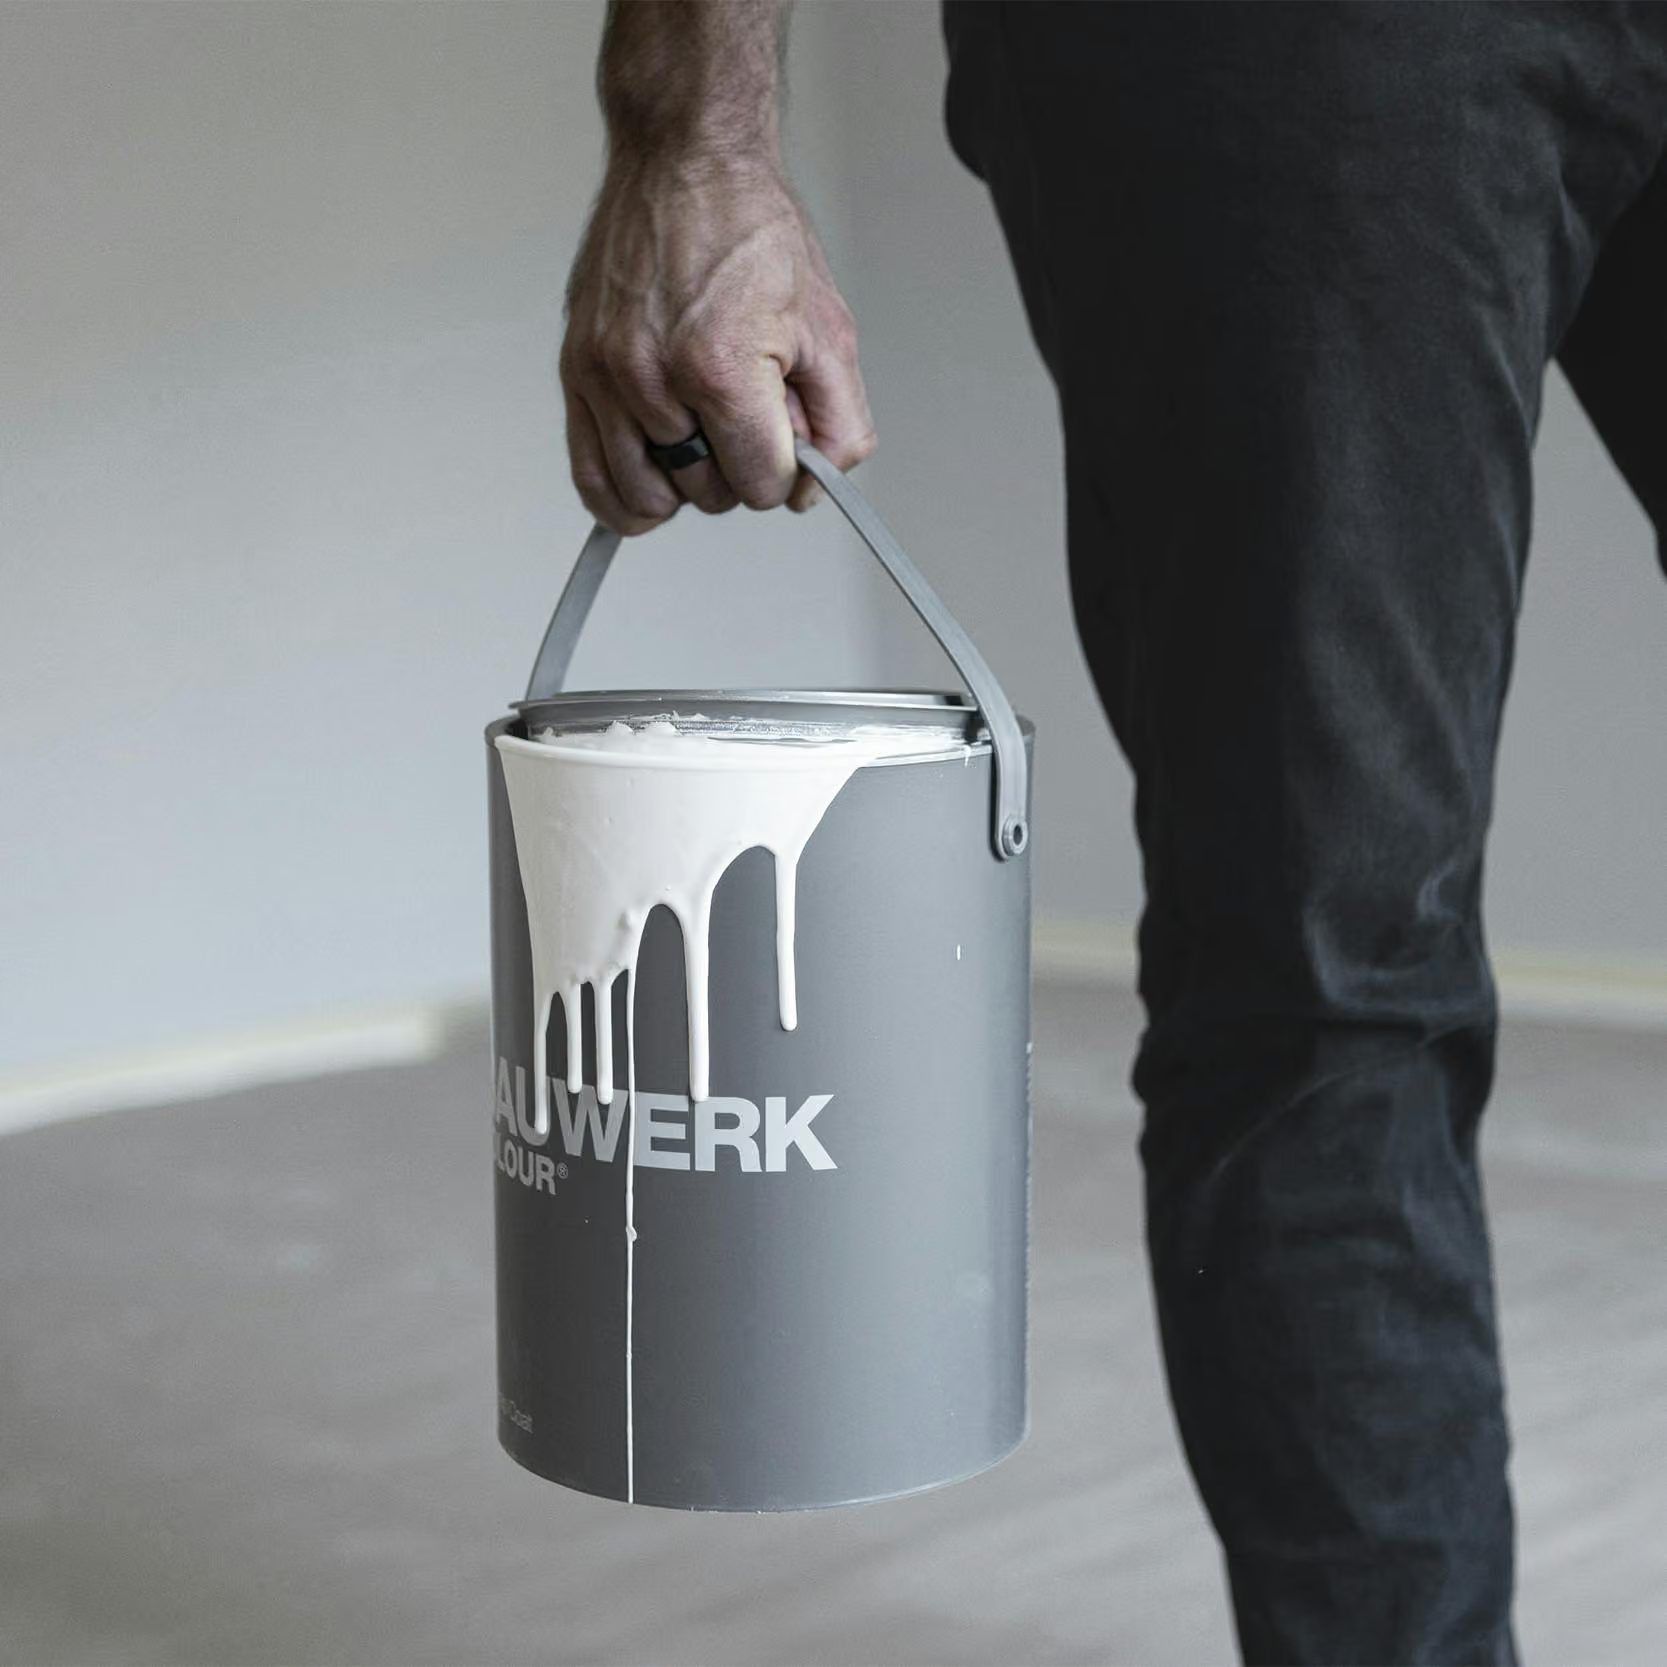
- Thoroughly stir the LaRosa Limewash to evenly distribute the pigments.
- Decant the required amount into a suitable bucket or container.
- Make sure no pigment remains settled in the original container.
- Continue stirring regularly throughout the application.
- Use a natural bristle limewash brush. The LaRosa 4 × 14 Limewash Brush is a versatile choice for most timber applications.
Applying LaRosa Limewash:
Apply 2–3 coats
The number of coats required will depend on the timber, the preparation and the level of coverage you want. For a softer, more translucent finish, fewer coats may allow more of the natural woodgrain to remain visible. For an opaque result, additional coats or preparation with LaRosa Prep Coat can help create greater coverage.
First coat:
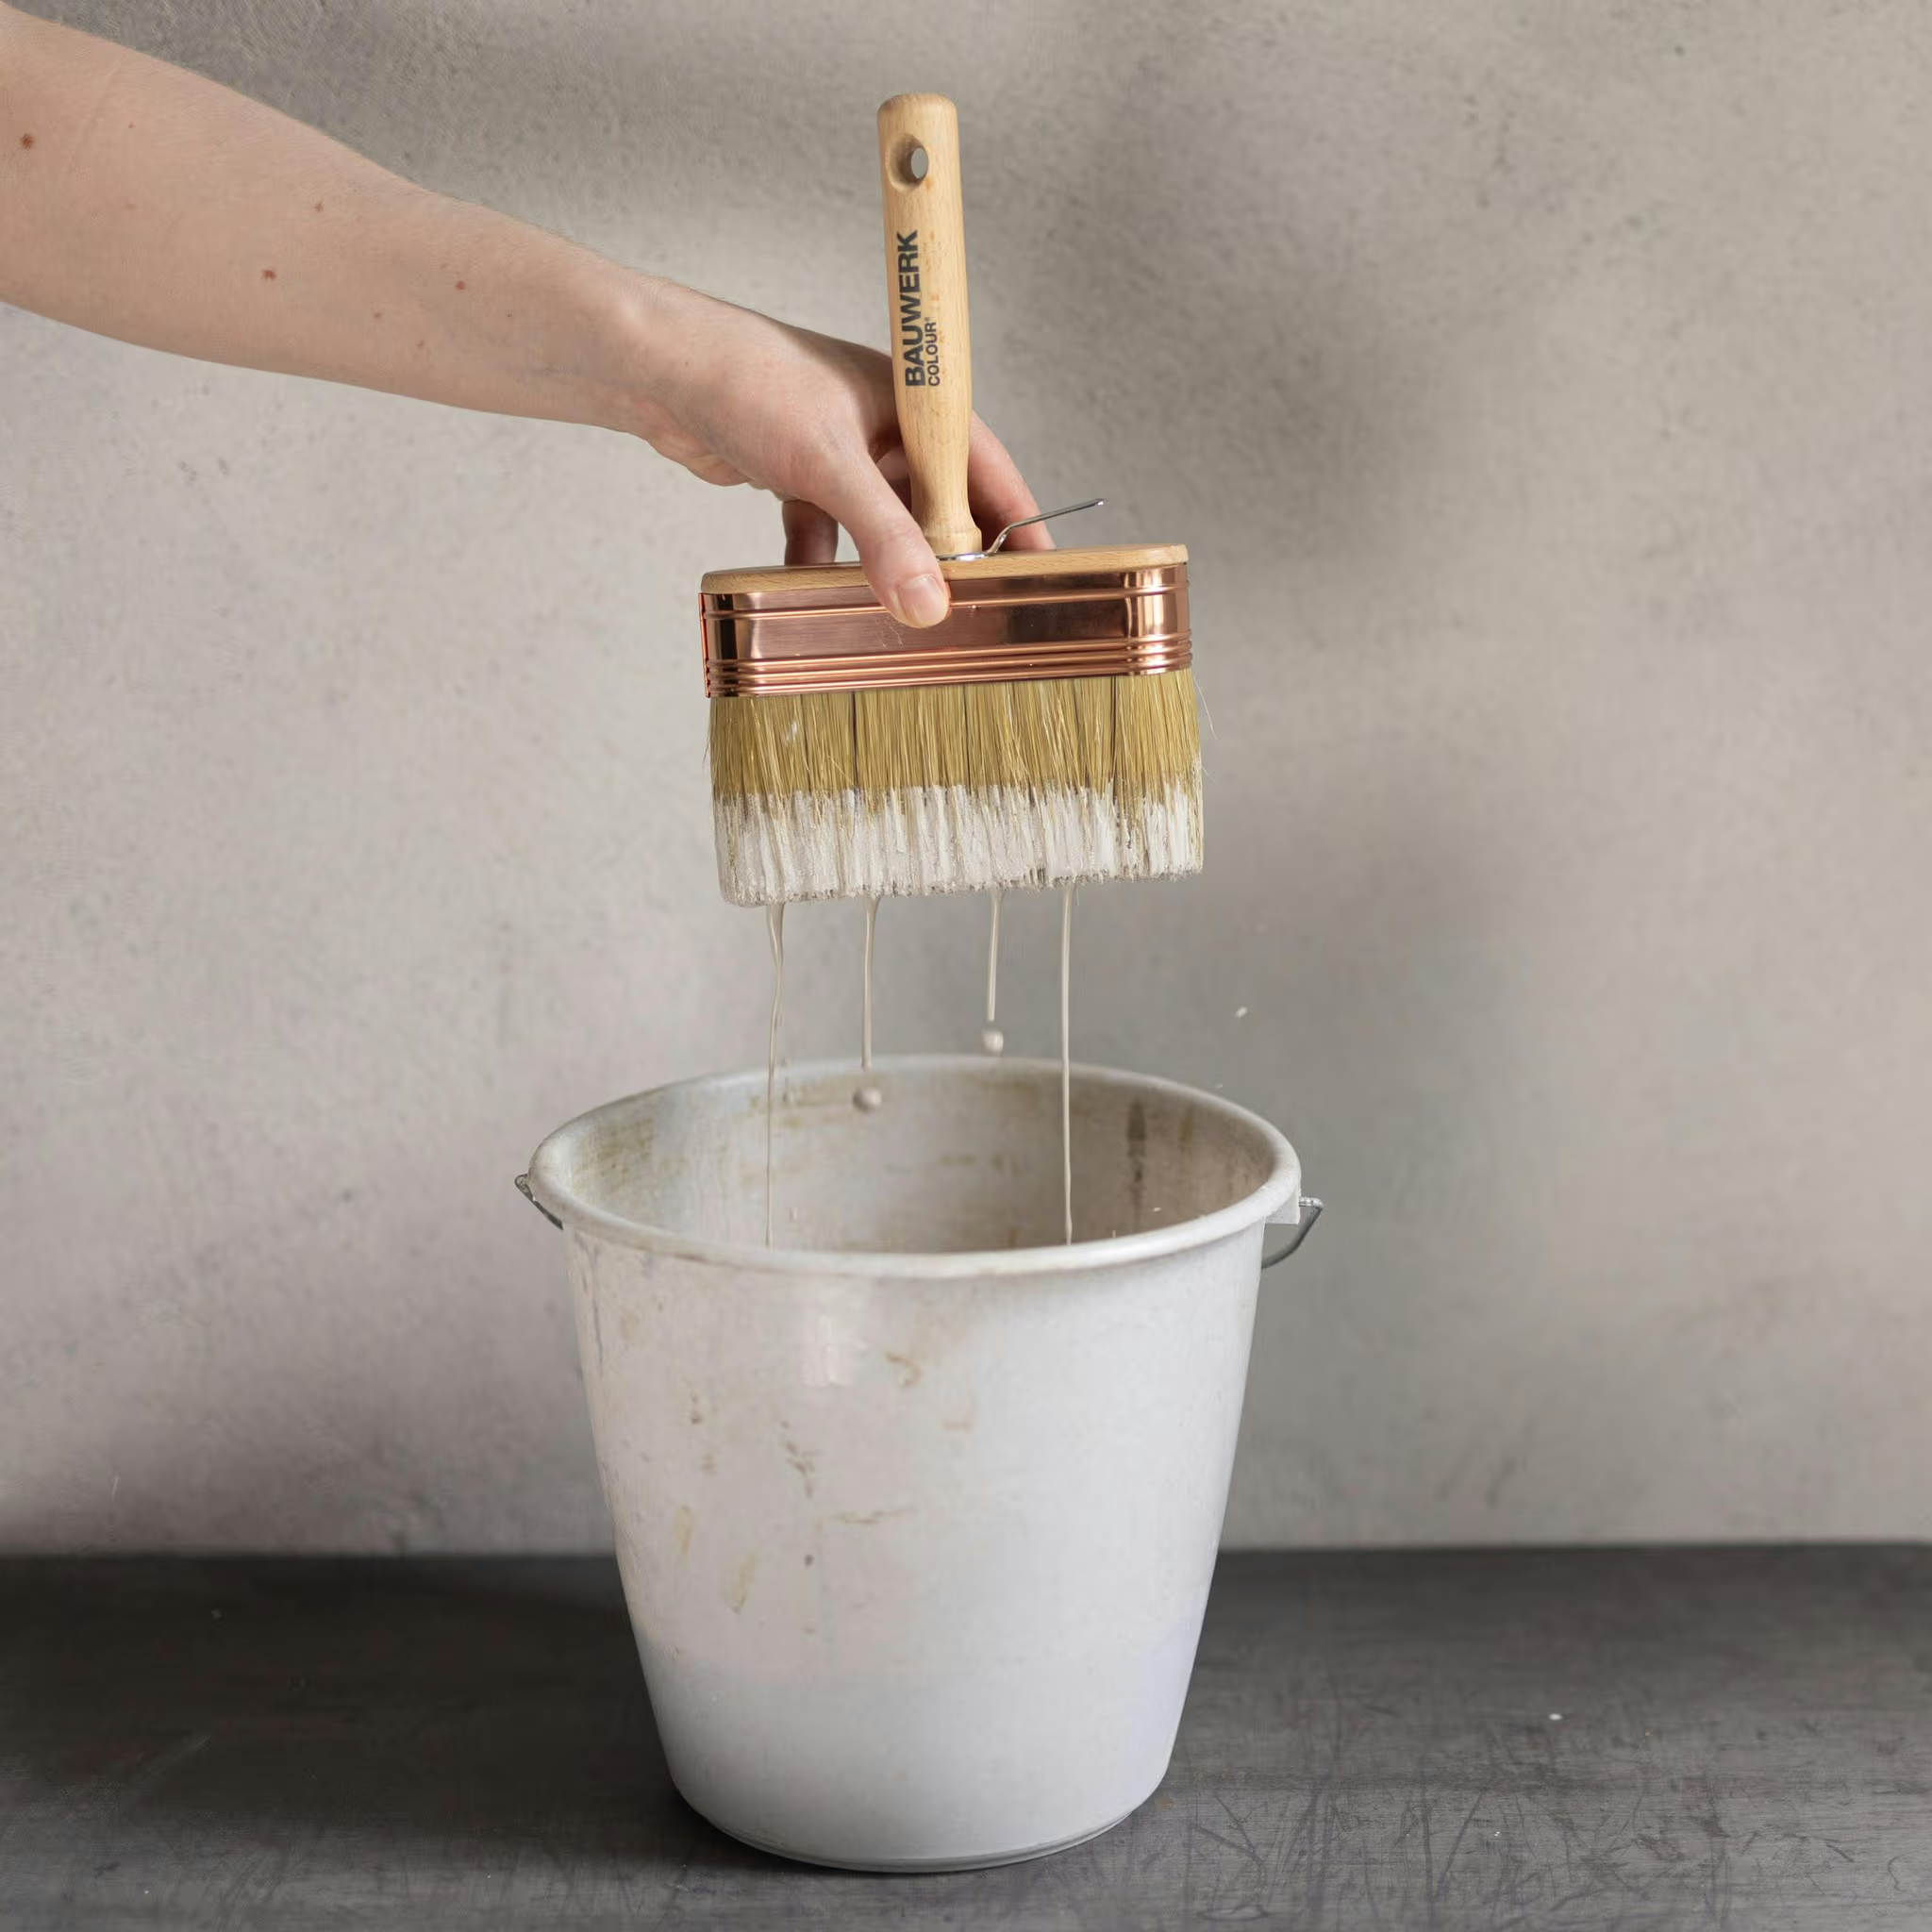
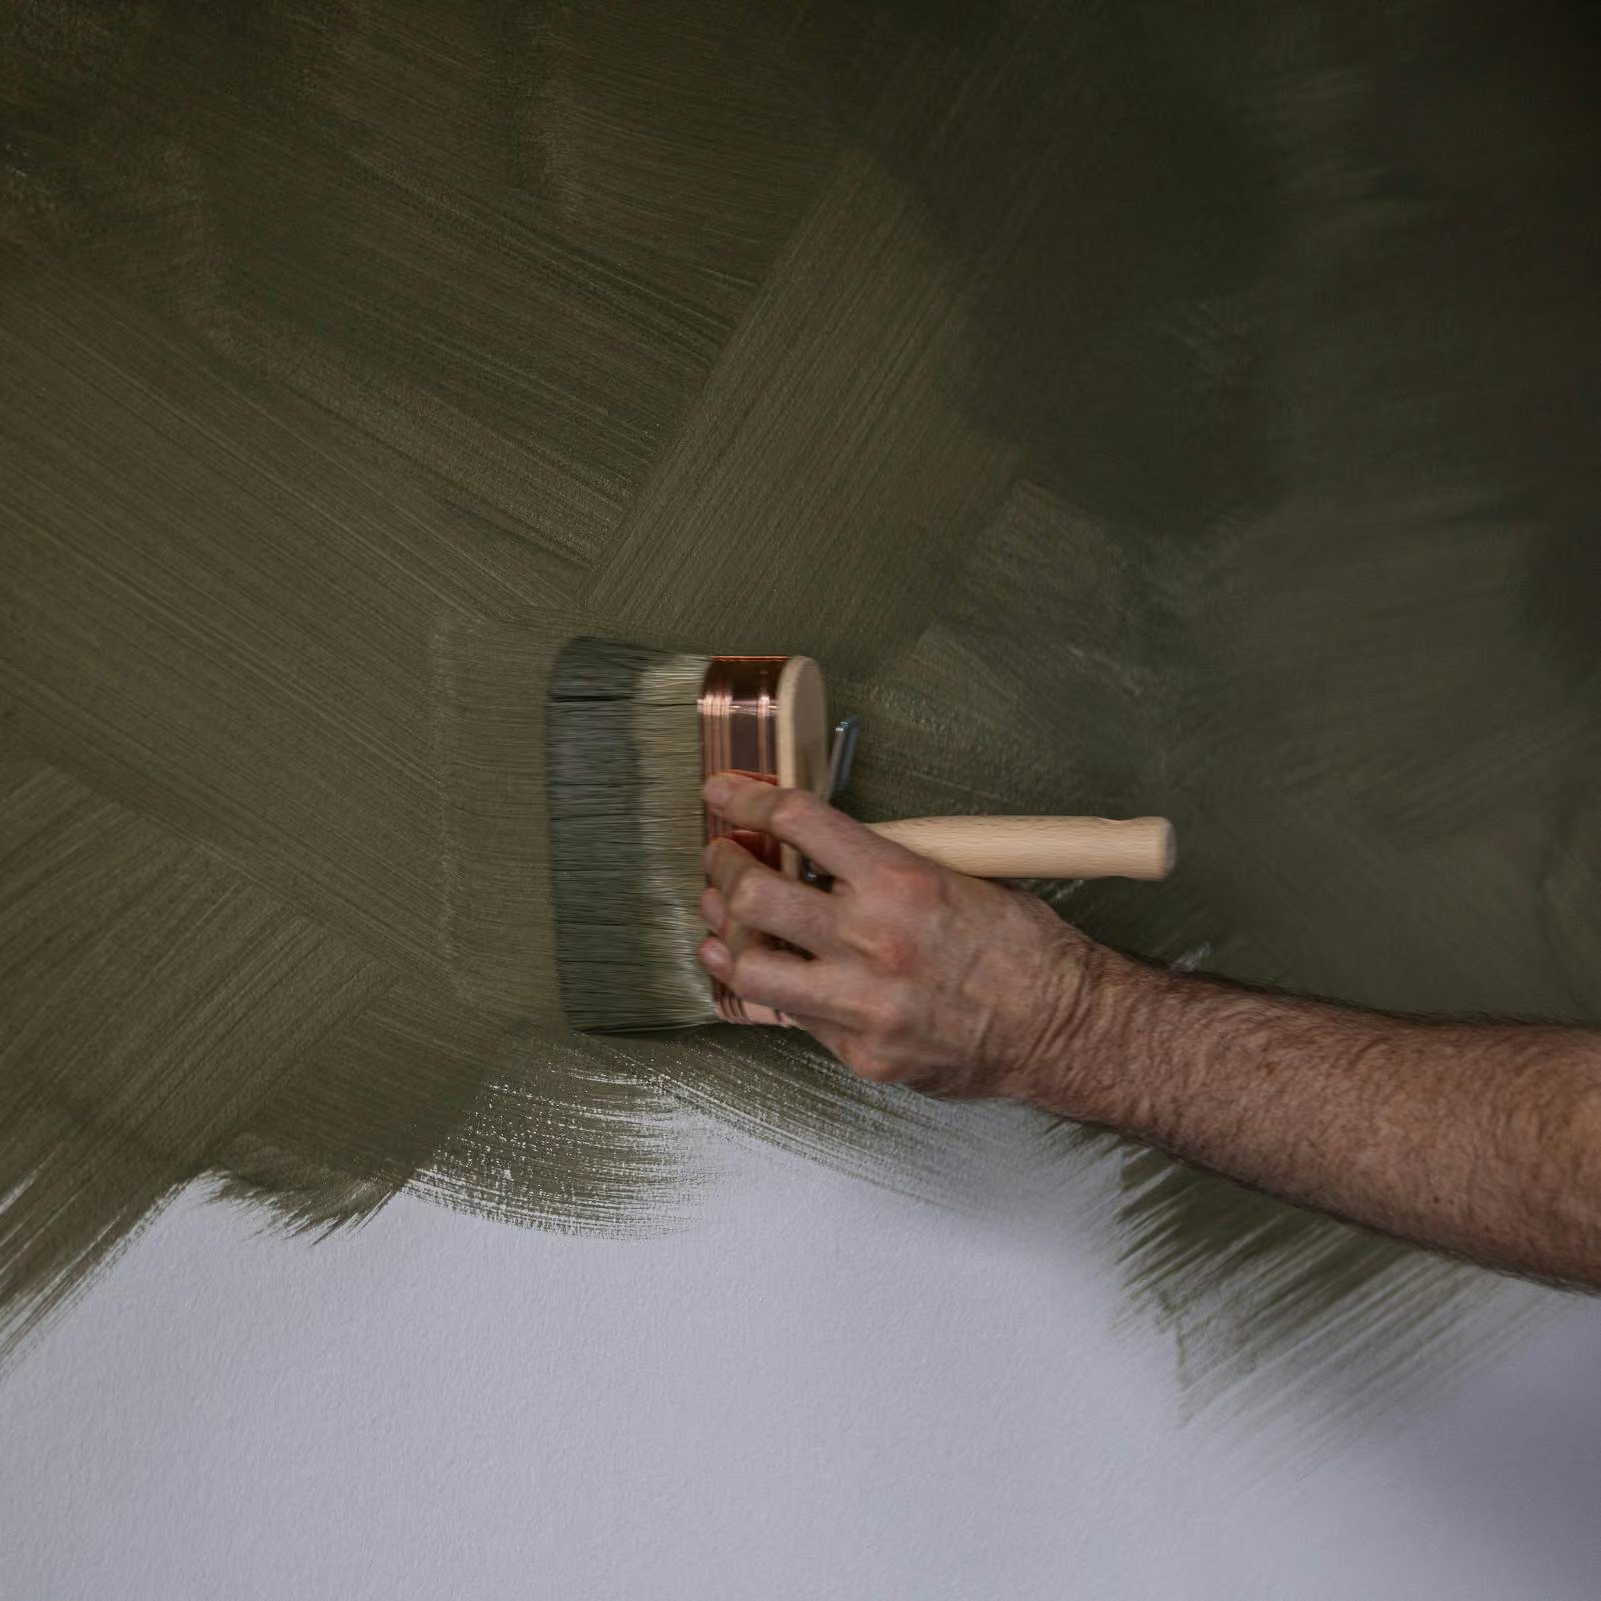
Dip the natural bristle brush into the limewash and flick off excess product. The brush should hold plenty of paint but should not be dripping. Start in a corner, holding the brush at roughly a right angle to the surface. For greater control, you may find it easier to hold the brush by the body rather than the handle. Use loose, free strokes and vary the direction of your brushwork. Allow the bristles to spread the limewash rather than applying heavy pressure. Work the paint into the timber in a thin, even layer. Avoid runs and drips and maintain a wet edge as you work. For larger areas, work towards natural breaks in the surface so you can complete each section continuously. Allow the colour to develop. When wet, LaRosa Limewash will appear darker and more transparent. This is normal. Avoid adding extra product simply because the wet colour appears too dark or uneven. As the limewash dries, it will lighten and become opaquer.
Second and third coats:
Allow a minimum of 2 hours between coats.
Apply the second coat more quickly, using looser strokes and working wet-in-wet where possible. The first coat should already provide the foundation, so there is no need to try to correct every small variation. If a third coat is required, use the same approach to build additional coverage and opacity. Avoid patching isolated areas once the coat has dried. Any missed or uneven areas are generally better addressed during the next full coat.
Allow the finish to cure:
Although the surface may feel touch dry relatively quickly, the limewash will continue to cure after application. Avoid rubbing, scrubbing or placing heavy wear on the surface during the curing period.
White LaRosa Limewash colours:
When using white limewash colours, maintaining a strict wet edge is less critical. These colours can be easier to patch and are generally more forgiving for small touch ups.
Cleanup and Maintenance
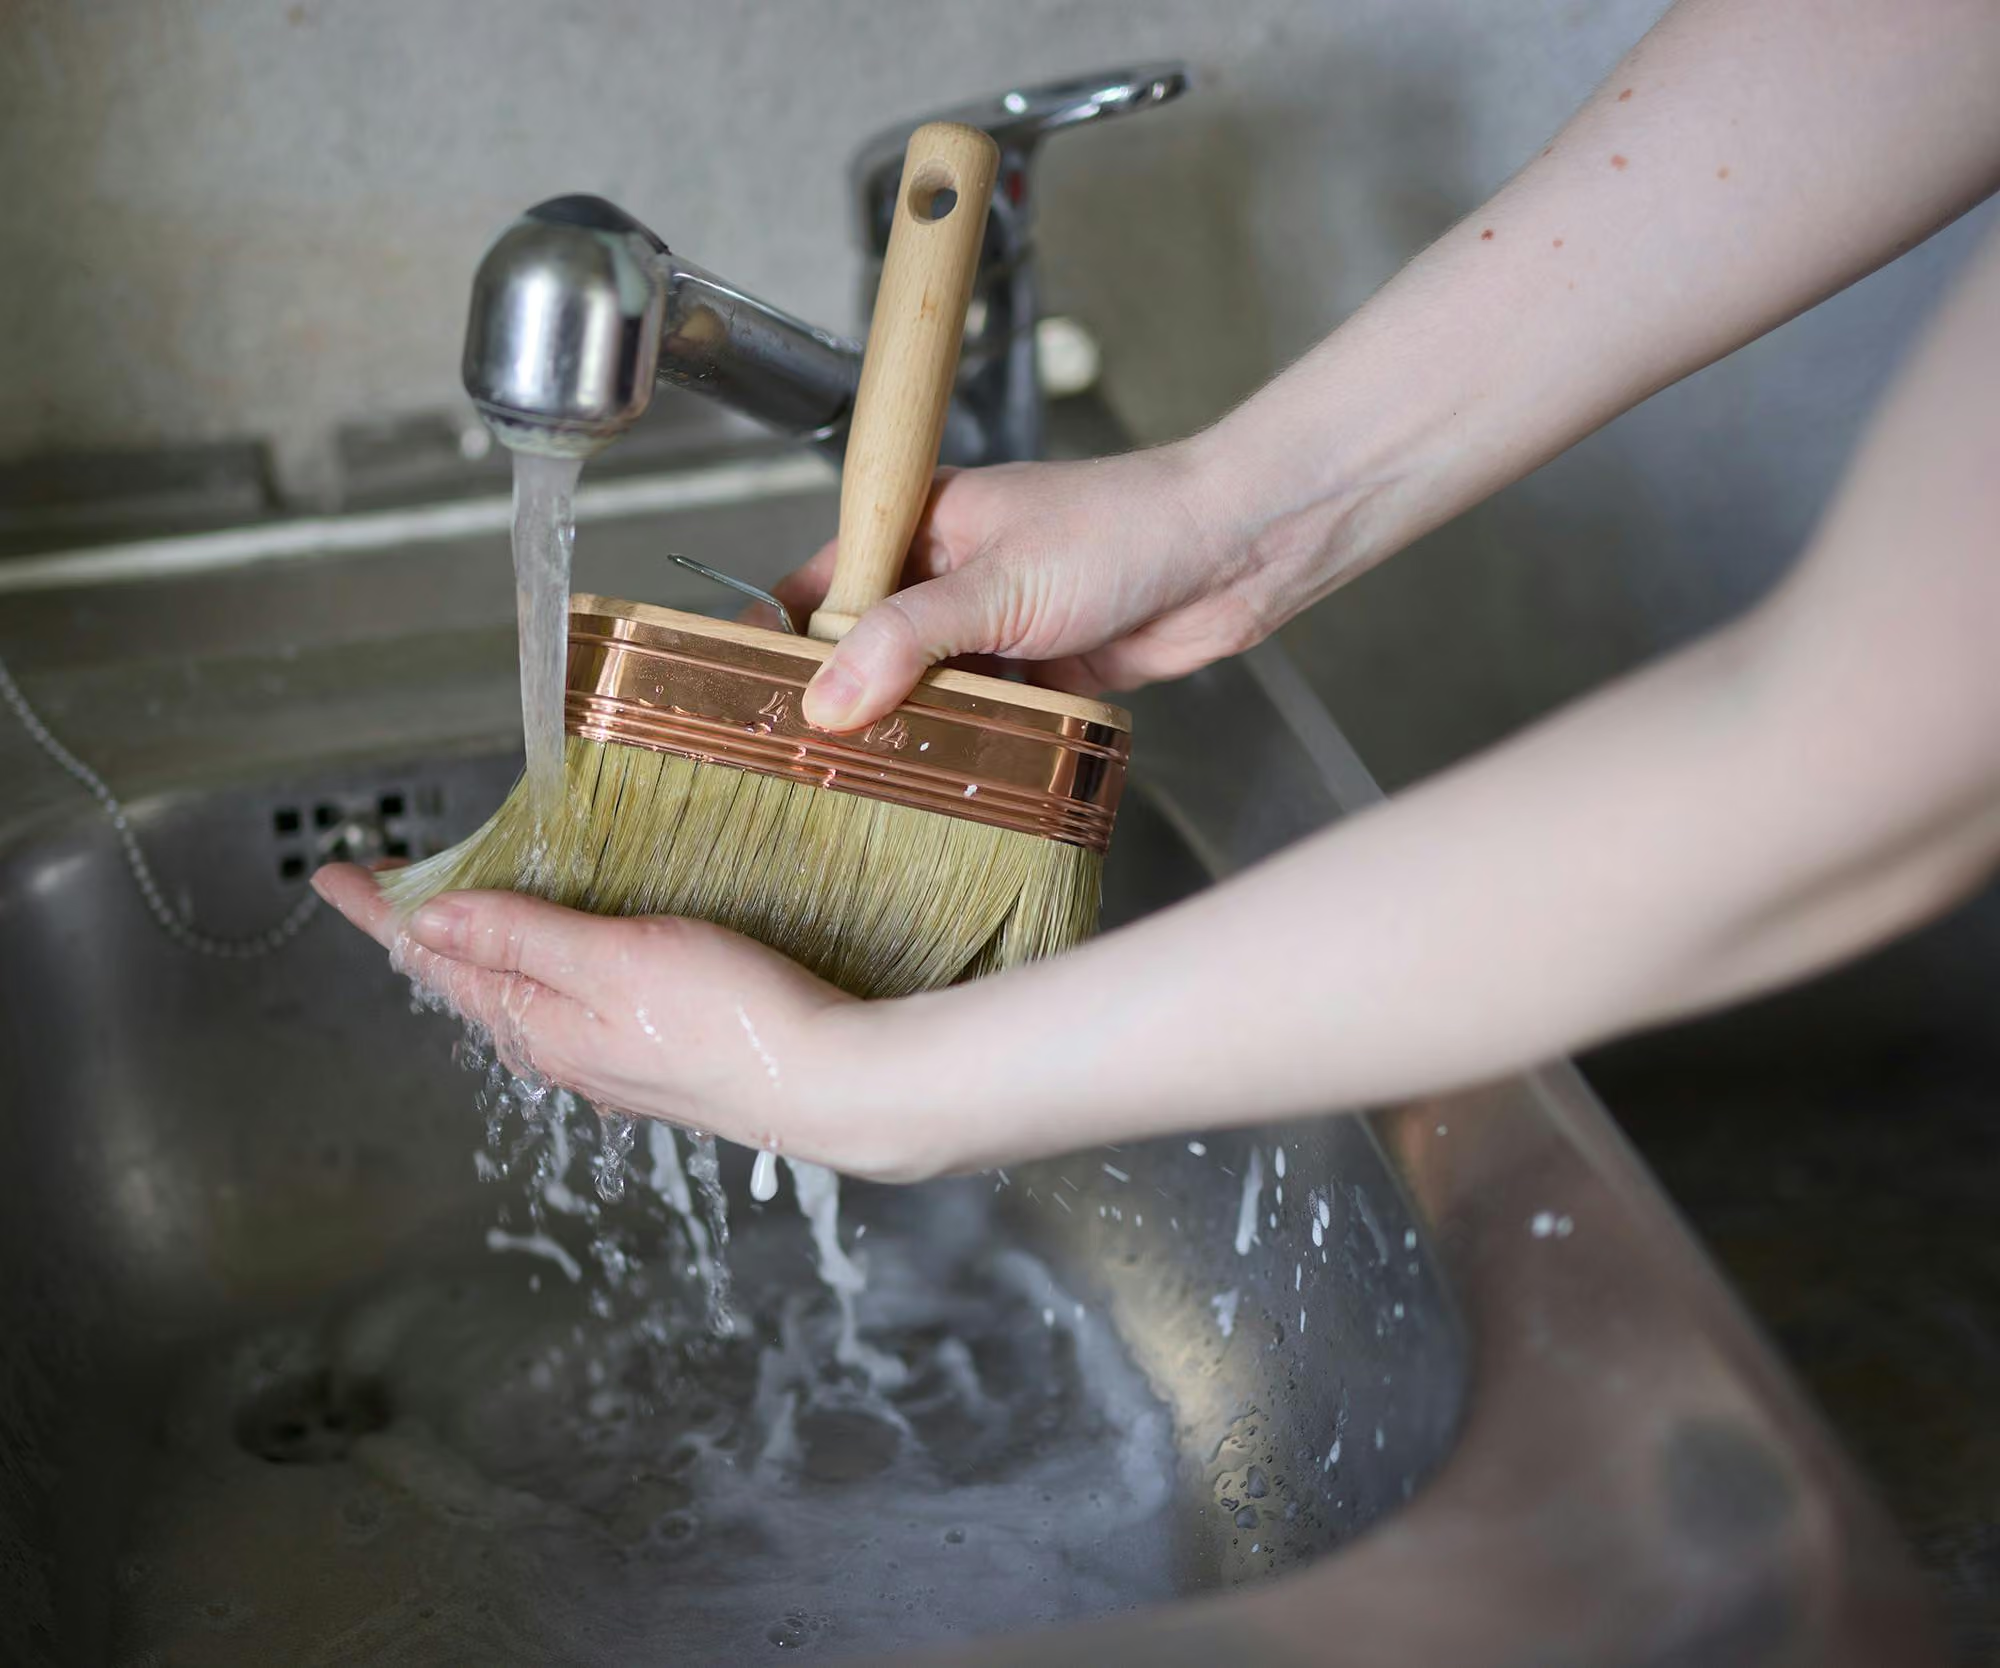
There is no need for a conventional sealer or additional topcoat over LaRosa Limewash unless a separate finishing system has specifically been recommended for your application. To refresh a limewashed timber surface, applying another coat of LaRosa Limewash is generally the simplest approach. For cleaning, use a soft damp cloth and avoid scrubbing, abrasive products and harsh chemicals. Because the finish is completely matte, aggressive cleaning can alter the appearance of the surface. Wash brushes, tools and containers with water after use.
Safety
Paint splashes may cause irritation to the skin and eyes. Wear appropriate personal protection during preparation and application, and follow the safety instructions provided with the products you are using.
FAQ About Wood Panelling, Timber, Plywood, MDF and Limewash
Can I limewash doors, skirting and windowsills?
LaRosa Limewash is generally not recommended for doors, skirtings, architraves and other high contact architectural elements. The completely matte finish can show scuffing and wear with repeated handling and cleaning. For decorative timber surfaces with limited contact, limewash can be a beautiful way to soften the appearance of the wood while allowing some of its natural character to remain visible
Does limewashed wood require a topcoat?
LaRosa Limewash is designed to have a natural, matte finish and does not generally require a conventional topcoat. Adding a separate coating can also change the appearance and character of the finish.
Can I limewash indoor wood panelling?
Yes. Unpainted indoor wood panelling such as suitable pine, plywood and matchboard can be suitable for LaRosa Limewash. Prepare the timber according to its condition and decide whether you want to retain visible woodgrain or create an opaquer finish.
Can I limewash plywood?
Yes. Unpainted plywood can be suitable for LaRosa Limewash, particularly where the natural grain is part of the desired look. For a more opaque and consistent finish, apply 1 coat of LaRosa Prep Coat before limewashing.
How do I get an opaque limewashed wood finish?
For greater coverage, apply 1 coat of LaRosa Prep Coat before the limewash and build the finish with 2–3 coats of LaRosa Limewash as required. For a more natural, translucent appearance, limewash can be applied directly to suitable unpainted timber, allowing more of the woodgrain to remain visible.