Stone Surface Guide
How to Apply LaRosa Limewash to Stone walls
Raw stone, particularly limestone and other absorbent stone surfaces, can be well suited to LaRosa Limewash. The natural porosity of these materials allows the limewash to absorb into the surface, creating a soft, mineral finish that complements the character and texture of the stone. Raw, unpainted stone generally does not require an undercoat or sealer before applying LaRosa Limewash. If your stone walls have previously been painted, additional preparation will be required to create a suitable surface for limewash.
This is the right guide for you if you want to:
- limewash internal raw stone walls
- limewash external raw stone walls
- prepare stone before applying limewash
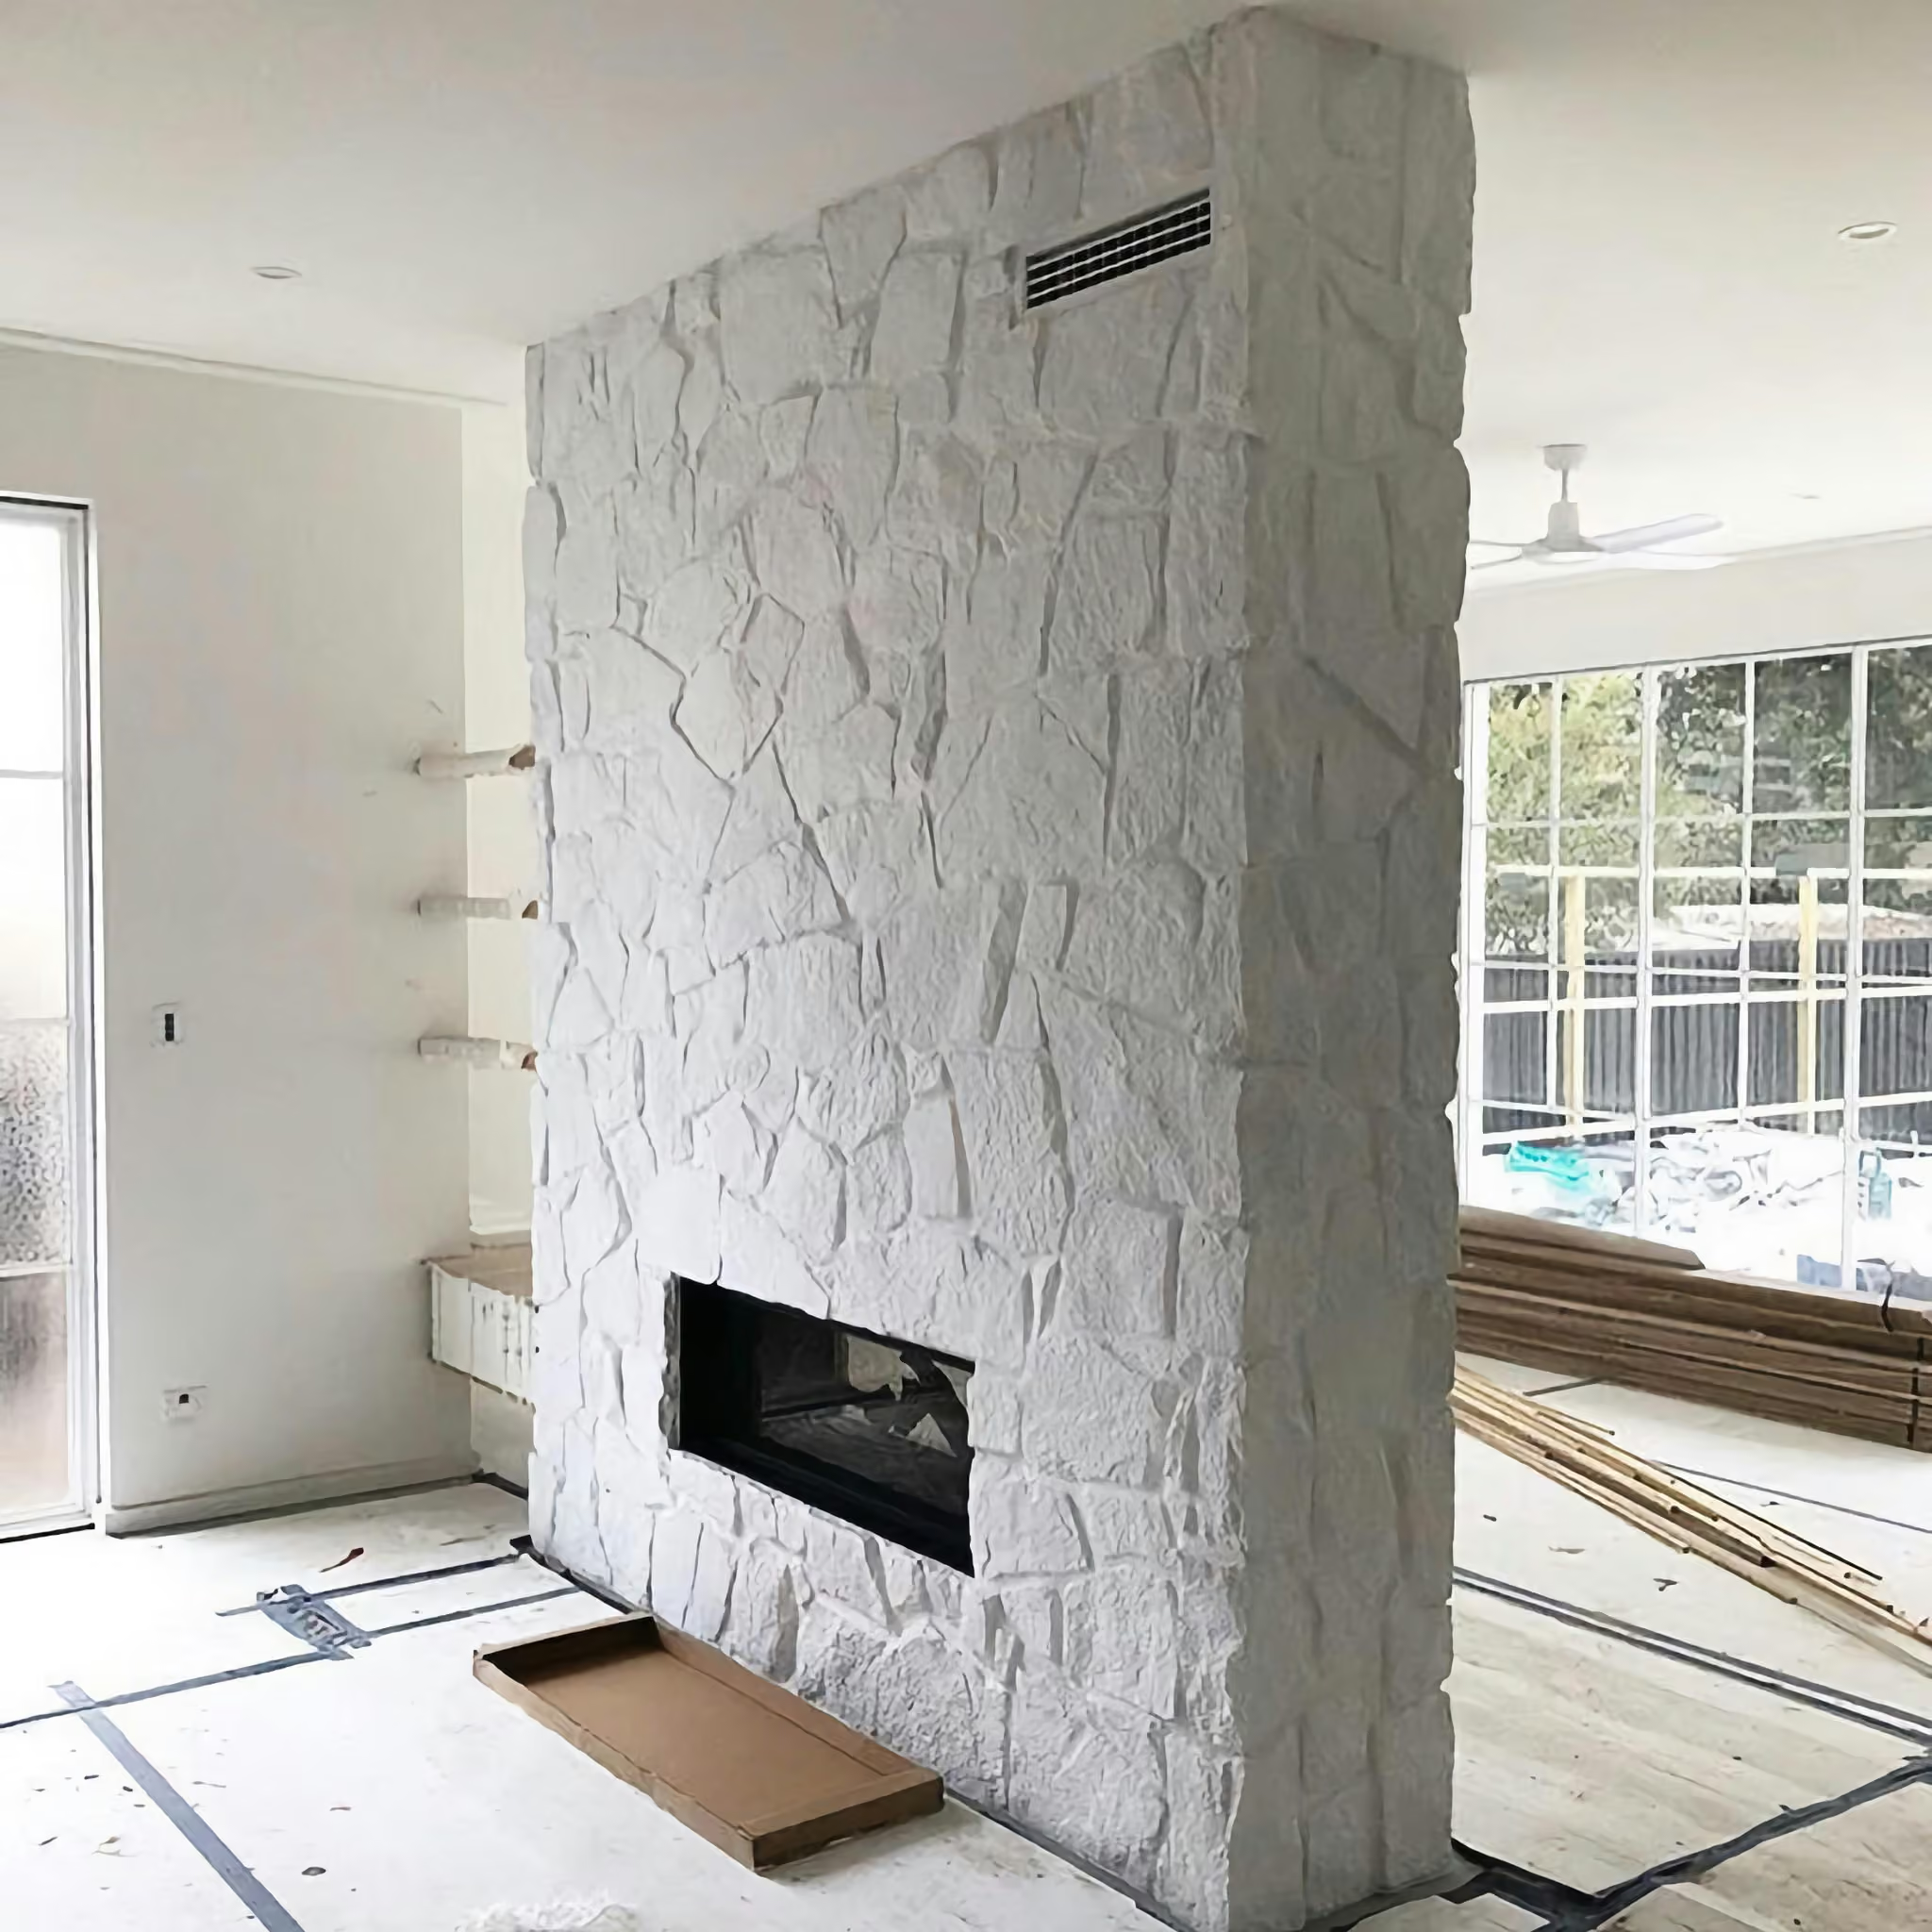
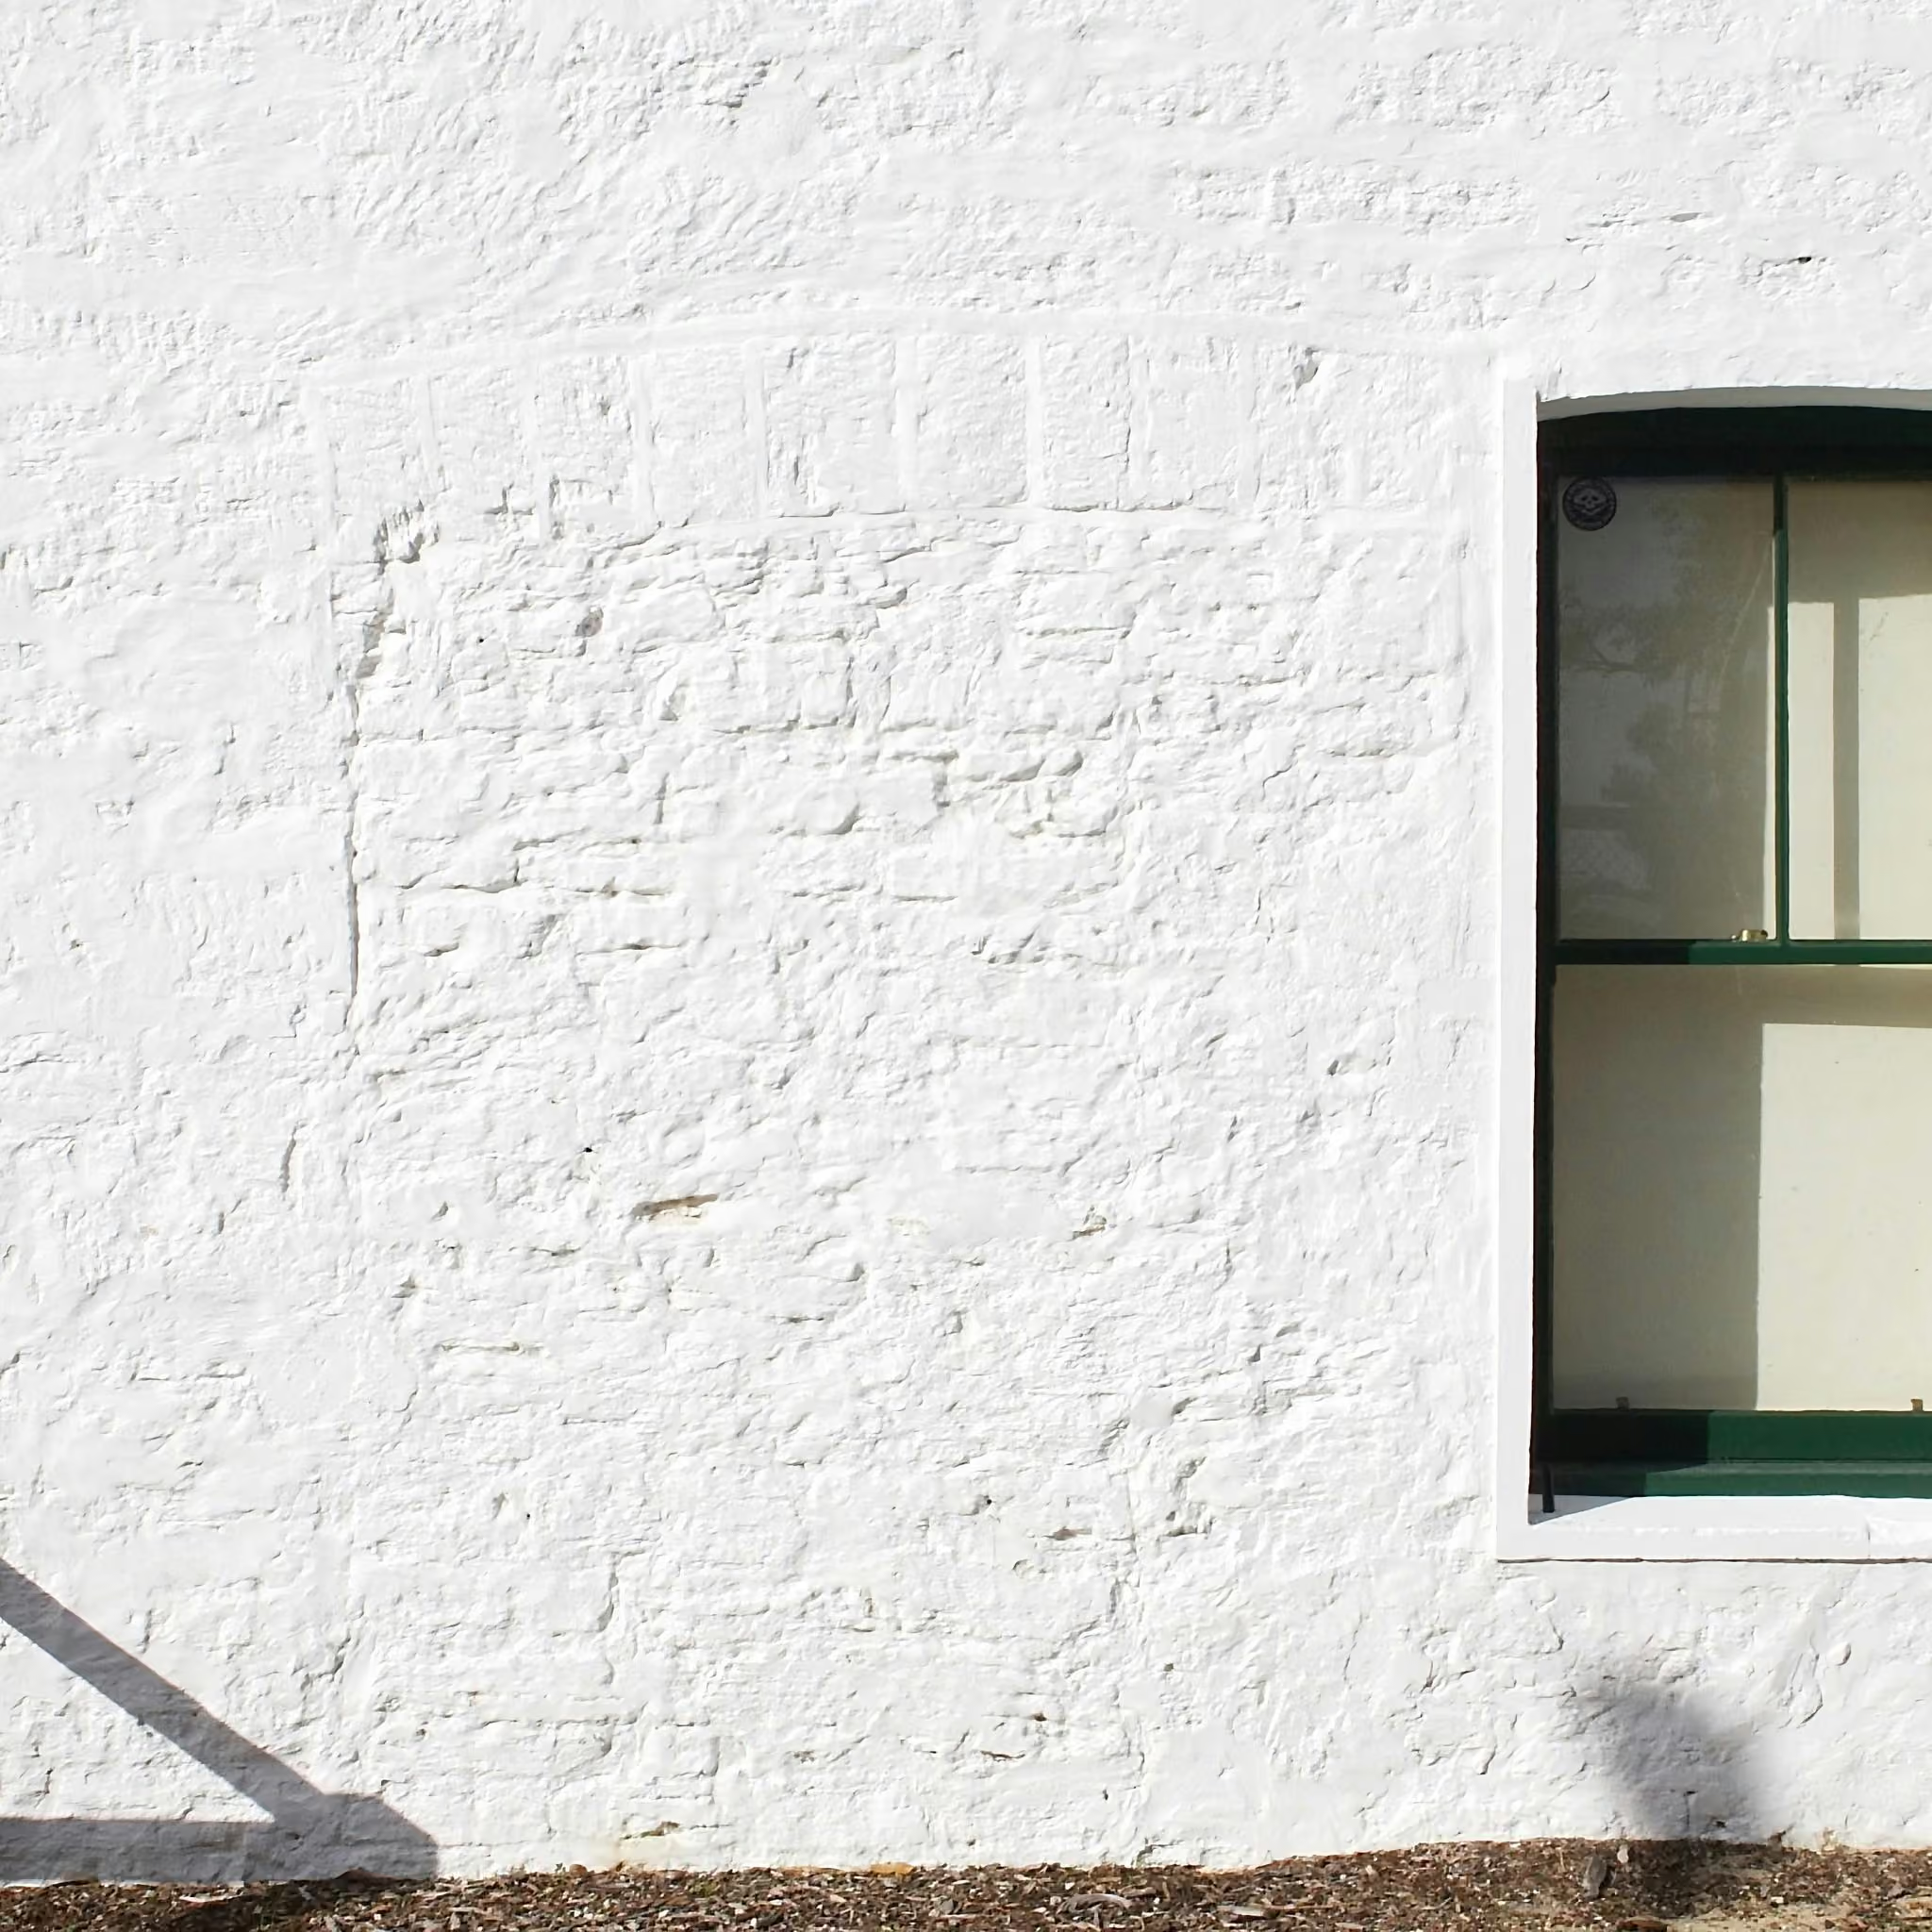
- create a soft limewashed finish while retaining some of the natural character of the stone
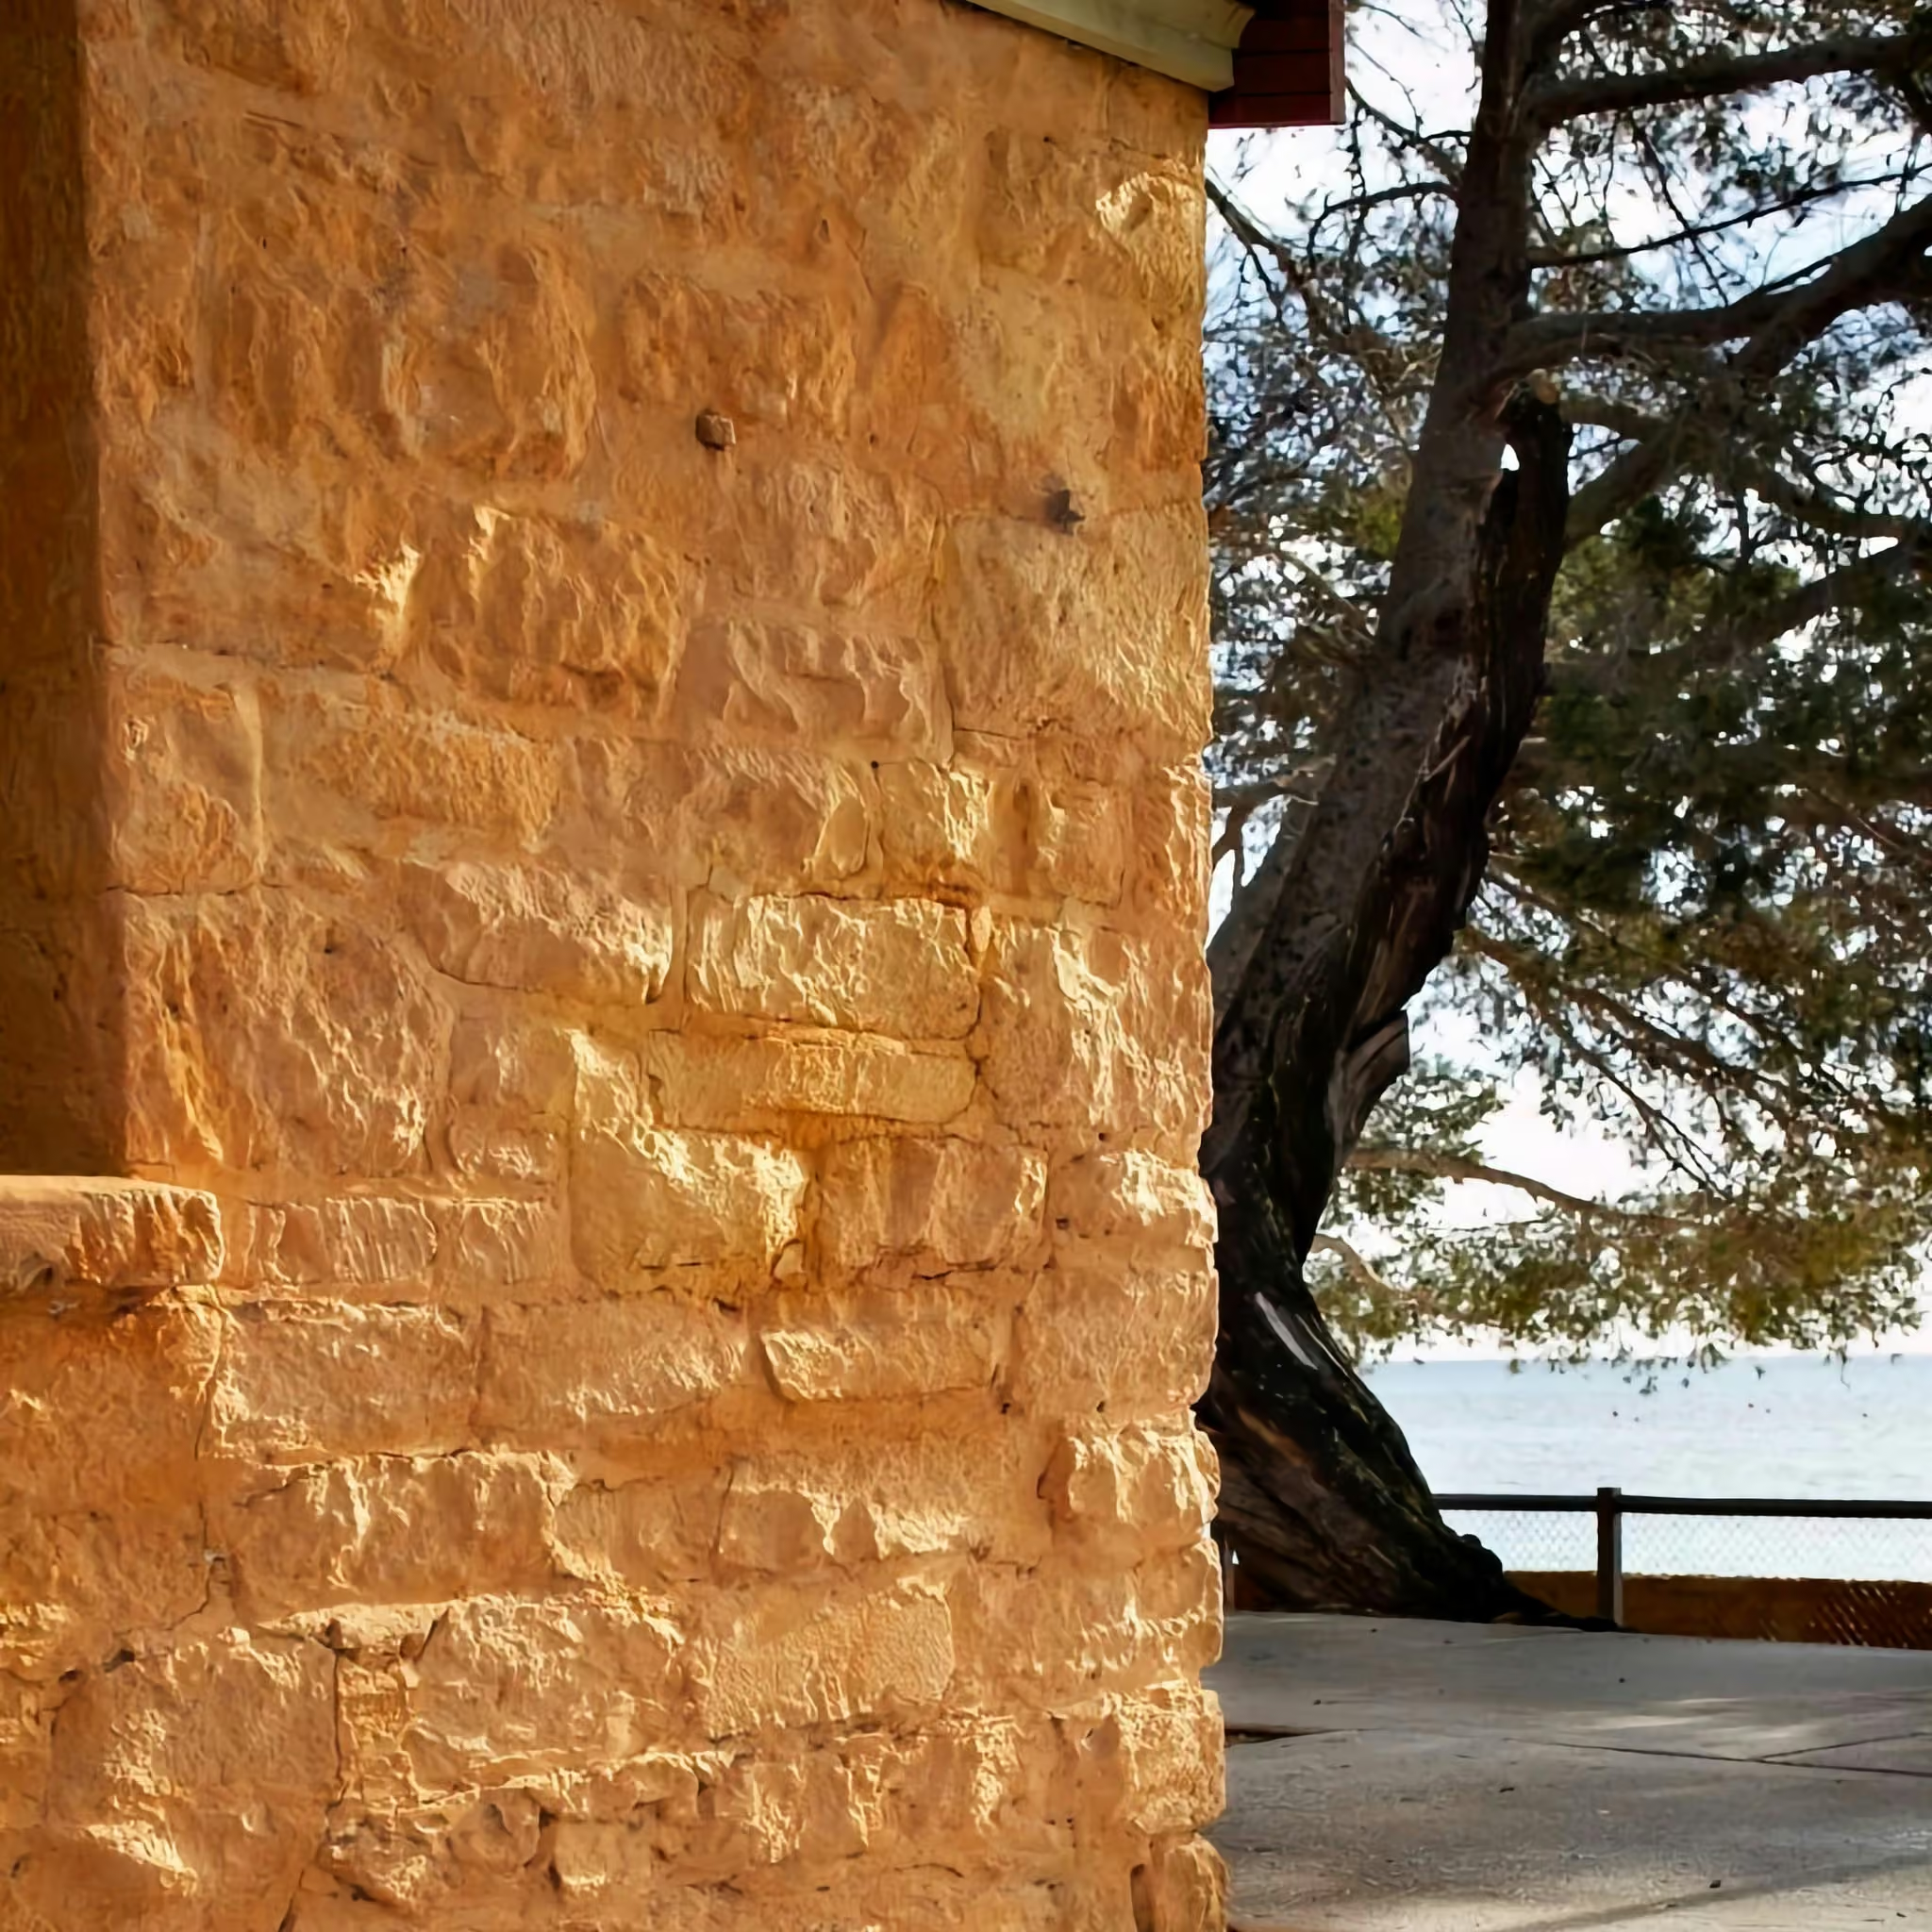
- Whisk or electric mixer
- Bucket or suitable mixing container
- LaRosa 4 × 14 Limewash Brush
- Clean water
- LaRosa Limewash

Lime Wash Brushes

Prep Coat, Limewash and Wooden Brush Toolpage

Whisk Mixing Tool
Planning and Preparation
When painting during construction or renovation, we recommend scheduling LaRosa Limewash as one of the final trades. This helps prevent other trades, tools or building equipment from damaging the finished surface.
Test Your Colour First
We recommend testing your chosen colour before applying it to the entire wall. On unpainted stone, use a LaRosa Colour Tester on a separate piece of the same or similar stone wherever possible. If you need to test directly on the wall, choose a discreet area and feather the edges of the test patch into the surrounding surface using an irregular shape. This can help minimise the appearance of a visible sample area once the final limewash is applied. For the most accurate result, allow your test area to dry fully and view it in different lighting conditions before making your final colour choice.
Coverage
On raw, absorbent stone, LaRosa Limewash covers approximately 7–12 m² per litre, per coat, with 2–3 coats generally required for full coverage. Coverage will vary depending on the porosity, texture and condition of the stone. Highly absorbent or textured stone may require more product. A LaRosa Colour Tester is the best way to understand how your chosen colour will look and how much product your particular stone surface may require.
LaRosa Surface and Paint Preparation
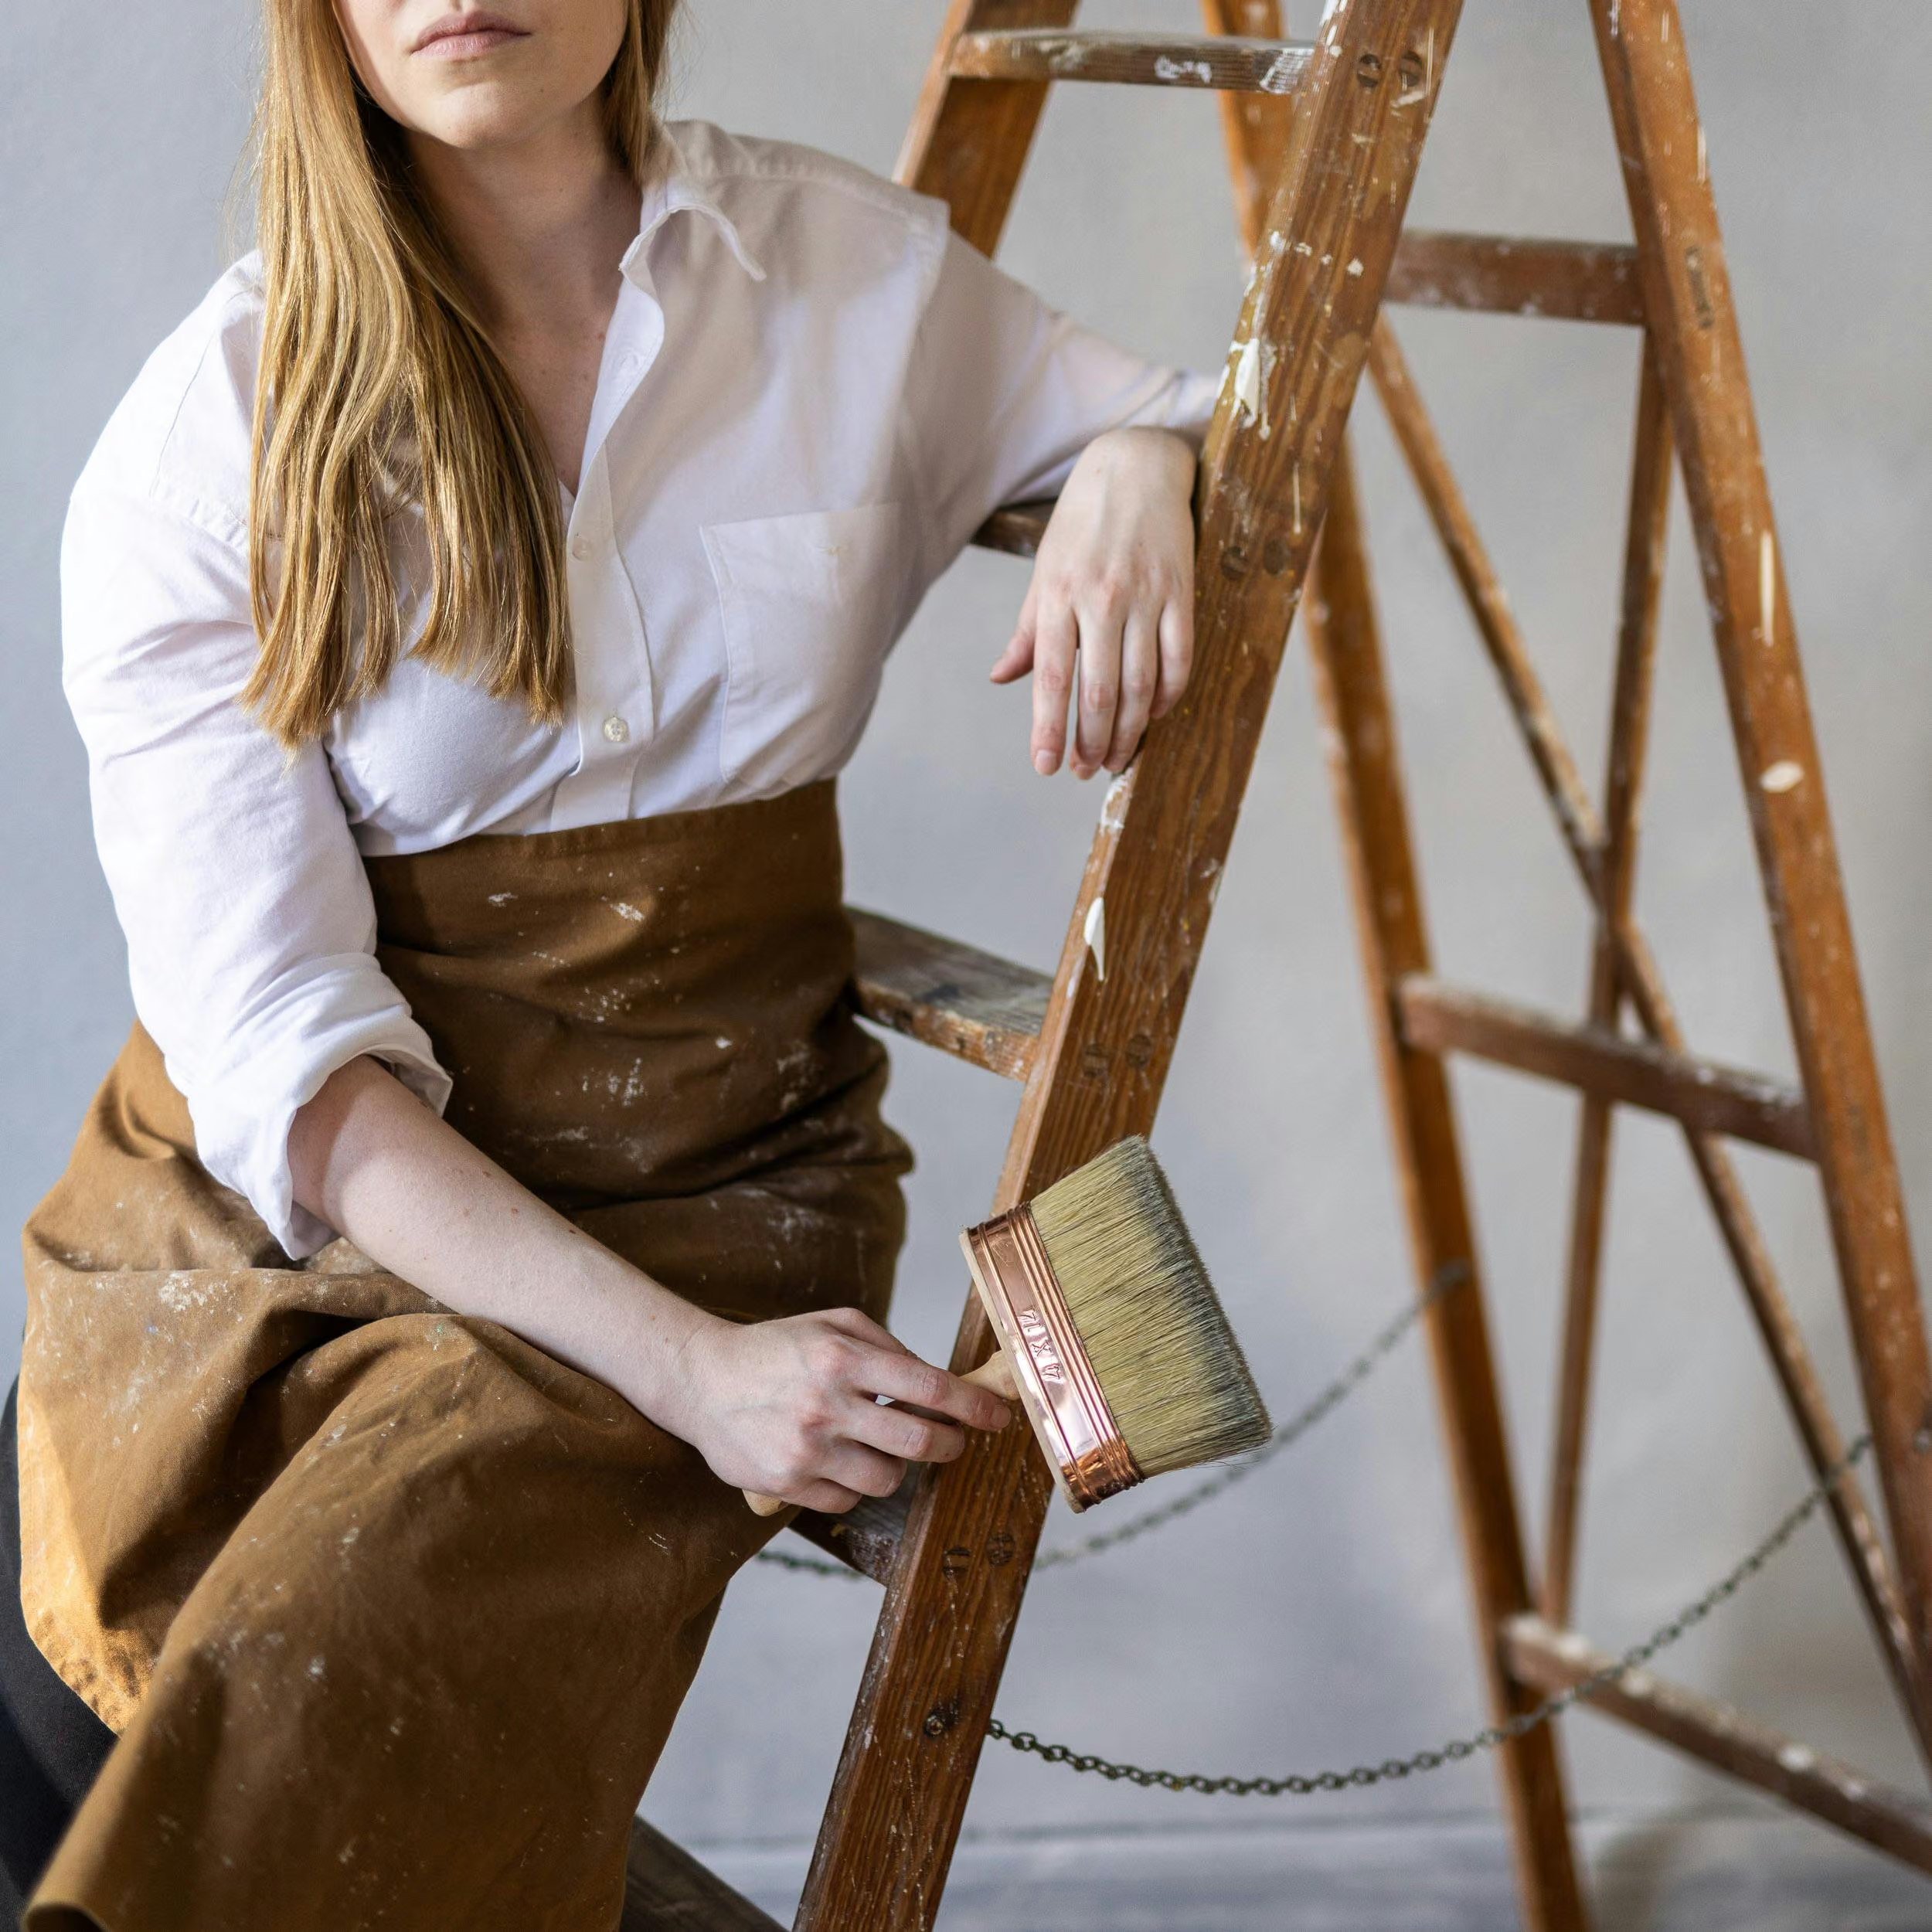
Stone surfaces should be clean and free from dirt, dust and loose material before applying limewash.
- Brush down the wall thoroughly.
- Remove any loose or friable material.
- Lightly dampen the surface with clean water using a brush or light mist spray.
The amount of moisture you introduce to the stone can also affect how much limewash it absorbs. A more heavily dampened surface will take in less limewash, which can be useful if you want a softer colour wash rather than full opacity. This allows more of the natural colour and variation of the stone to remain visible.
Previously Painted Stone Surfaces:
Previously painted internal and external stone can be limewashed, but additional preparation is required to help create suitable absorption. For internal stone that has previously been painted with conventional paint, LaRosa Prep Coat may be required before applying limewash. For previously painted exterior stone, an appropriate exterior preparation system may be required, depending on the existing coating and condition of the surface. Refer to our Painted with Other Paint surface guides for detailed preparation instructions.
LaRosa Limewash Paint Application
Prepare Your LaRosa Limewash:
Before you begin:
- Thoroughly stir the LaRosa Limewash, making sure all settled pigment is incorporated.
- Decant the limewash into a suitable bucket or container.
- Continue stirring regularly throughout the painting process.
Choose a brush suited to the texture of your stone. Our 4 × 14 Limewash Brush is a versatile option for most stone walls. For deeper recesses, joints or heavily textured areas, a shorter, firmer bristled brush can provide greater control and help reach into the surface.
Apply 2–3 Coats
- Dip your natural-bristle limewash brush into the paint, then remove excess with a flick of the wrist. The brush should hold plenty of limewash without dripping.
- Start in a corner, holding the brush at roughly a right angle to the wall. Holding the brush by the body rather than the handle can give you greater control.
- Use loose, free strokes and spread the limewash as far as possible. Vary the direction of your strokes as you work, allowing the natural bristle brush to do the work without applying too much pressure.
- For deeper recesses and textured areas, use smaller back and forth movements or small circular motions to work the limewash into the surface.
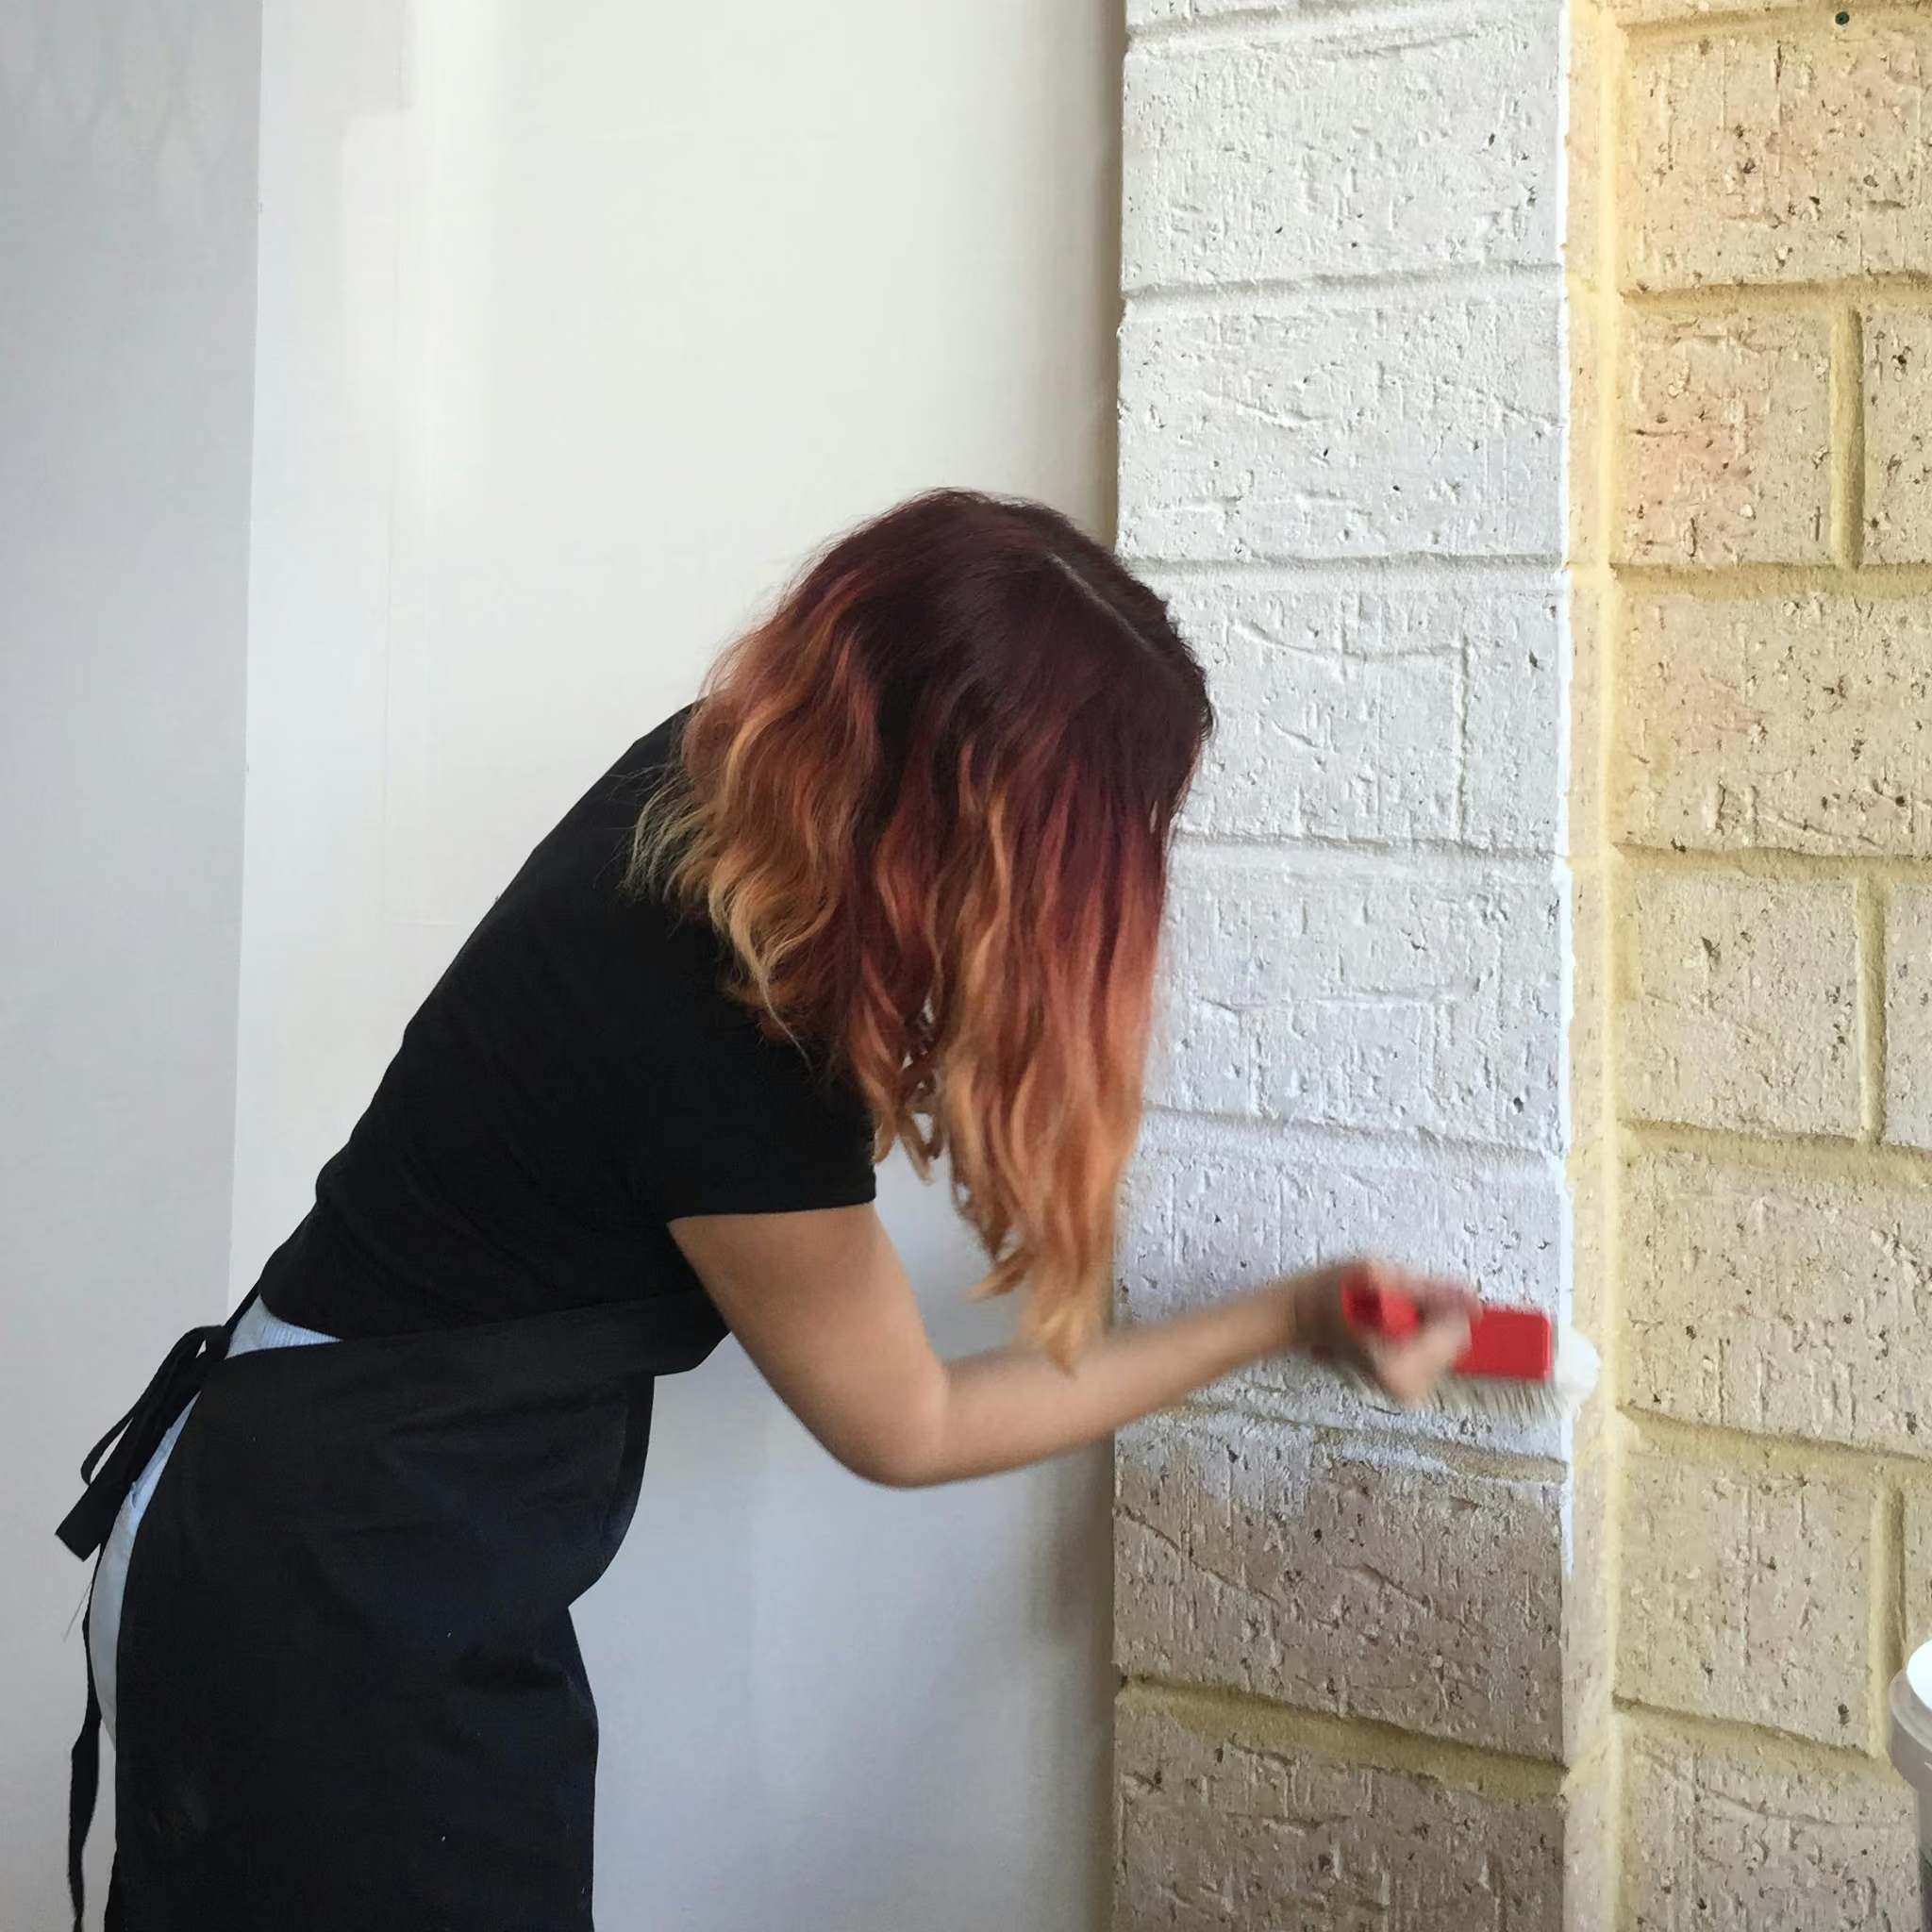
- Brush the limewash out into a thin, even coat, avoiding runs and drips. Aim to cover the surface consistently while allowing the texture and character of the stone to remain visible.
- Maintain a wet edge as you work to minimise visible lines and changes in texture. Complete each coat in one continuous application where possible. Avoid returning to areas that have already dried, as this can create visible patches.
- On larger walls, work towards a natural stopping point such as a corner, joint or change in the wall plane.
Allow the Colour to Develop
When wet, LaRosa Limewash will appear darker and more transparent than its final dry colour. This is completely normal, so avoid applying additional limewash simply because the wet colour appears too dark. As the limewash dries, it will lighten and become opaquer, revealing the intended colour and natural variation of the finish. Allow a minimum of 2 hours between coats. For the second coat, there is no need to dampen the wall again. Apply the limewash more quickly and loosely, working wet in wet where possible. The first coat should already have established the base coverage, so small missed areas can be addressed with the second coat.
White Limewash Colours
When using LaRosa Limewash whites, maintaining a strict wet edge is less important. These colours are easier to patch and can be suitable for small spot touch ups.
Cleanup and Maintenance
There is no need for a conventional sealer or additional topcoat over LaRosa Limewash.
- A third coat can be applied depending on your preferred colour depth and level of coverage.
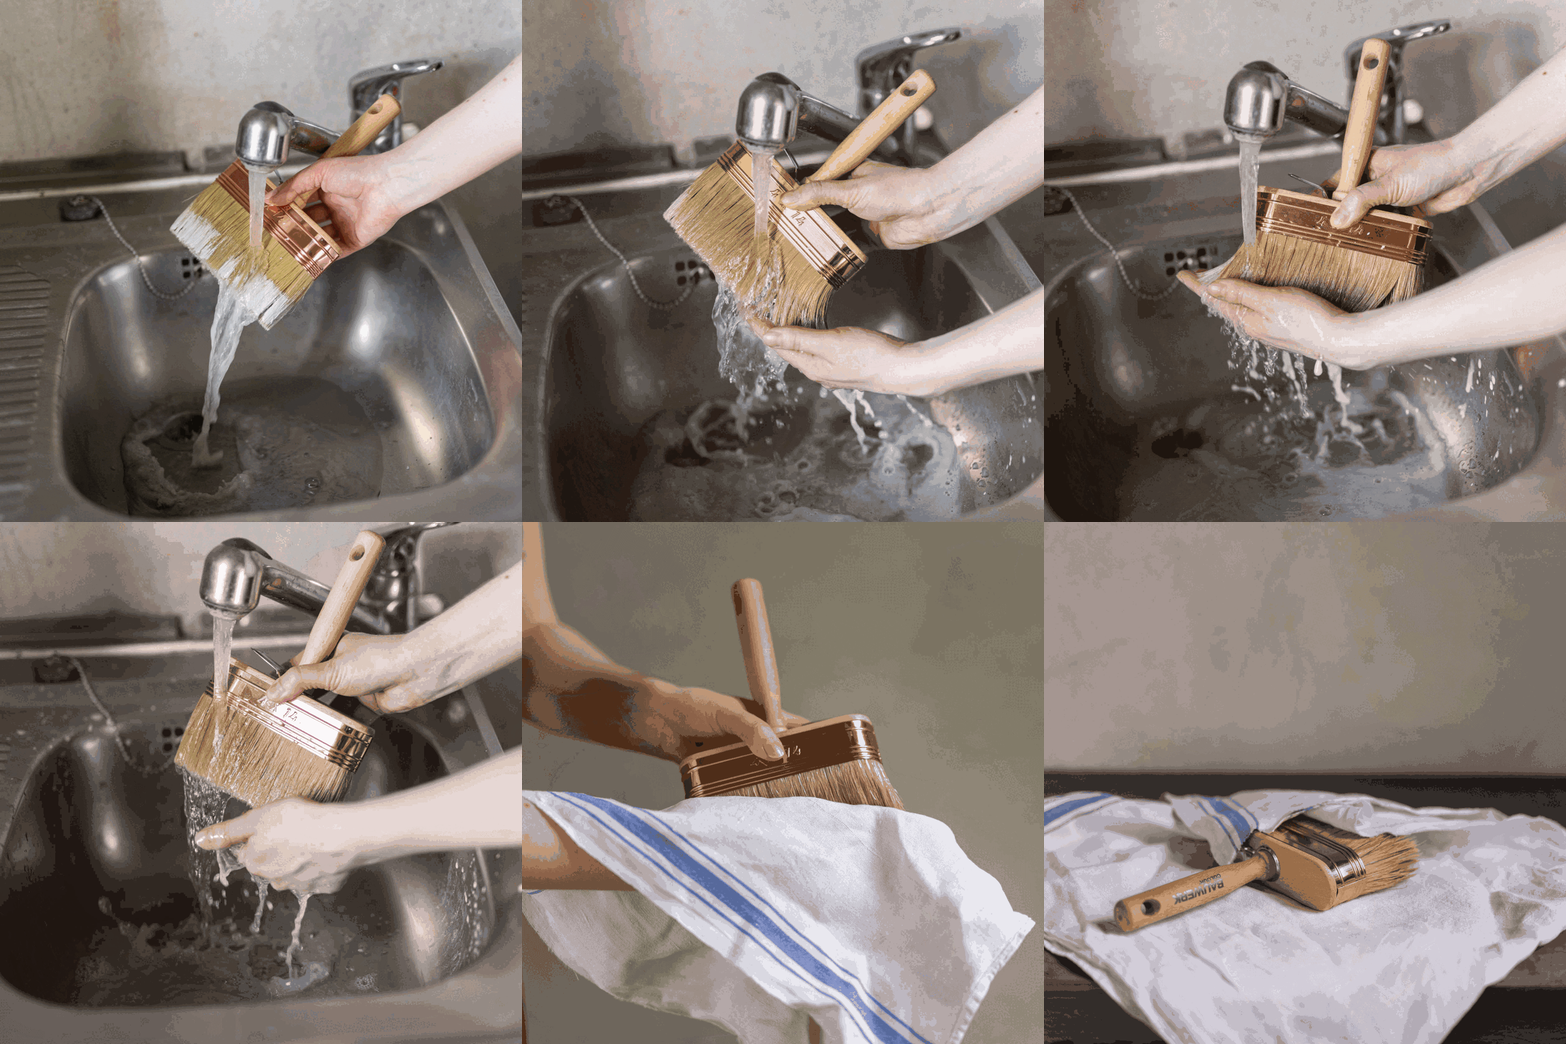
- Wash brushes, tools and containers thoroughly with water after use.
- Avoid harsh chemicals or aggressive cleaning methods that may affect the limewash finish.
- If the surface needs refreshing over time, another coat of LaRosa Limewash can be applied once the surface has been appropriately prepared.
FAQs about Stone and Limewash
What should I know when selecting my colour and sampling limewash on stone?
Colour can appear different depending on the amount and direction of light, particularly on exterior surfaces. A colour that looks one way indoors may appear lighter when viewed outside. We recommend applying your chosen colour to a portable board or a separate piece of the same or similar stone. This allows you to move the sample around the space and view it under different lighting conditions without leaving a permanent test patch on the finished wall. A LaRosa Colour Tester is particularly useful when working with naturally absorbent surfaces such as stone, render, lime plaster or unpainted brick.
How much LaRosa Limewash will I need for a stone surface?
On raw, absorbent stone, coverage is approximately 7–12 m² per litre, per coat. Most projects will require 2–3 coats for full coverage. Actual coverage will depend on the porosity, texture and condition of your stone.
Will LaRosa Limewash completely cover my stone wall?
LaRosa Limewash creates a naturally varied mineral finish rather than a conventional opaque paint finish. The amount of the underlying stone that remains visible will depend on the stone itself, its absorbency, how much the surface is dampened and the number of coats applied. For a softer colour wash with more of the stone visible, greater surface dampening can reduce limewash absorption. For greater opacity, additional coats may be required. We recommend testing your chosen colour with a LaRosa Colour Tester first to see how it behaves on your particular stone.
Will my limewash colour fade outside?
Exterior limewash can naturally change over time as it is exposed to weather and sunlight. The rate of change will depend on factors such as exposure, surface condition and colour.
Can I limewash internal stone walls?
Yes, raw, absorbent internal stone can be suitable for LaRosa Limewash without a conventional undercoat or sealer. Before painting, make sure the stone is clean, sound and free from loose material. Lightly dampen the surface before application and test your chosen colour first. If the internal stone has previously been painted with conventional paint, additional preparation, including LaRosa Prep Coat, may be required before limewashing.