
Plaster Surface Guide
How to Apply LaRosa Limewash to Plaster Surfaces
Limewash can create a soft, natural finish on a range of plaster surfaces. The right preparation depends on the type and condition of your plaster, particularly if you’re working with traditional lime plaster, clay plaster or a heritage surface where breathability is important.
This guide will help you understand how to:
- Apply limewash to standard plaster, gypsum or set coat plaster
- Apply limewash to traditional lime or clay plaster
- Prepare your plaster surface before applying limewash paint
- Apply LaRosa Limewash for a beautiful, even finish
- Maintain the breathability of historic lime plaster and clay plaster
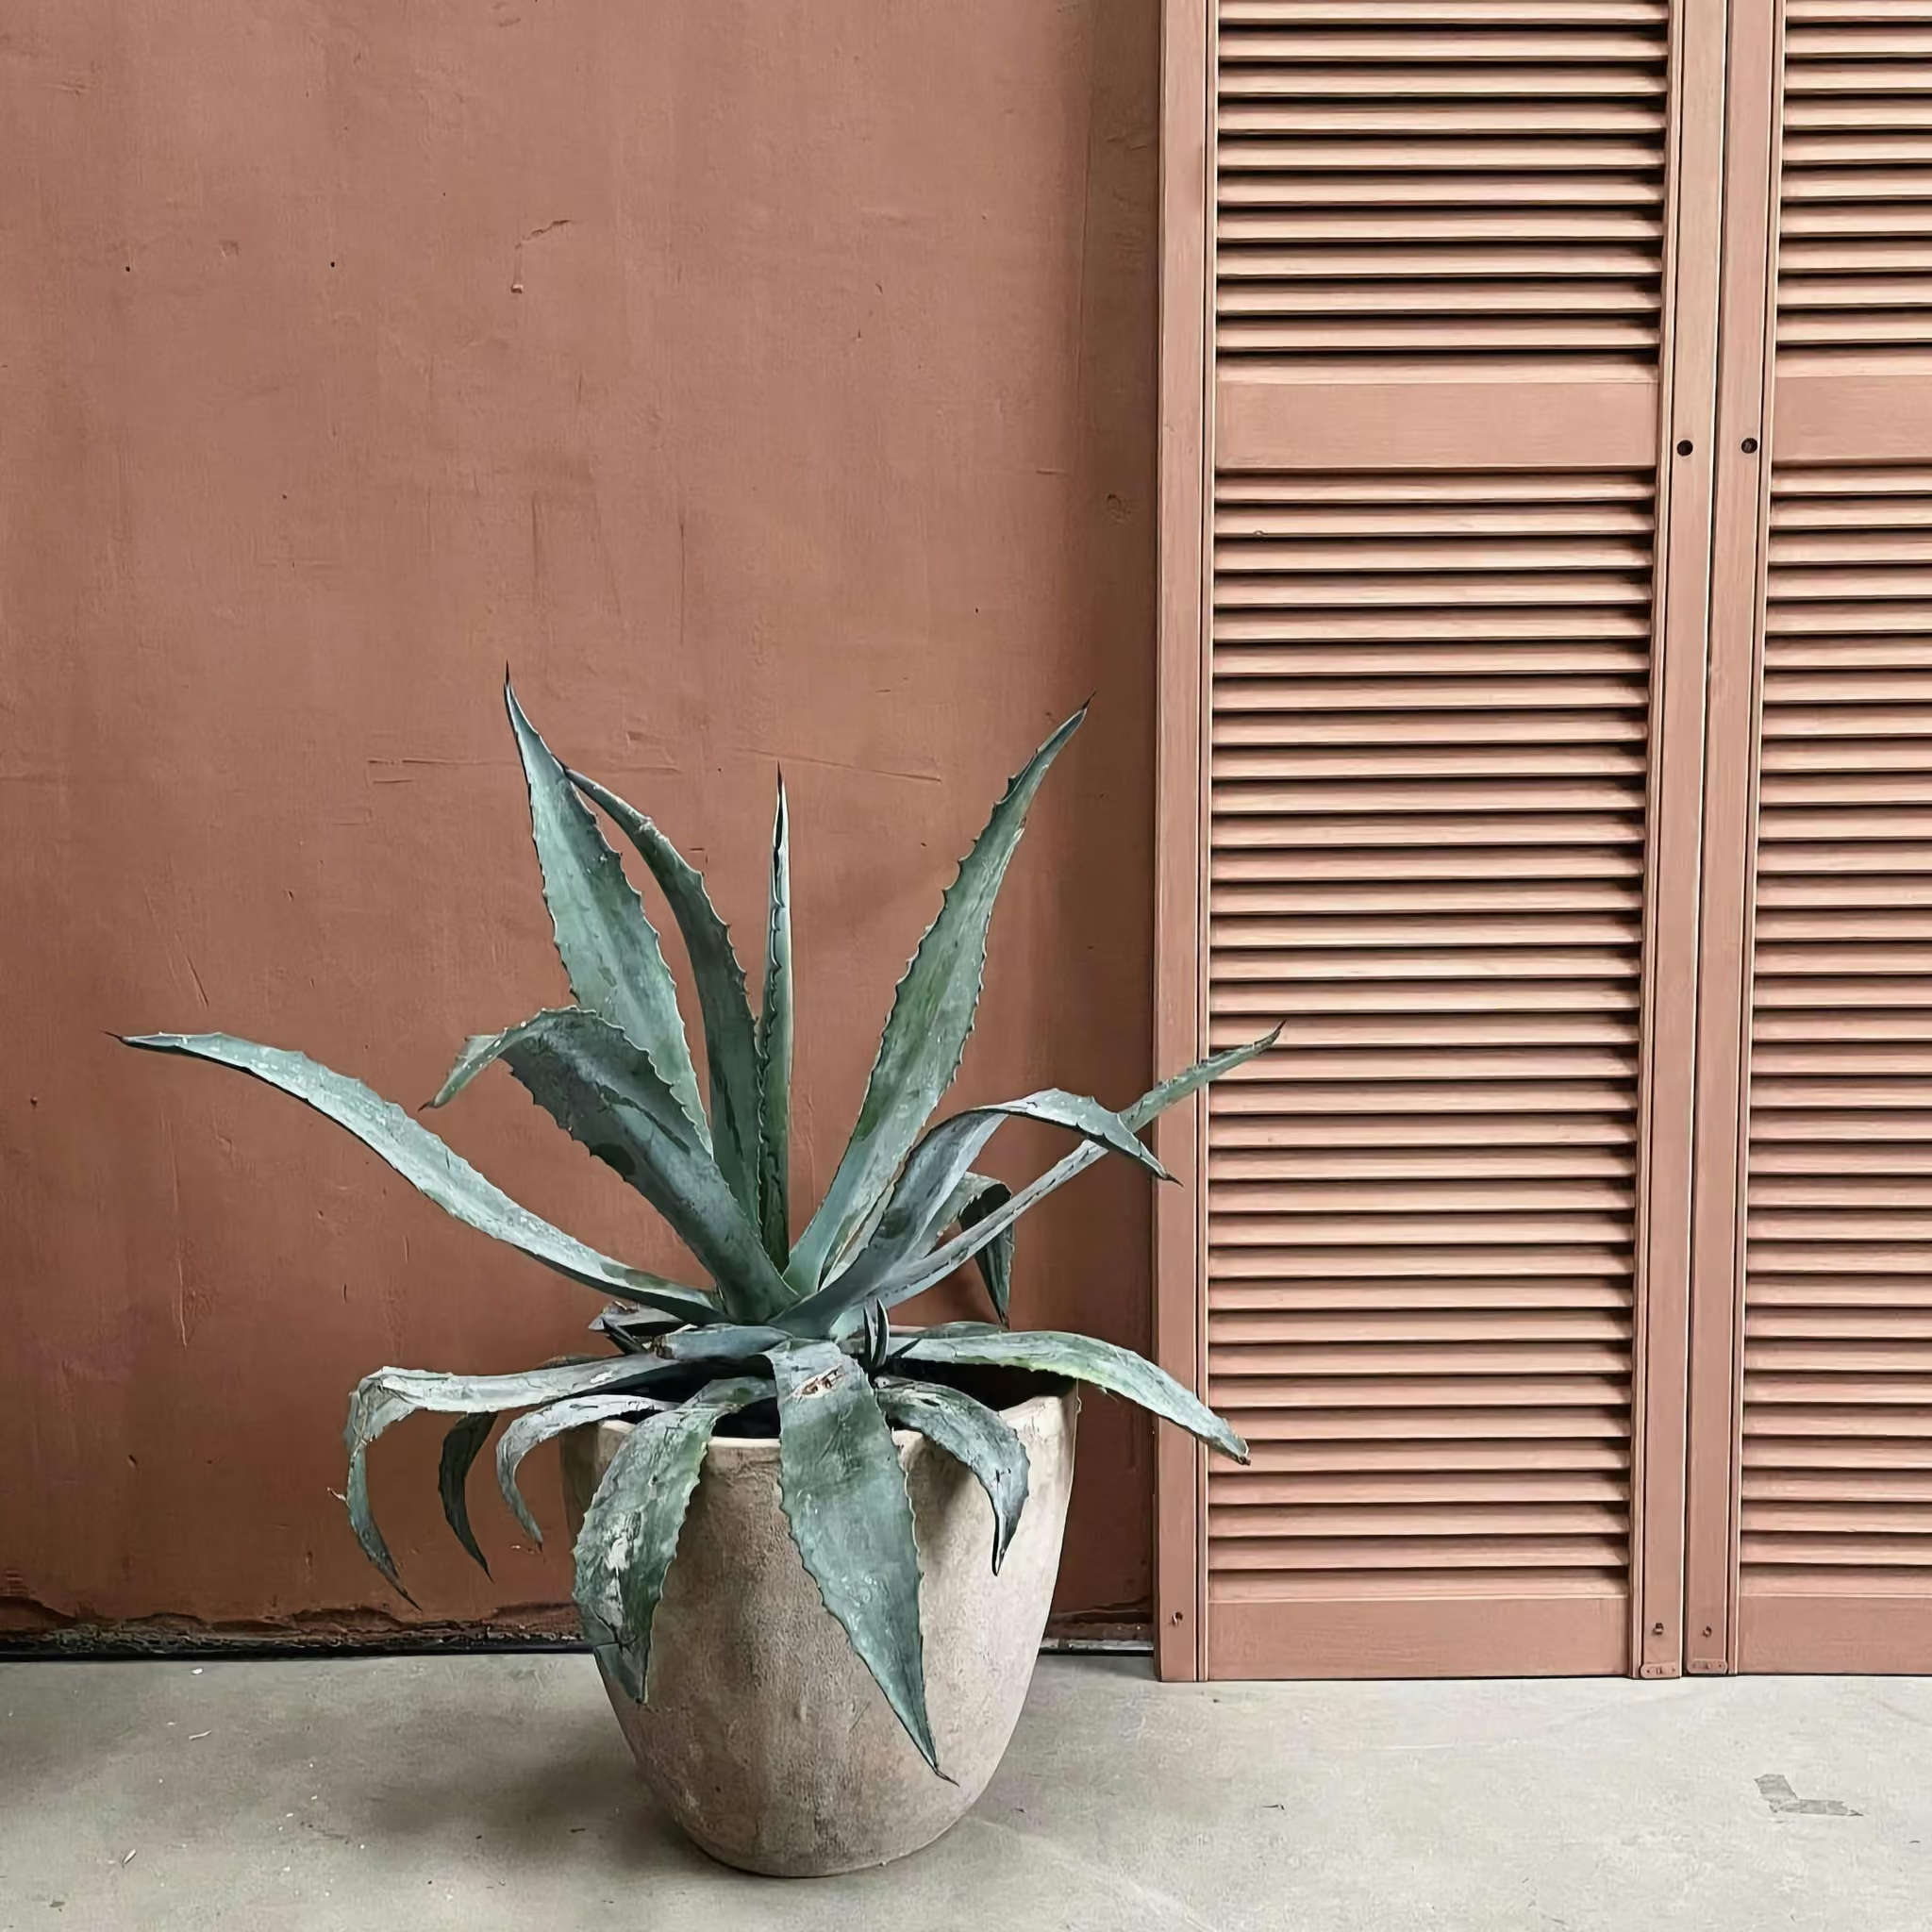
What You’ll Need
Depending on your plaster surface and preparation method, you may need:
- Whisk or electric mixer
- Clean bucket
- LaRosa 4 × 14 Limewash Brush
- Prep Coat and primer, where required
- LaRosa Limewash Paint

Lime Wash Brushes

Prep Coat, Limewash and Wooden Brush Toolpage

Whisk Mixing Tool
Planning
If you’re working on a renovation, new build or freshly plastered space, we recommend applying LaRosa Limewash towards the end of the project. This helps protect your finished walls from dust, tools, equipment and other trades working in the space. Before you begin, identify what type of plaster you’re working with. New gypsum plaster, set-coat plaster, traditional lime plaster and clay plaster can all behave differently, so the correct preparation is important for achieving a consistent finish.
Coverage
When applied over a suitable Prep Coat on plaster walls, LaRosa Limewash Paint covers approximately 10–15 m² per litre, per coat. Two coats are generally recommended for a finished application. Where Prep Coat is required over previously painted or sealed walls, coverage is approximately 6 m² per litre, per coat, with one coat generally required. These coverage figures are a guide only. The amount of limewash you need will vary depending on the porosity, texture and condition of your surface. For the most accurate result, we recommend using a sample pot before starting your project. This allows you to see how the colour behaves on your particular wall and under your home’s natural and artificial lighting.

Surface Preparation
The preparation required depends on whether your plaster is new, previously painted, already primed or a traditional breathable surface.
Prime Where Required
For new or raw plaster, we recommend applying two coats of a suitable water based undercoat sealer/primer. Use the primer as supplied rather than diluting it. You generally don’t need to prime if your walls are:
- Already correctly primed, with no visible patches or repairs
- Historic lime plaster or clay plaster where maintaining breathability is important
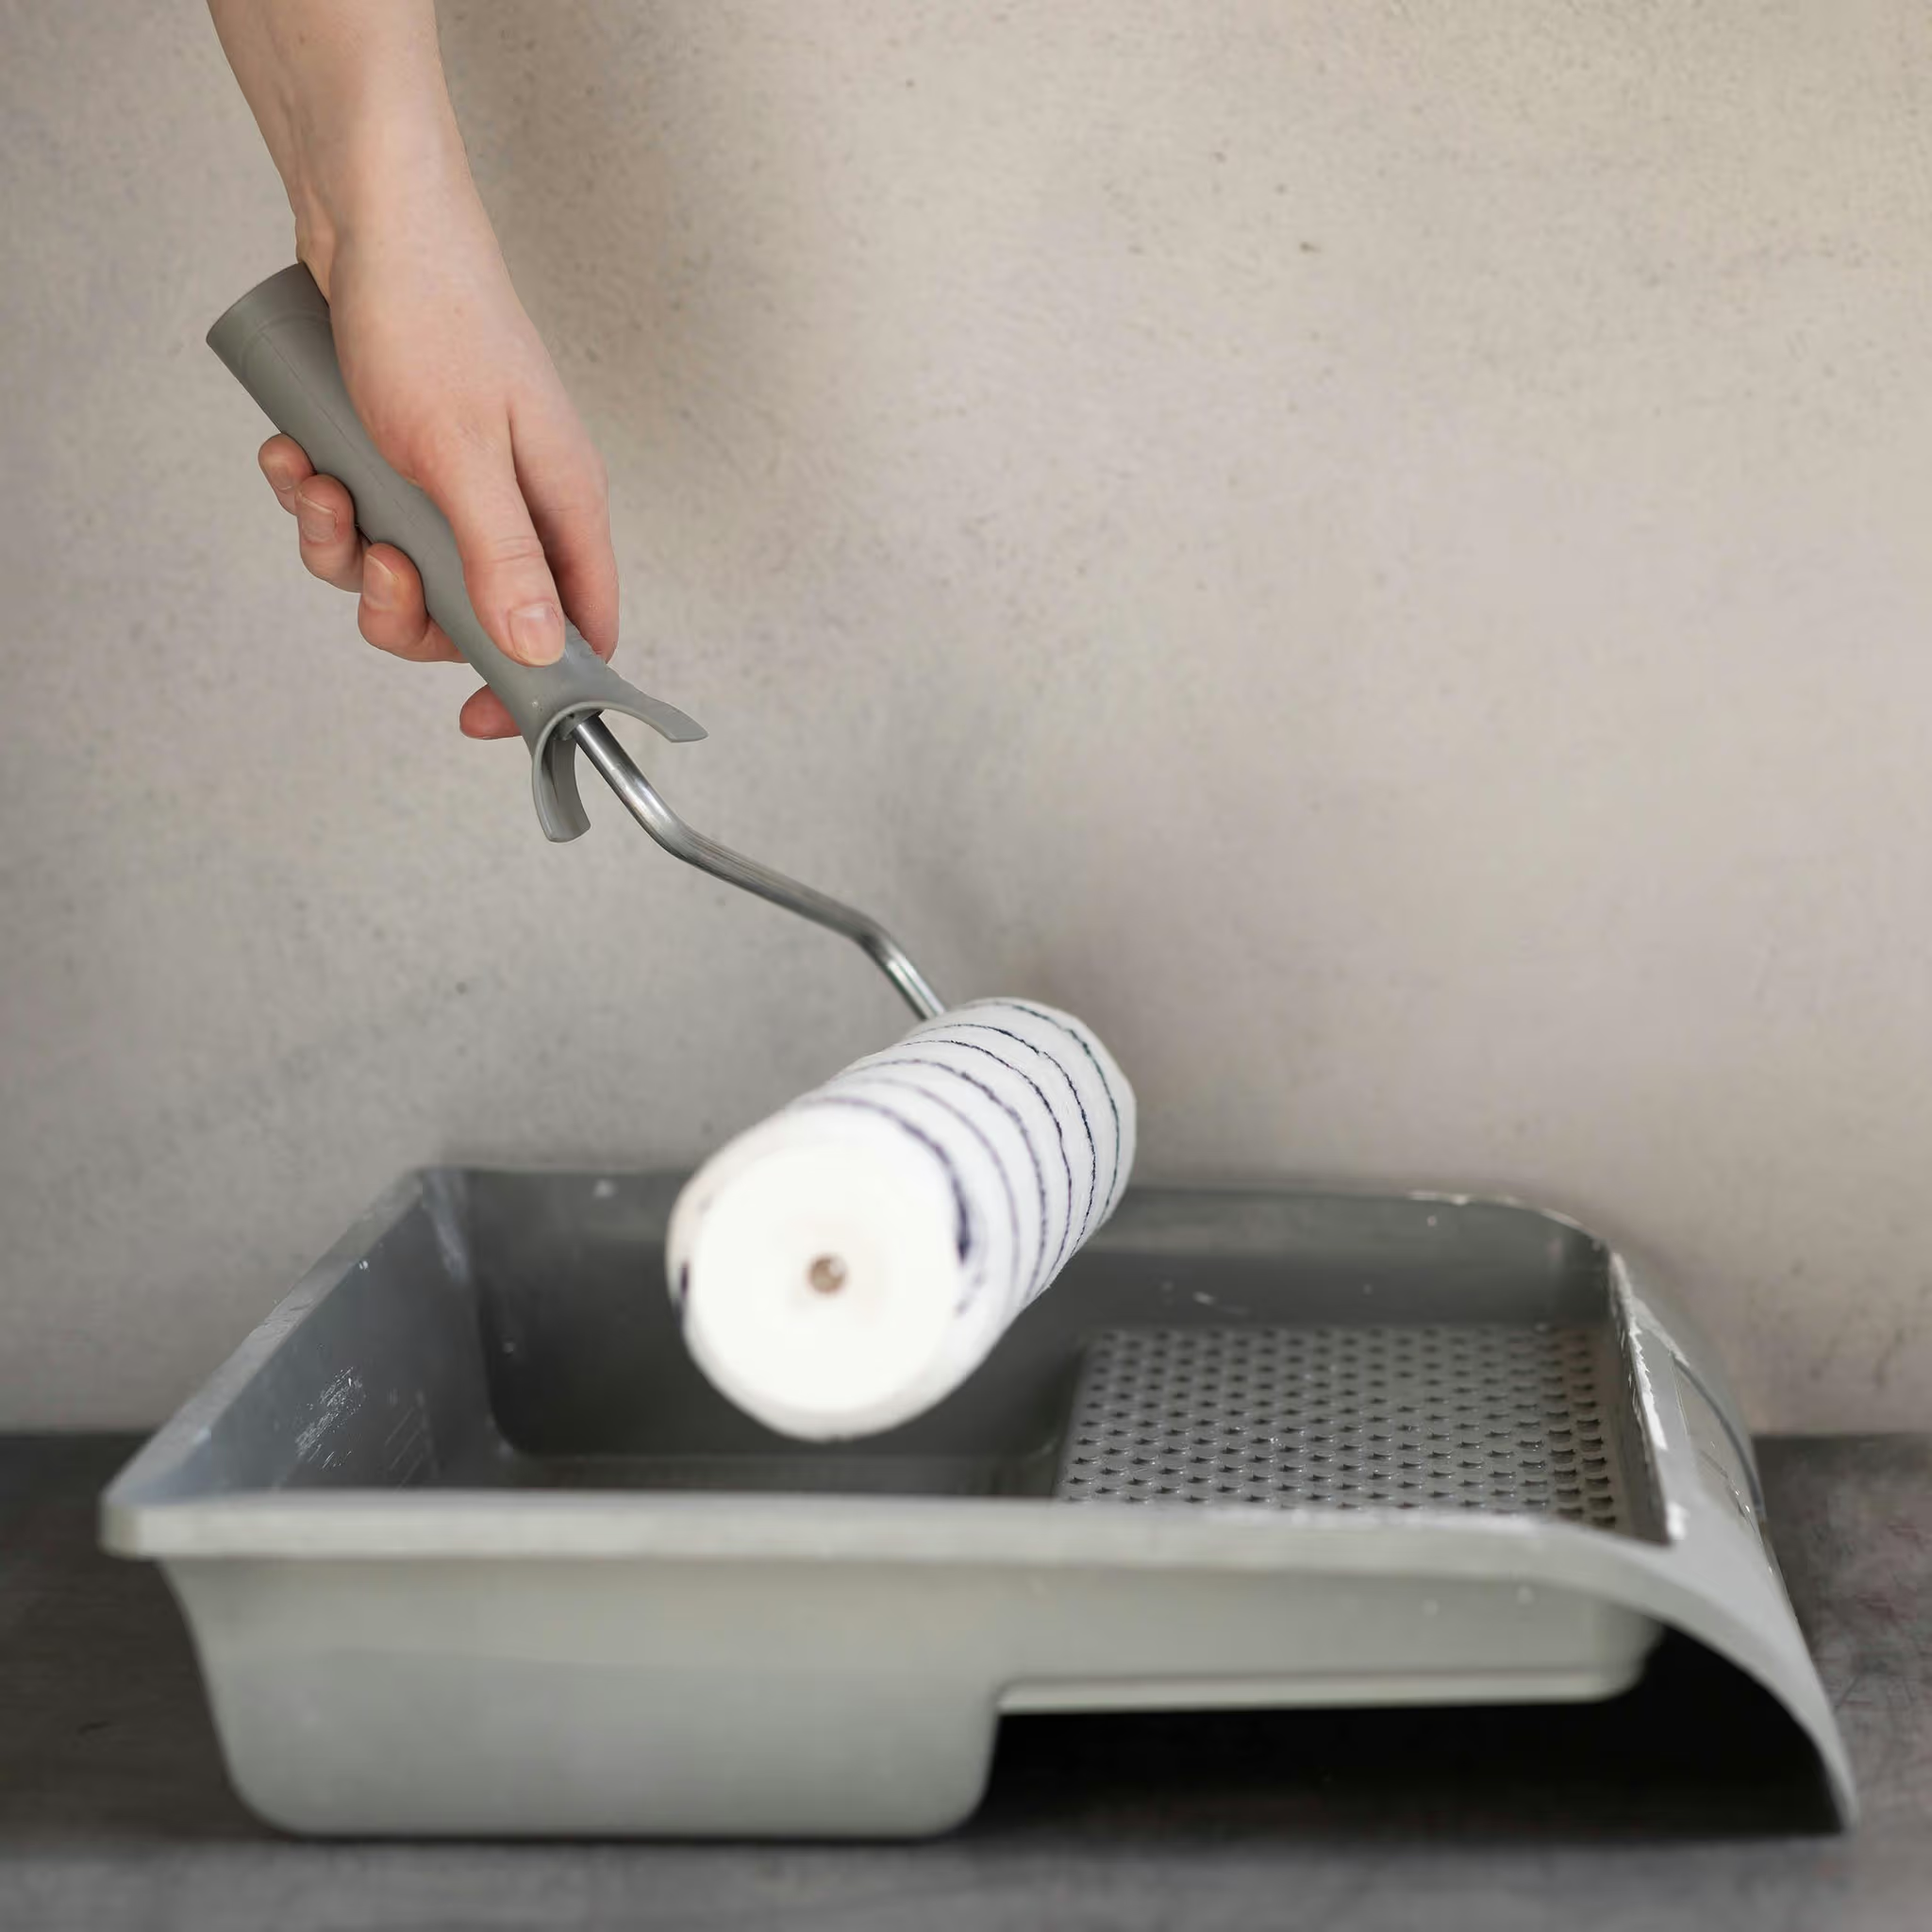
Why prime a new plaster?
New plaster can have varying levels of absorbency across the wall. This can make limewash absorb unevenly and result in a patchy appearance. Priming helps create a more consistent surface before applying Prep Coat and limewash paint. Raw plaster can also develop fine or hairline cracks as it dries and contracts. A correctly prepared surface can help minimise these imperfections showing through the finished limewash. Newly plastered walls can also be particularly absorbent. Without suitable preparation, the wall may absorb the limewash before you have enough time to spread it evenly. A suitable primer helps reduce this absorbency and gives you a more predictable finish.
Apply Prep Coat
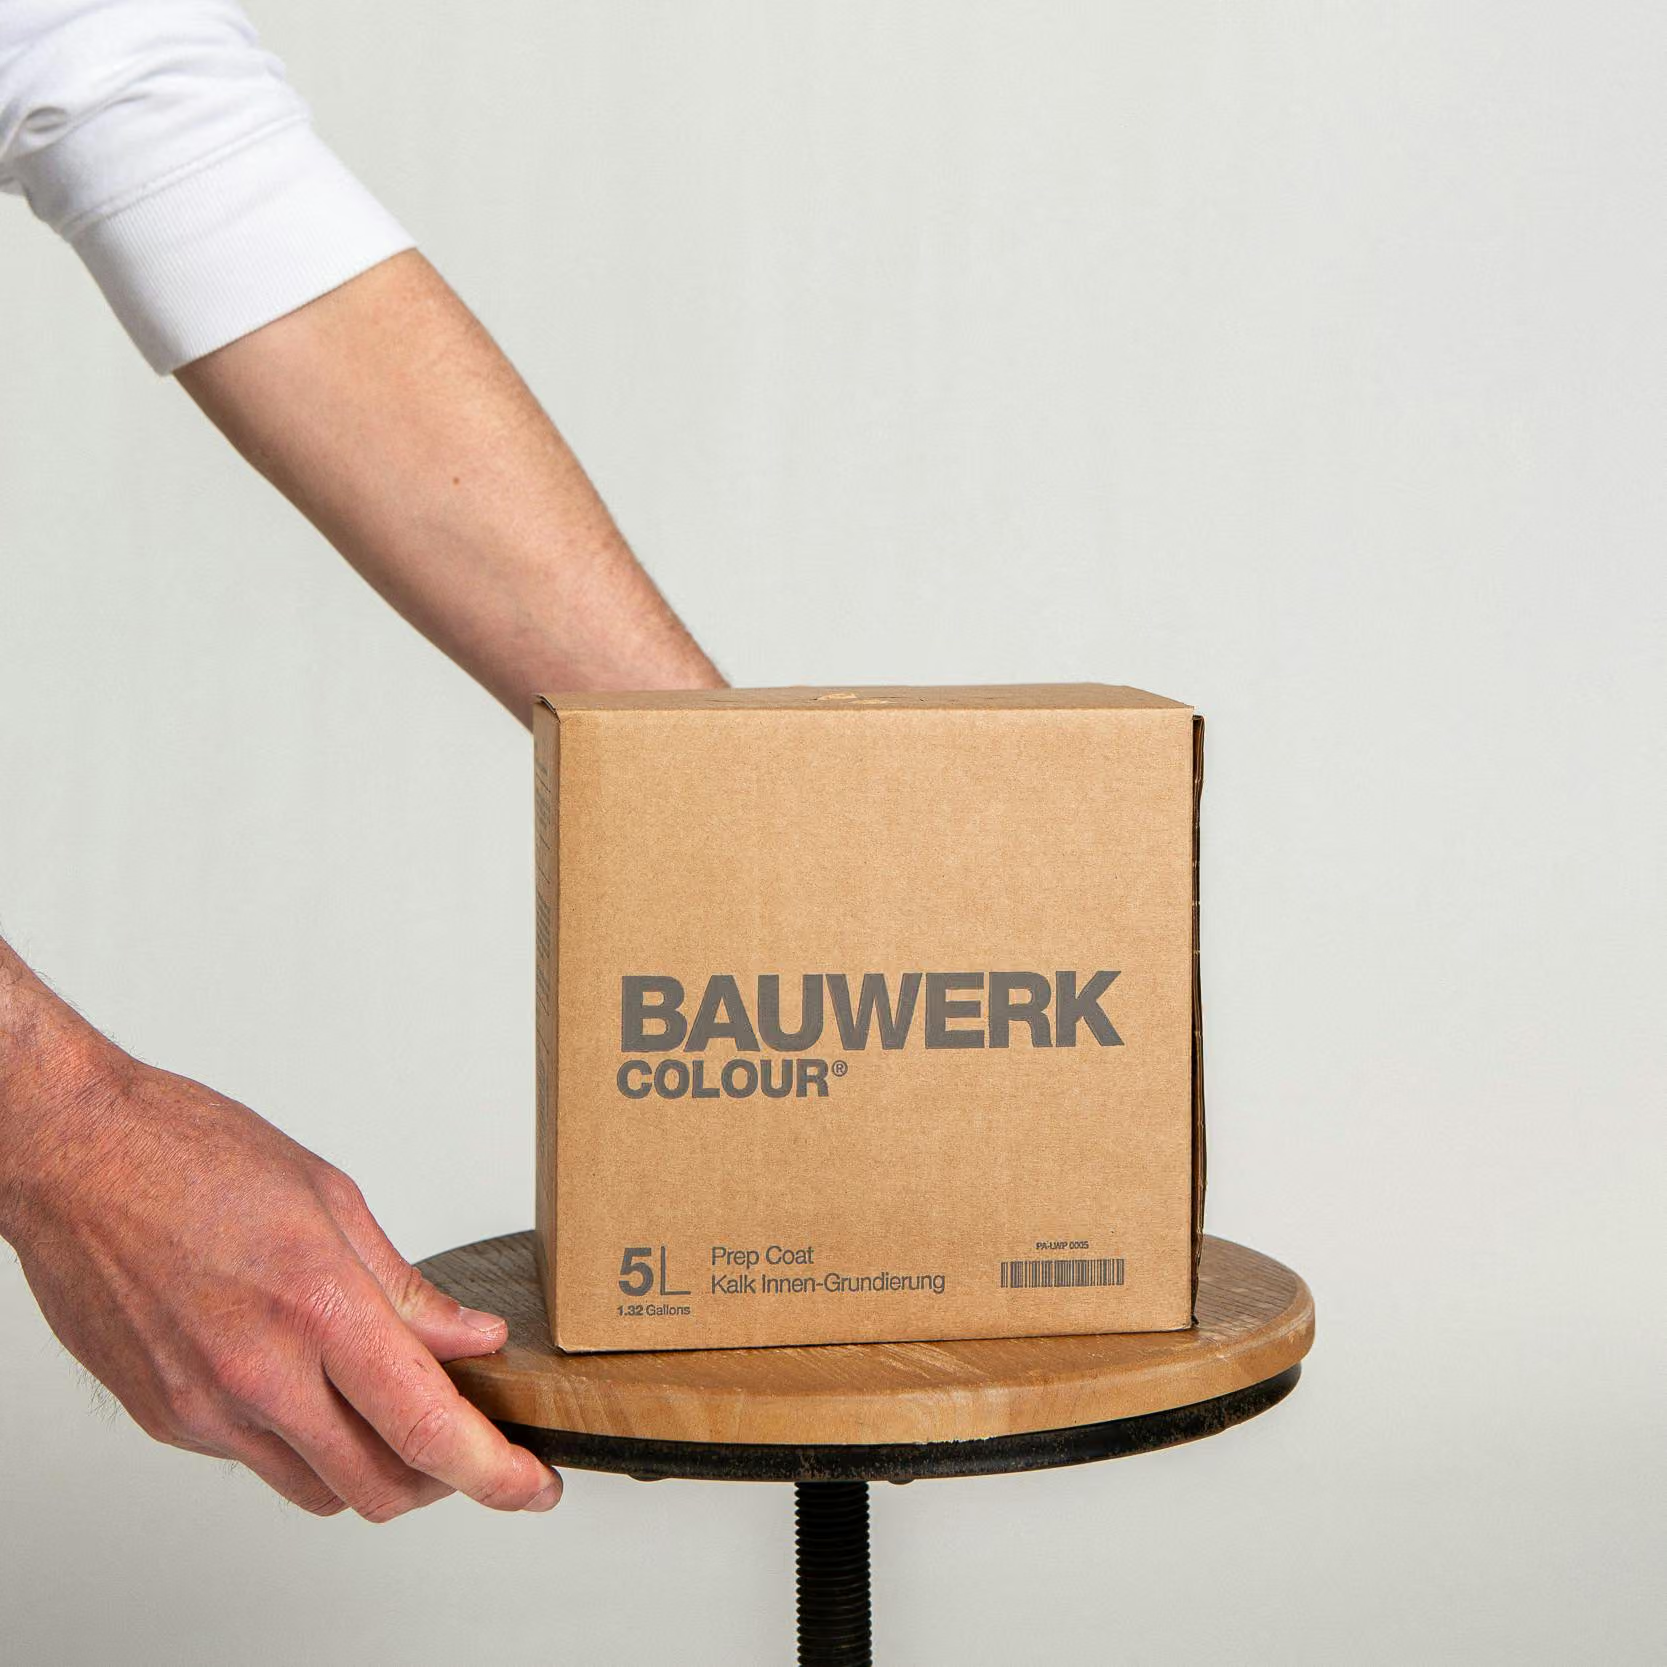
Where required, apply one coat of LaRosa Prep Coat over the prepared plaster surface. Prep Coat is not a primer. It is a preparatory coating designed to create a suitable surface for applying limewash paint, particularly over less porous interior surfaces. It helps improve the ease of application and consistency of your LaRosa Limewash finish. Allow the Prep Coat to dry completely before beginning your limewash application.
Prepare Your Limewash
Before painting, thoroughly stir your LaRosa Limewash Paint to ensure the natural pigments are evenly distributed. Don’t work directly from a completely full bucket. Pour a manageable amount into a clean container, leaving enough room to comfortably load and move your brush. Continue stirring the paint regularly throughout the application process. For larger quantities, an electric mixer or suitable whisk can make mixing easier.
Choose the Right Brush
A good limewash brush makes a noticeable difference to the application. Our 4 × 14 Limewash Brush is designed with absorbent natural bristles and is suitable for most plaster applications. The brush allows you to spread the lime wash freely while creating the soft movement and subtle variation that make limewash finishes distinctive.
Applying LaRosa Limewash
Apply two coats of LaRosa Limewash Paint for a standard plaster application.
Load Your Brush
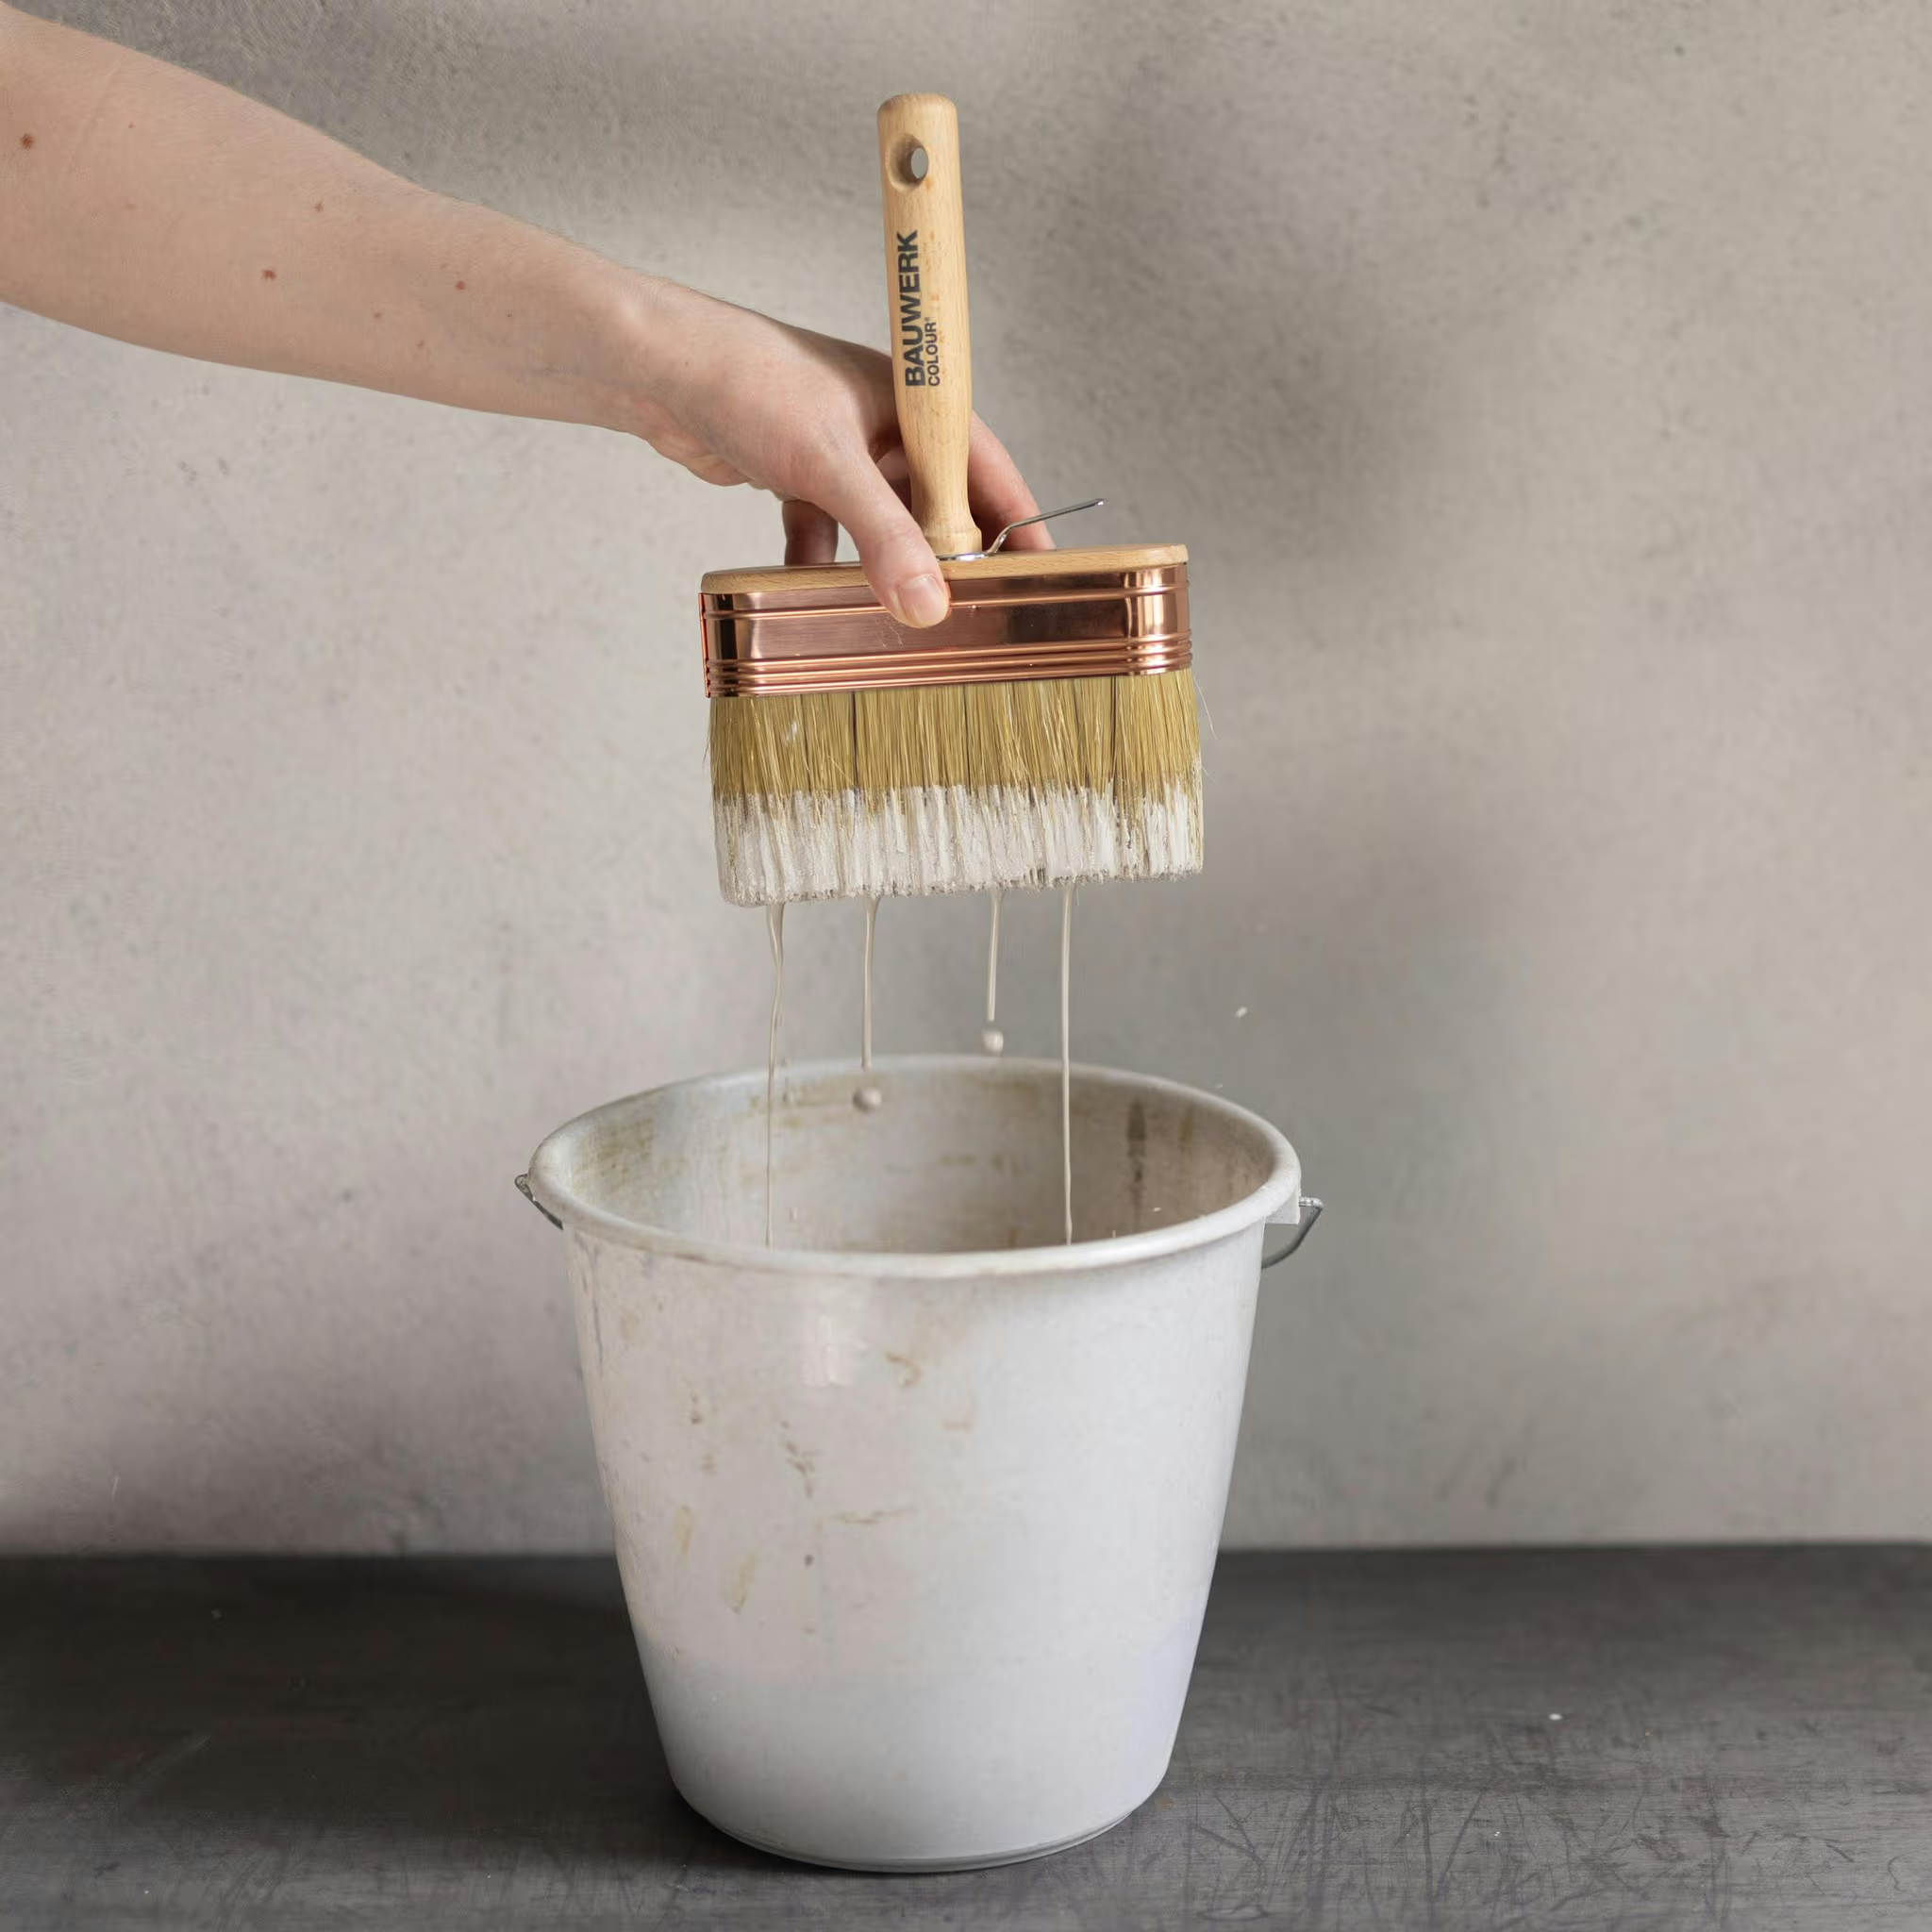
Dip the brush into the limewash and gently flick off any excess. The brush should hold a good amount of paint but should never be dripping.
Start in a Corner
Begin at one corner of the wall.
Hold the brush approximately at a right angle to the surface. For greater control, you may find it easier to hold the body of the brush rather than the handle. Use loose, relaxed strokes and allow the bristles to spread the paint. Avoid applying excessive pressure. The natural movement of the brush is part of what creates the characteristic appearance of limewash.
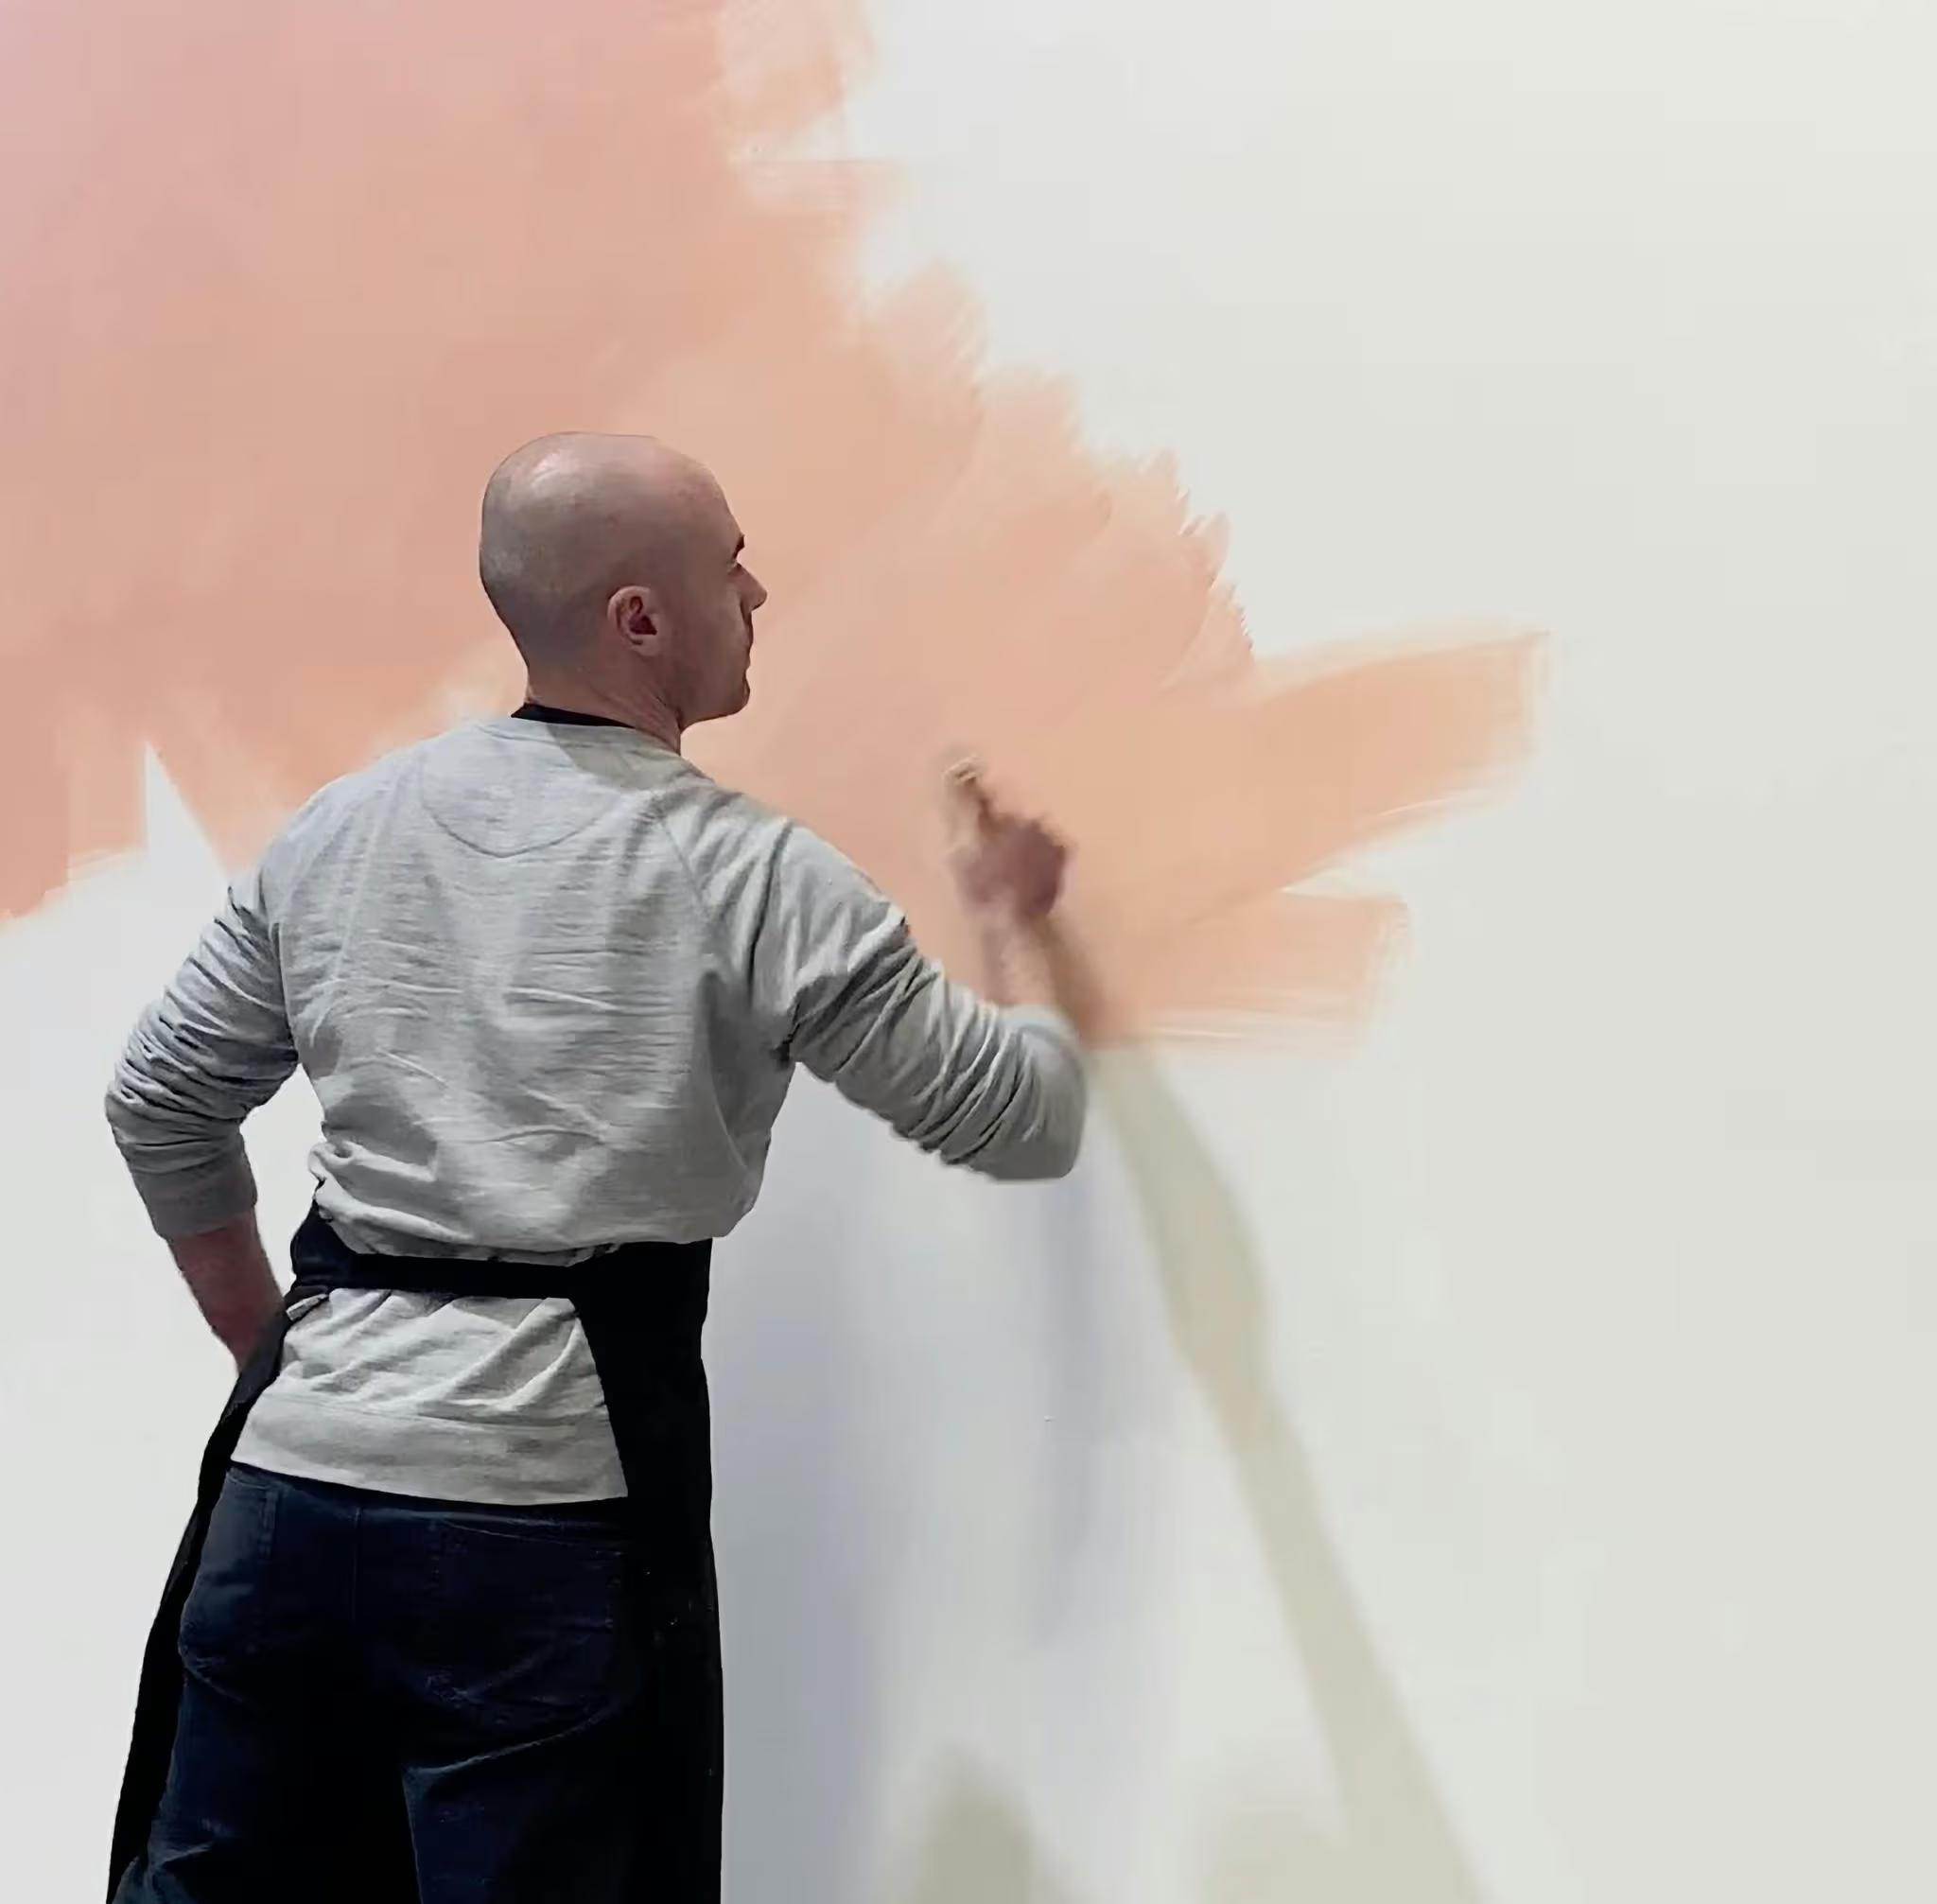
- Spread the Paint
Work the paint into a thin, even coat, covering the surface without allowing runs or heavy deposits of paint. For most coloured limewash finishes, maintain a wet edge as you work. This helps prevent visible lines and allows neighbouring sections to blend naturally. Complete each coat in one continuous application wherever possible. Avoid trying to patch individual areas once the coat has dried. Any areas that need additional coverage can be addressed with the following coat. Don’t Judge the Colour While It’s Wet. Limewash can look considerably darker and more transparent while wet. This is completely normal. As LaRosa Limewash dries, the colour becomes lighter and the finish becomes opaquer. Avoid adding extra paint simply because the wet colour looks too dark or transparent. Allow the surface to dry before deciding whether another coat is needed.
- Apply the Second Coat
Allow a minimum of 1–2 hours between coats, or until the first coat has dried sufficiently. Apply the second coat more quickly and loosely than the first. Don’t worry if small areas appear uneven while you’re working. The first coat should already provide your base coverage, while the second coat builds the overall colour and finish.
Allow the wall to dry completely once finished.
White Limewash Colours
If you’re using one of our white limewash colours, maintaining a wet edge is less critical. Our white colours can be easier to blend and are well suited to small touch ups where required.

Cleanup and Maintenance
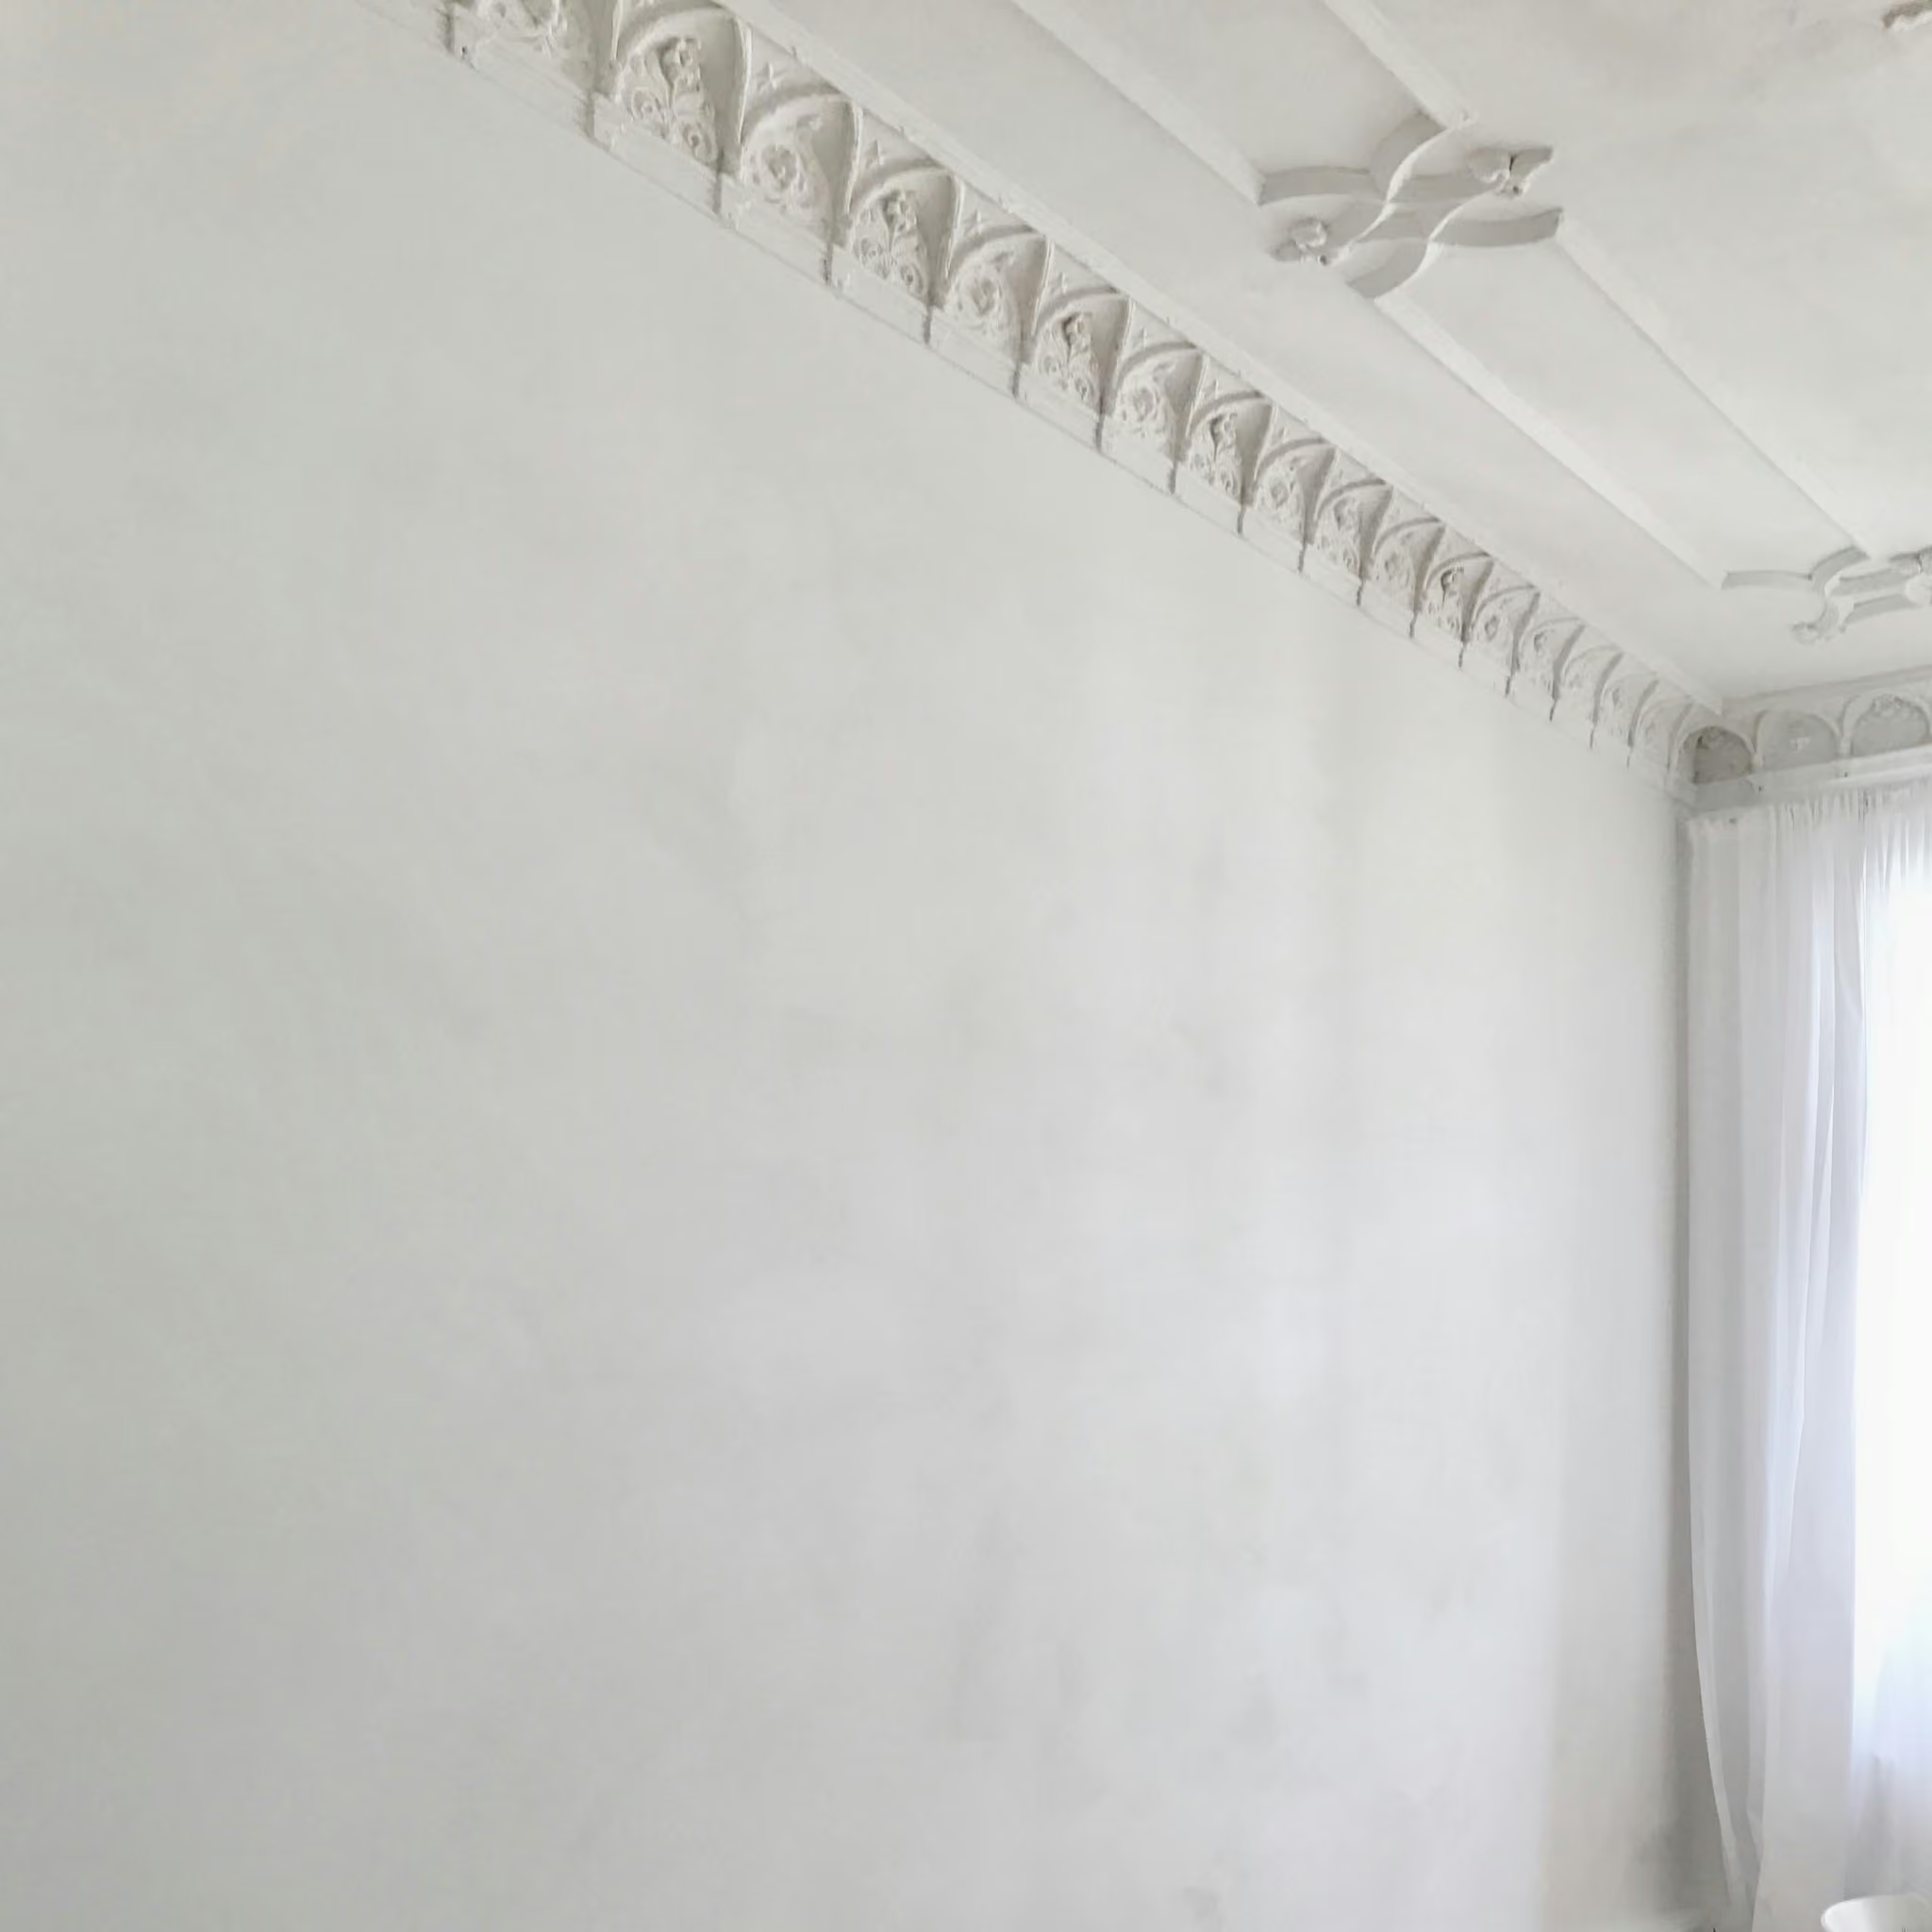
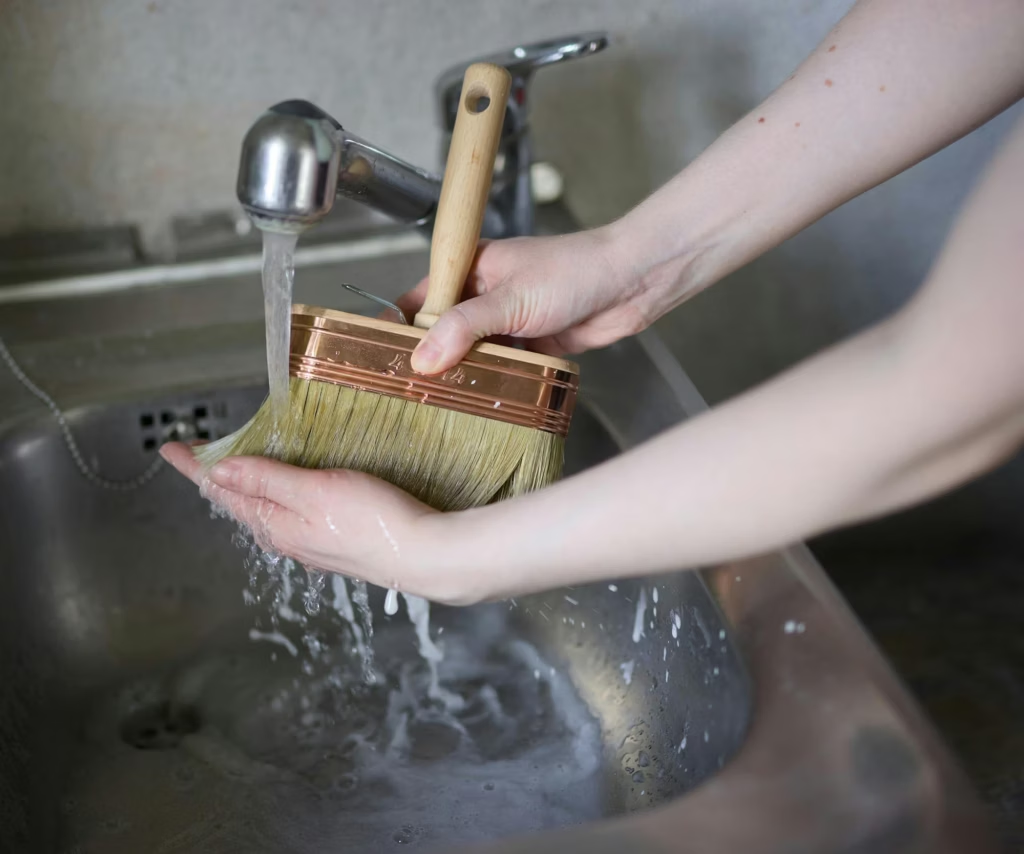
One of the benefits of LaRosa Limewash is that it doesn’t require a conventional sealer or additional topcoat. If your wall needs refreshing over time, another coat of limewash can be applied. For everyday cleaning, gently wipe the surface with a damp cloth. Avoid scrubbing the wall or using harsh cleaning products and chemicals, as these can affect the natural limewash finish. If the wall becomes damaged or develops a stubborn mark, the affected area can generally be patched with additional limewash. Always test your touch up method in an inconspicuous area first, as the appearance of a repair can vary depending on how the original finish has aged. Clean your brushes, tools and containers promptly after use with clean water.
Can I Apply Limewash to a Plaster Wall Without Priming?
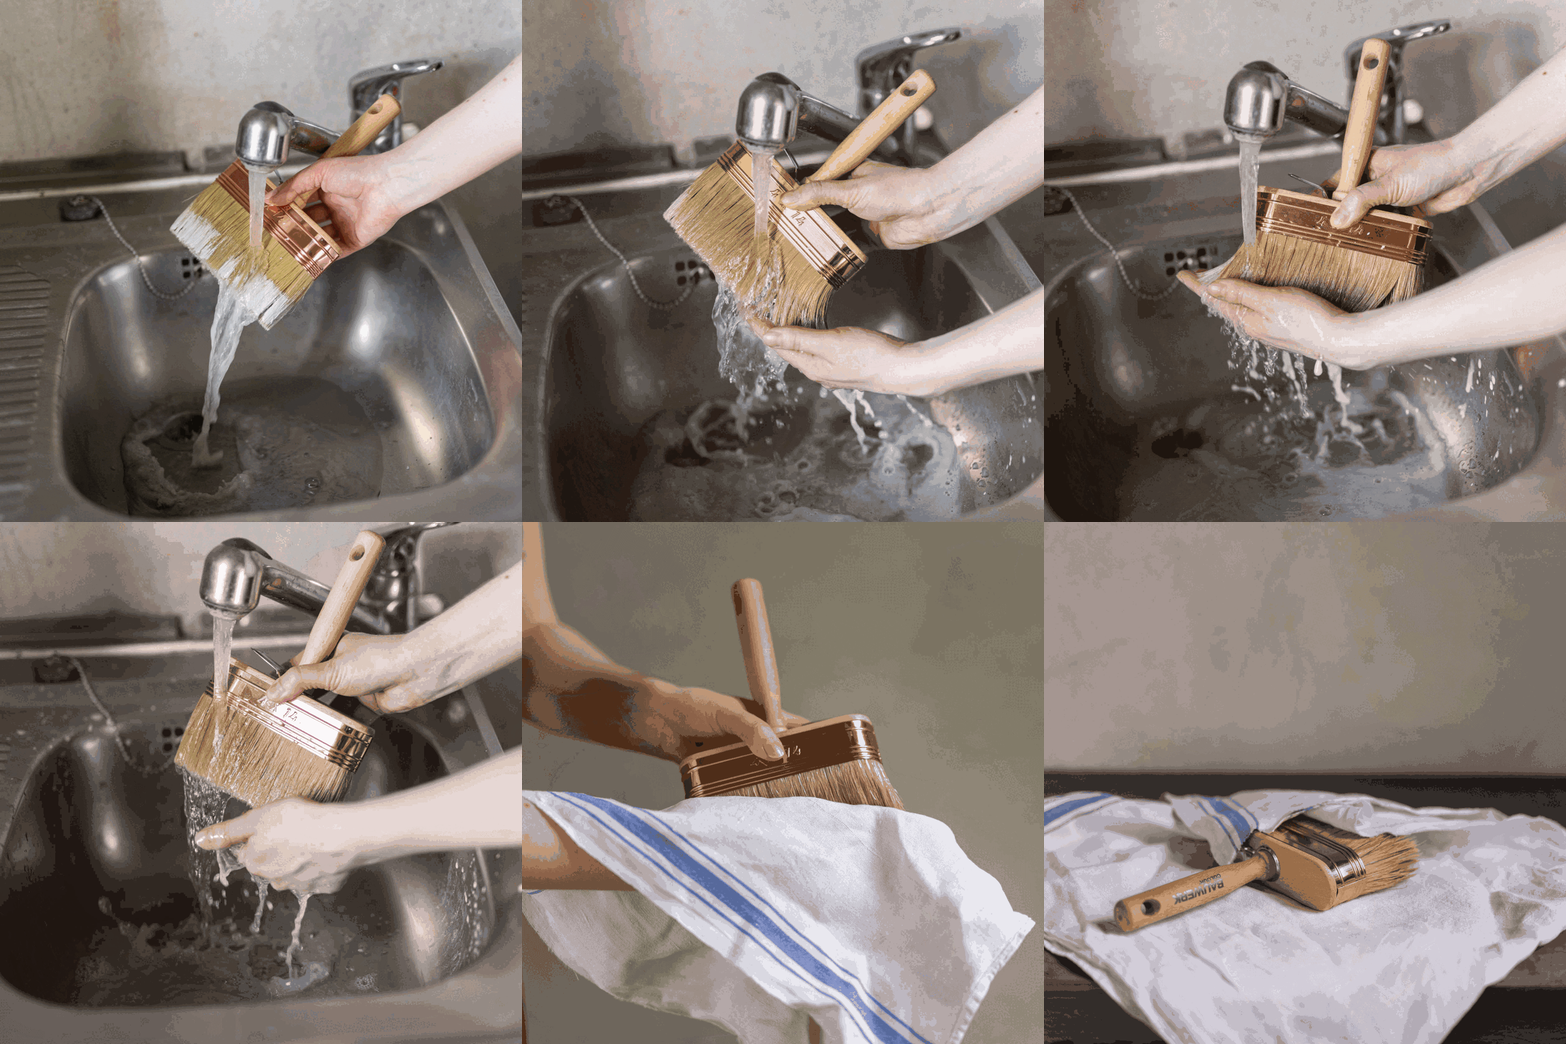
If you want to skip priming and preparation, it may be possible to apply LaRosa Limewash directly to some plaster surfaces. However, the result depends on the type, condition and absorbency of the plaster.
- Lime and clay plaster: These surfaces are generally better suited to direct limewash application and can help maintain the natural breathability of the wall.
- Gypsum or hard set plaster: These surfaces can be highly absorbent, which may make direct application more difficult and can lead to uneven results. Preparation is generally recommended.
- Check the surface first: Brush a light coat of clean water over a small, inconspicuous area. If the water absorbs evenly and the surface remains smooth, the limewash should behave similarly. If the water doesn’t spread evenly or reveals hairline cracks, the surface will need further preparation.
- If preparation is needed: Apply 1–2 coats of LaRosa Transparent White to create a more suitable base for your limewash.
- Test your colour carefully: When working with lime plaster, apply your colour test to a separate piece of the same material or an inconspicuous area. Sampling directly on the wall can leave a visible patch.
- For the most reliable result: Follow our standard plaster preparation process using primer and LaRosa Prep Coat.
If you’re working with historic lime or clay plaster and want to preserve its breathability, we recommend seeking advice from a qualified heritage or building specialist before painting.
Expert Advice
For further advice on preparing historic lime or clay plaster, contact our technical team at hello@larosacolours.com.au
Water
If your walls are extremely absorbent, lightly dampen the surface with clean water using your limewash brush before applying the first coat. This helps slow absorption and allows the limewash to spread more easily and evenly.
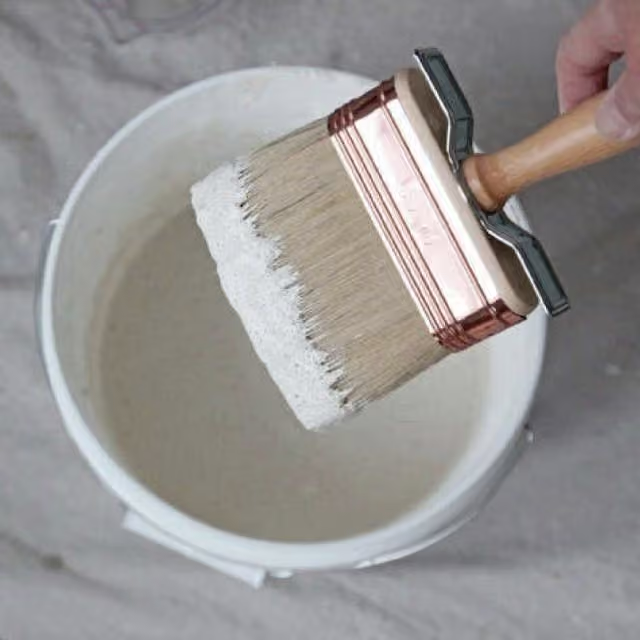
Natural Primer
Use LaRosa Transparent White Limewash as a natural primer coat to help reduce wall absorbency and minimise the appearance of fine cracking. As this technique can affect the final finish, we recommend testing it on a small area first to make sure you’re happy with the result.
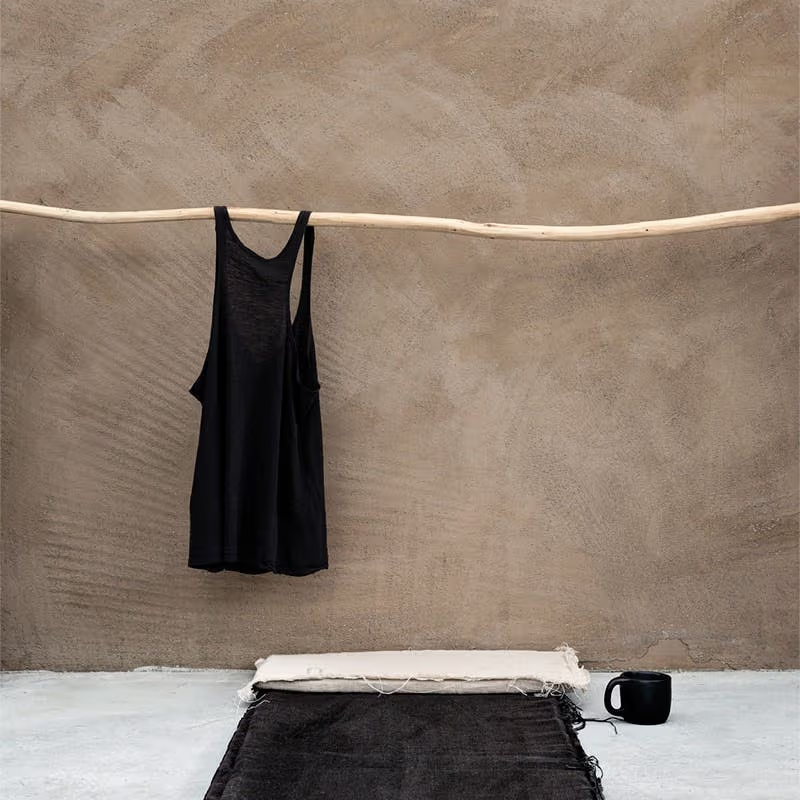
Rander
Consider using render instead of plaster, as it provides an ideal surface for limewash. Render generally requires no primer or Prep Coat and can be limewashed directly once the surface is touch dry.
Plaster and Limewash FAQs
Can I use LaRosa Limewash on internal plaster walls?
Yes, LaRosa Limewash can be used on suitable internal plaster surfaces. The preparation required will depend on whether the plaster is new, previously painted, sealed, already primed or a traditional breathable plaster.
Do I need to prime my plaster walls before limewashing?
Not always. Modern raw plaster will generally require suitable preparation to help control absorbency and achieve an even finish. However, historic lime plaster and clay plaster may be better suited to a breathable preparation method that avoids conventional primers.
Can I limewash clay plaster?
Yes, suitable clay plaster can be limewashed. Because clay plaster is breathable and can be highly absorbent, it’s important to test the surface and choose a preparation method that doesn’t unnecessarily compromise its natural properties.
How much LaRosa Limewash do I need for my plaster walls?
As a general guide, LaRosa Limewash Paint covers approximately 10–15 m² per litre, per coat, over a suitable Prep Coat. Two coats are generally recommended. Actual coverage will depend on your wall’s texture, porosity and condition, so we recommend testing a sample before calculating your final quantity.
Is limewash breathable?
Yes. Limewash is a mineral based finish that is naturally breathable, making it particularly well suited to porous surfaces and traditional building materials. This is one reason lime wash has been used for generations on materials such as lime plaster, masonry and render. For Australian heritage homes and buildings, maintaining the breathability of traditional materials can be especially important. Always consider the existing wall system as a whole before choosing primers, sealers or other coatings.