Plasterboard and Gyprock Surface Guide
How to Apply LaRosa Limewash to Plasterboard Surfaces
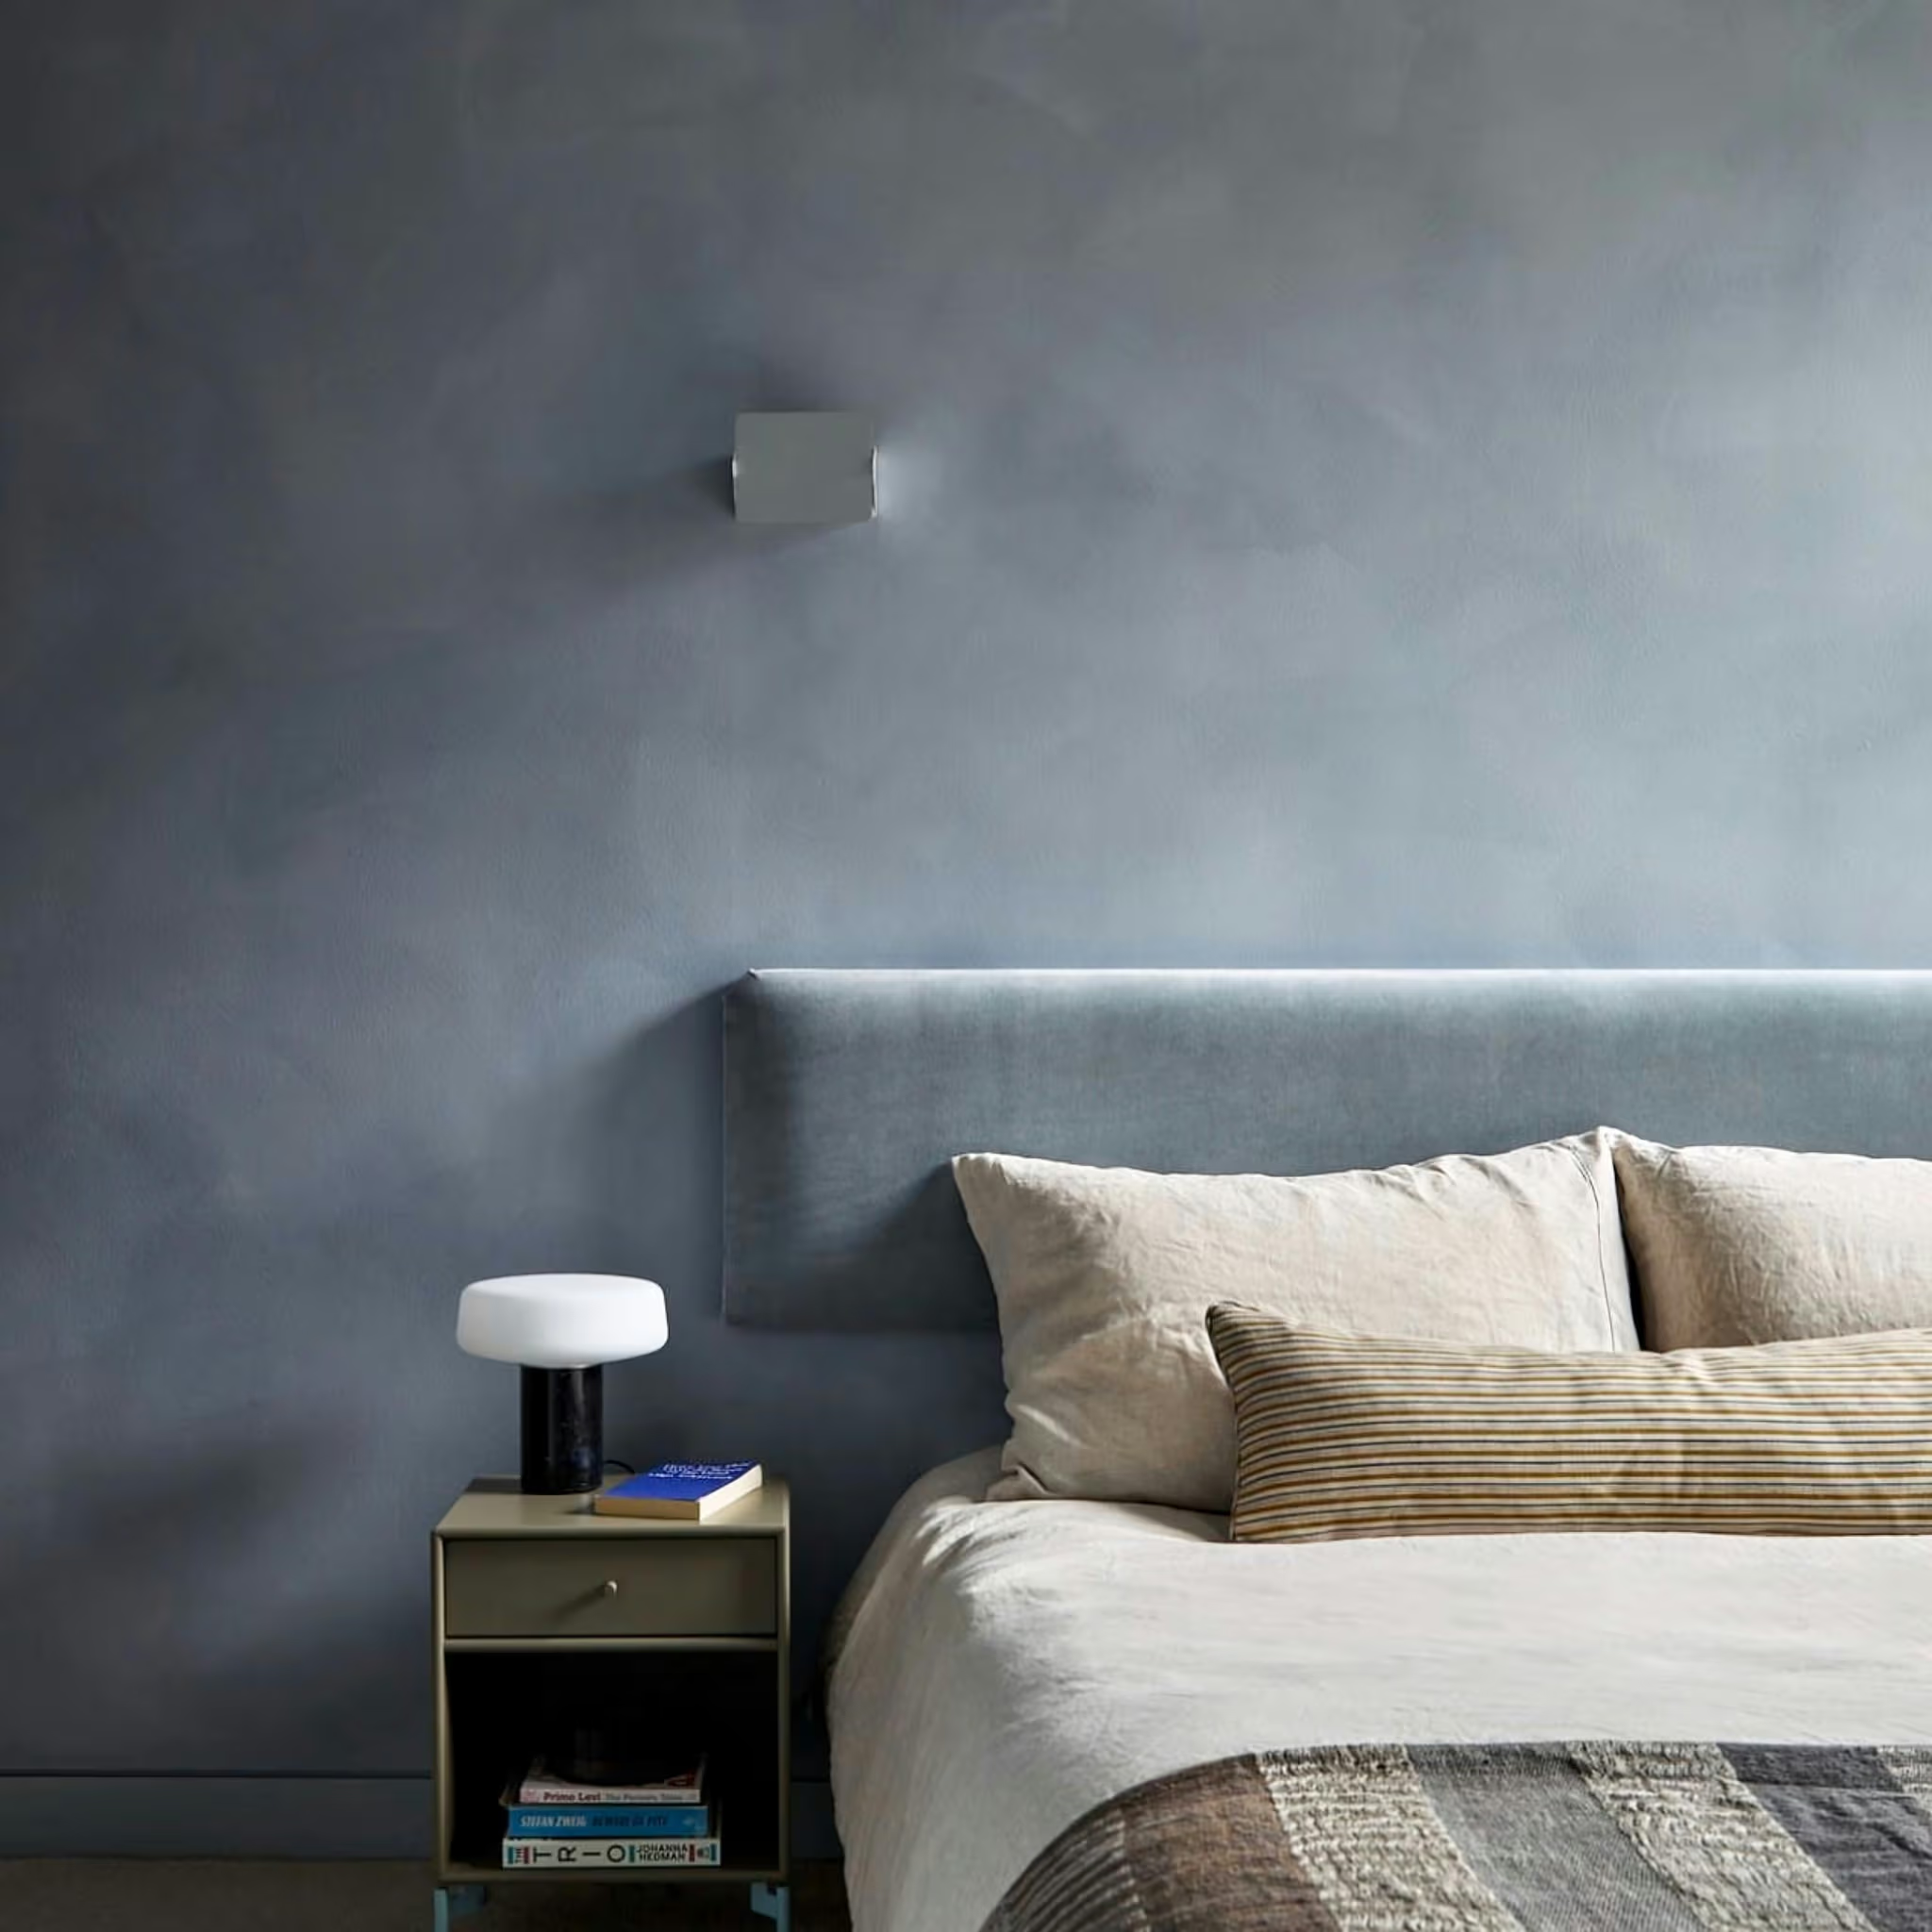
Plasterboard, also known as drywall or Gyprock, is a modern wall and ceiling material used throughout Australian homes. Unlike traditional plaster, plasterboard is made from large panels with a paper faced surface, which means it needs the right preparation before limewashing. With the correct primer and Prep Coat, LaRosa Limewash can be applied to plasterboard to create a soft, natural finish with beautiful depth and variation.
This guide will show you how to:
- Prepare plasterboard, Gyprock or drywall for limewash
- Prime new or previously painted surfaces
- Apply Prep Coat before limewashing
- Apply LaRosa Limewash Paint for an even, textured finish
- Choose and sample your limewash colour
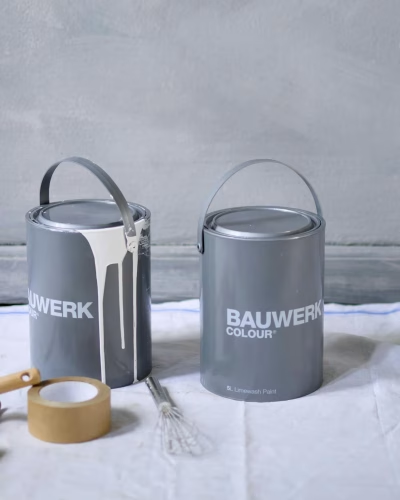
For this project, you may need:
- Whisk or electric mixer
- Bucket
- LaRosa 4 x 14 Limewash Brush
- Suitable water based undercoat sealer/primer
- LaRosa Prep Coat
- LaRosa Limewash Paint

Lime Wash Brushes
Limewash Paint

Whisk Mixing Tool
Preparation and Planning
If you are renovating or building, we recommend applying limewash towards the end of the project. This helps protect your finished walls from damage caused by other trades, tools and building equipment. Before you begin, make sure your plasterboard is properly finished, dry and ready for painting. Any joins, screw holes, repairs or patches should be sanded smooth and properly prepared.
Coverage
LaRosa Limewash Paint applied over LaRosa Prep Coat has an approximate coverage of 10–15 m² per litre, per coat, with 2 coats required. LaRosa Prep Coat has an approximate coverage of 6 m² per litre, per coat over previously painted or sealed surfaces, with 1 coat required.
Coverage is a guide only. The amount of product you need will vary depending on the surface, porosity, texture and application technique. We always recommend using a LaRosa Limewash Colour Testers before starting your project. Colour can look different depending on the surrounding finishes, natural light and artificial lighting in your space.
Surface Preparation
Proper preparation is particularly important when limewashing plasterboard. Limewash and Prep Coat are designed to create the finished appearance, rather than hide imperfections underneath.

Surface Preparation
You do not need to prime if:
- Your plasterboard is already correctly primed
- The surface is sound and consistent
- There are no unprimed patches or repairs
Apply LaRosa Prep Coat:
Apply 1 coat of LaRosa Prep Coat over the prepared plasterboard. Prep Coat acts as a bridging layer between the plasterboard surface and limewash, helping create the right conditions for applying limewash while improving durability and ease of application. Prep Coat is not a primer. It is a preparatory coating designed for indoor surfaces that require an appropriate base before limewashing. Allow the Prep Coat to dry completely before applying your limewash.
Prime:
We recommend applying 2 coats of a suitable water based undercoat sealer/primer. Use the primer as supplied and do not dilute it or use a mist coat. Priming helps create a consistent surface so the limewash can be applied evenly. On new plasterboard, primer helps prevent the joins and joint compound from showing through the finished limewash as visible lines or variations. On older or previously painted walls, it helps prevent patched areas, repairs and differences between materials from becoming visible through the finish.
Limewash Preparation
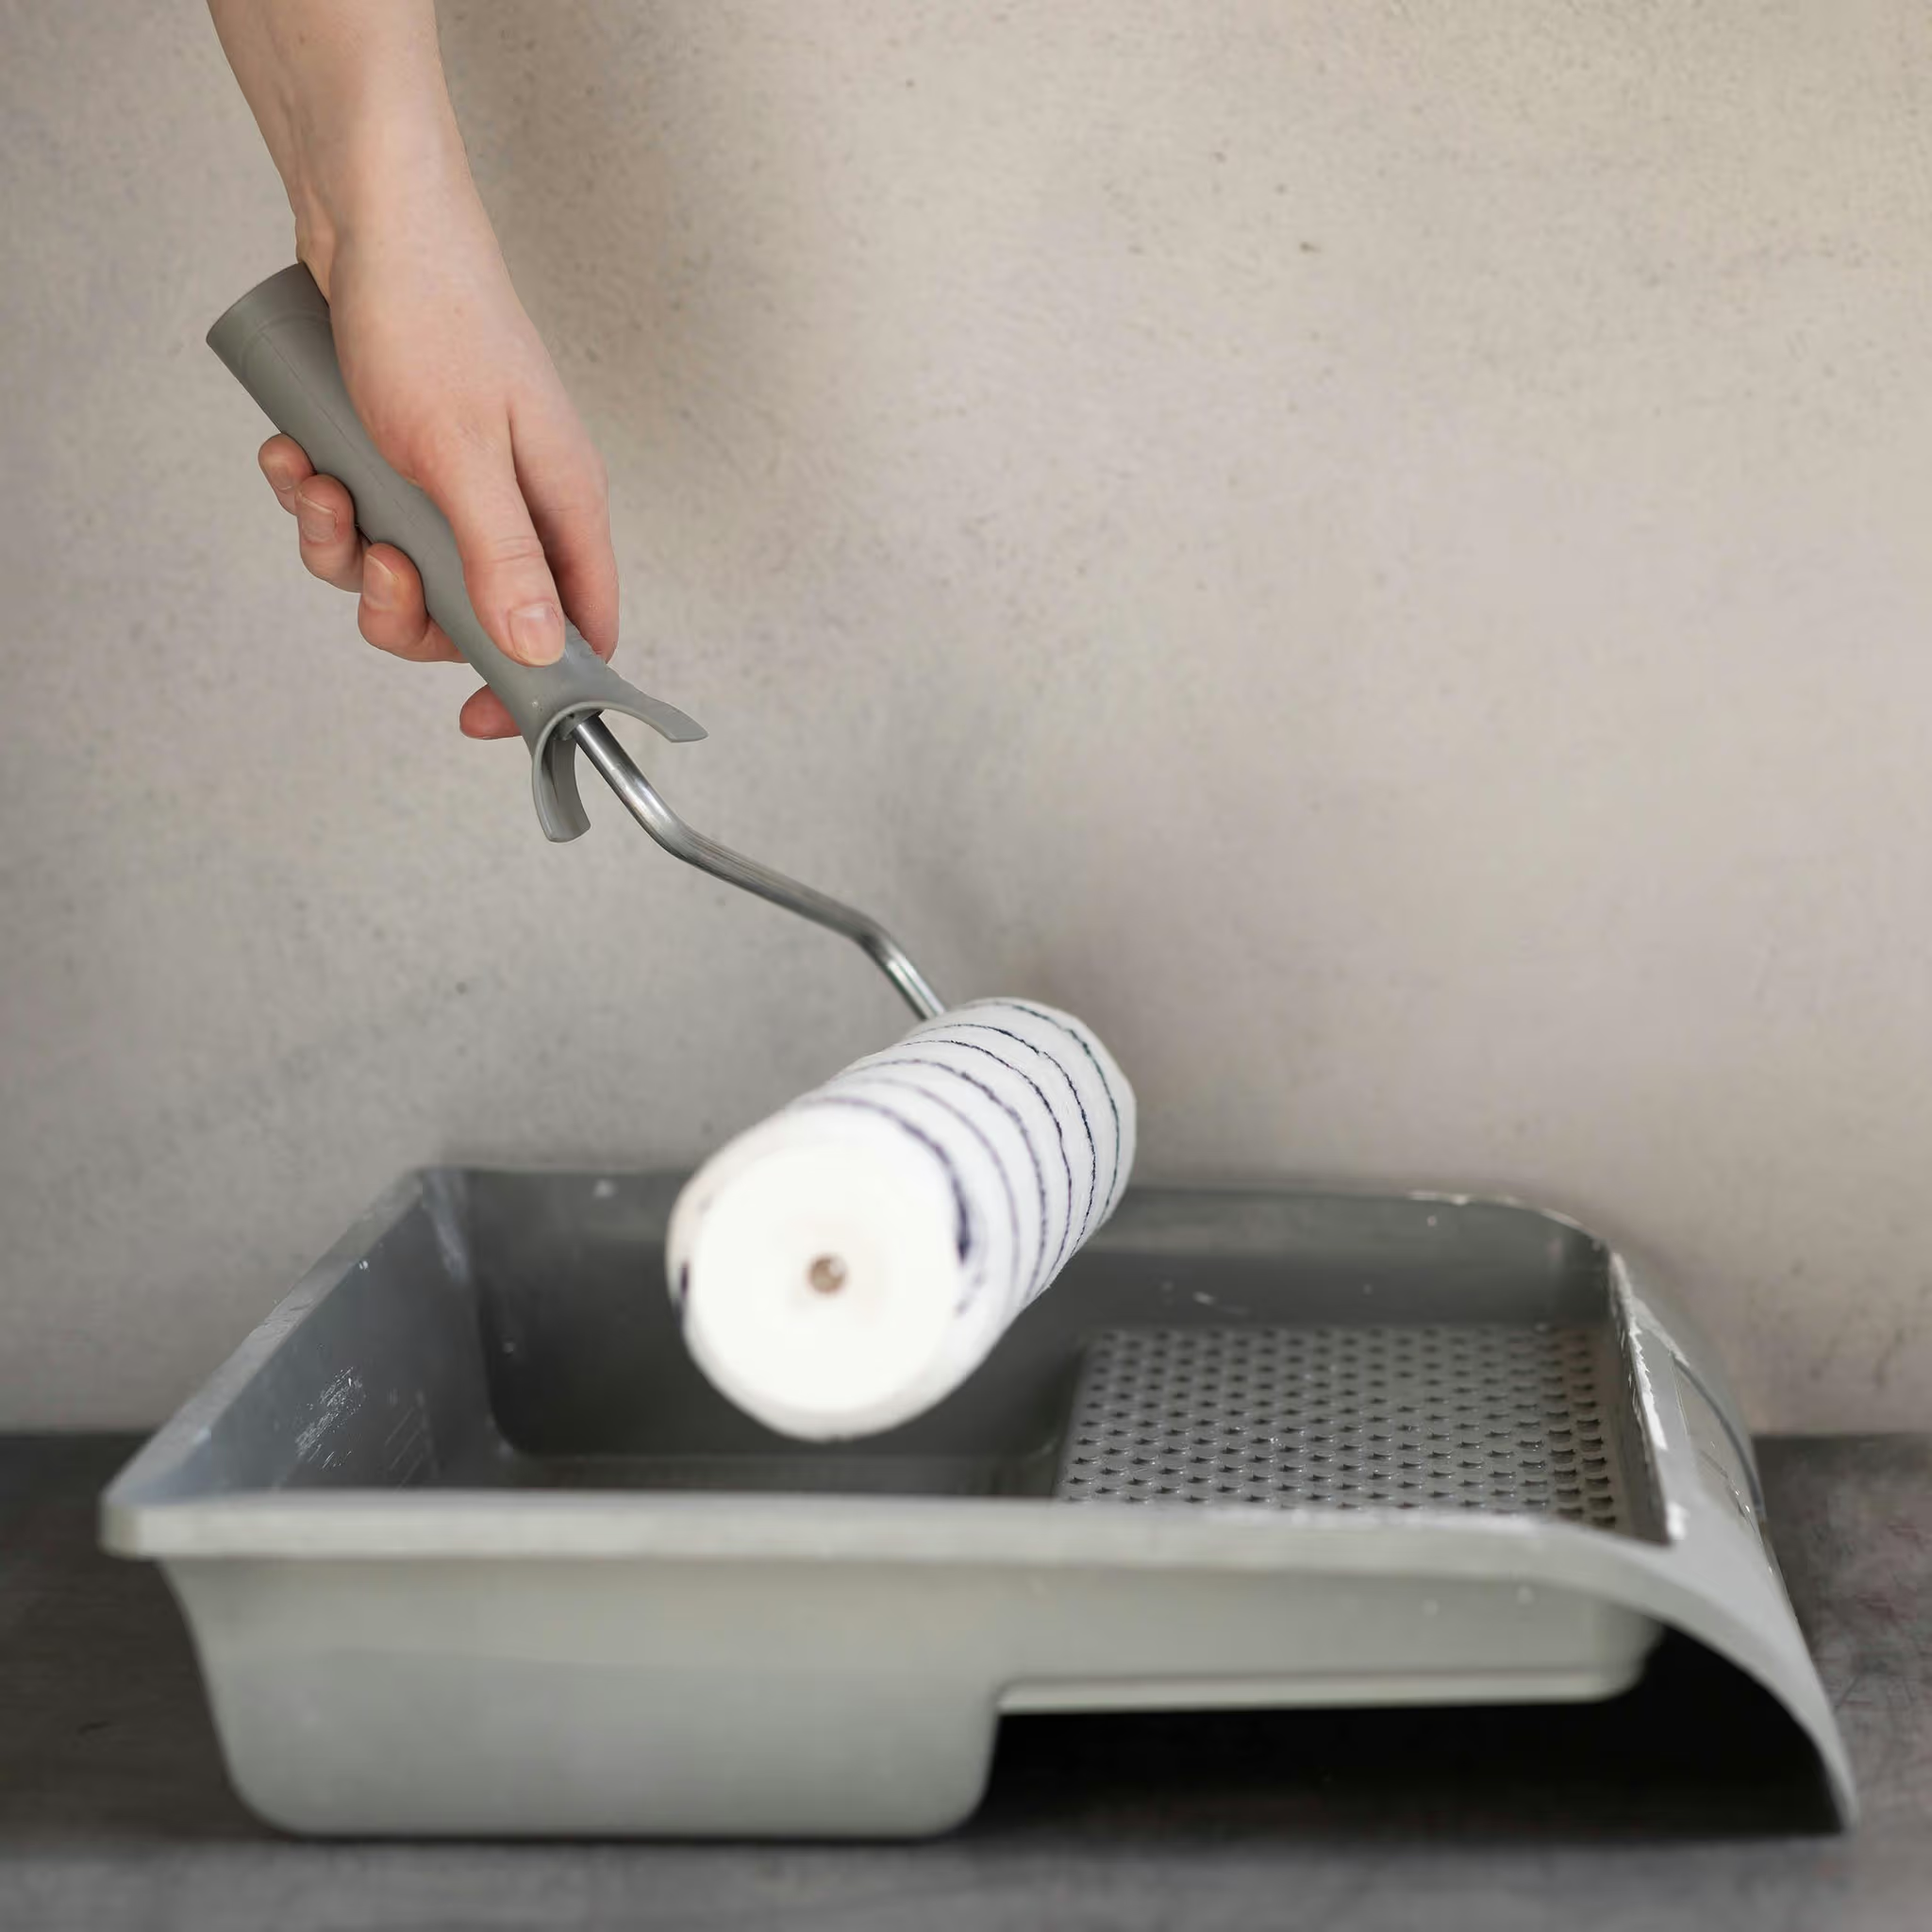
Before you begin painting:
- Stir the limewash thoroughly, making sure all pigment is evenly mixed throughout the paint.
- Avoid painting directly from a full bucket. Decant a manageable amount into a separate container, with around 8 cm (3 inches) of paint in the bucket.
- Continue stirring the paint regularly throughout application to keep the pigments evenly distributed.
- An electric mixer, whisk or similar mixing tool can make this easier.
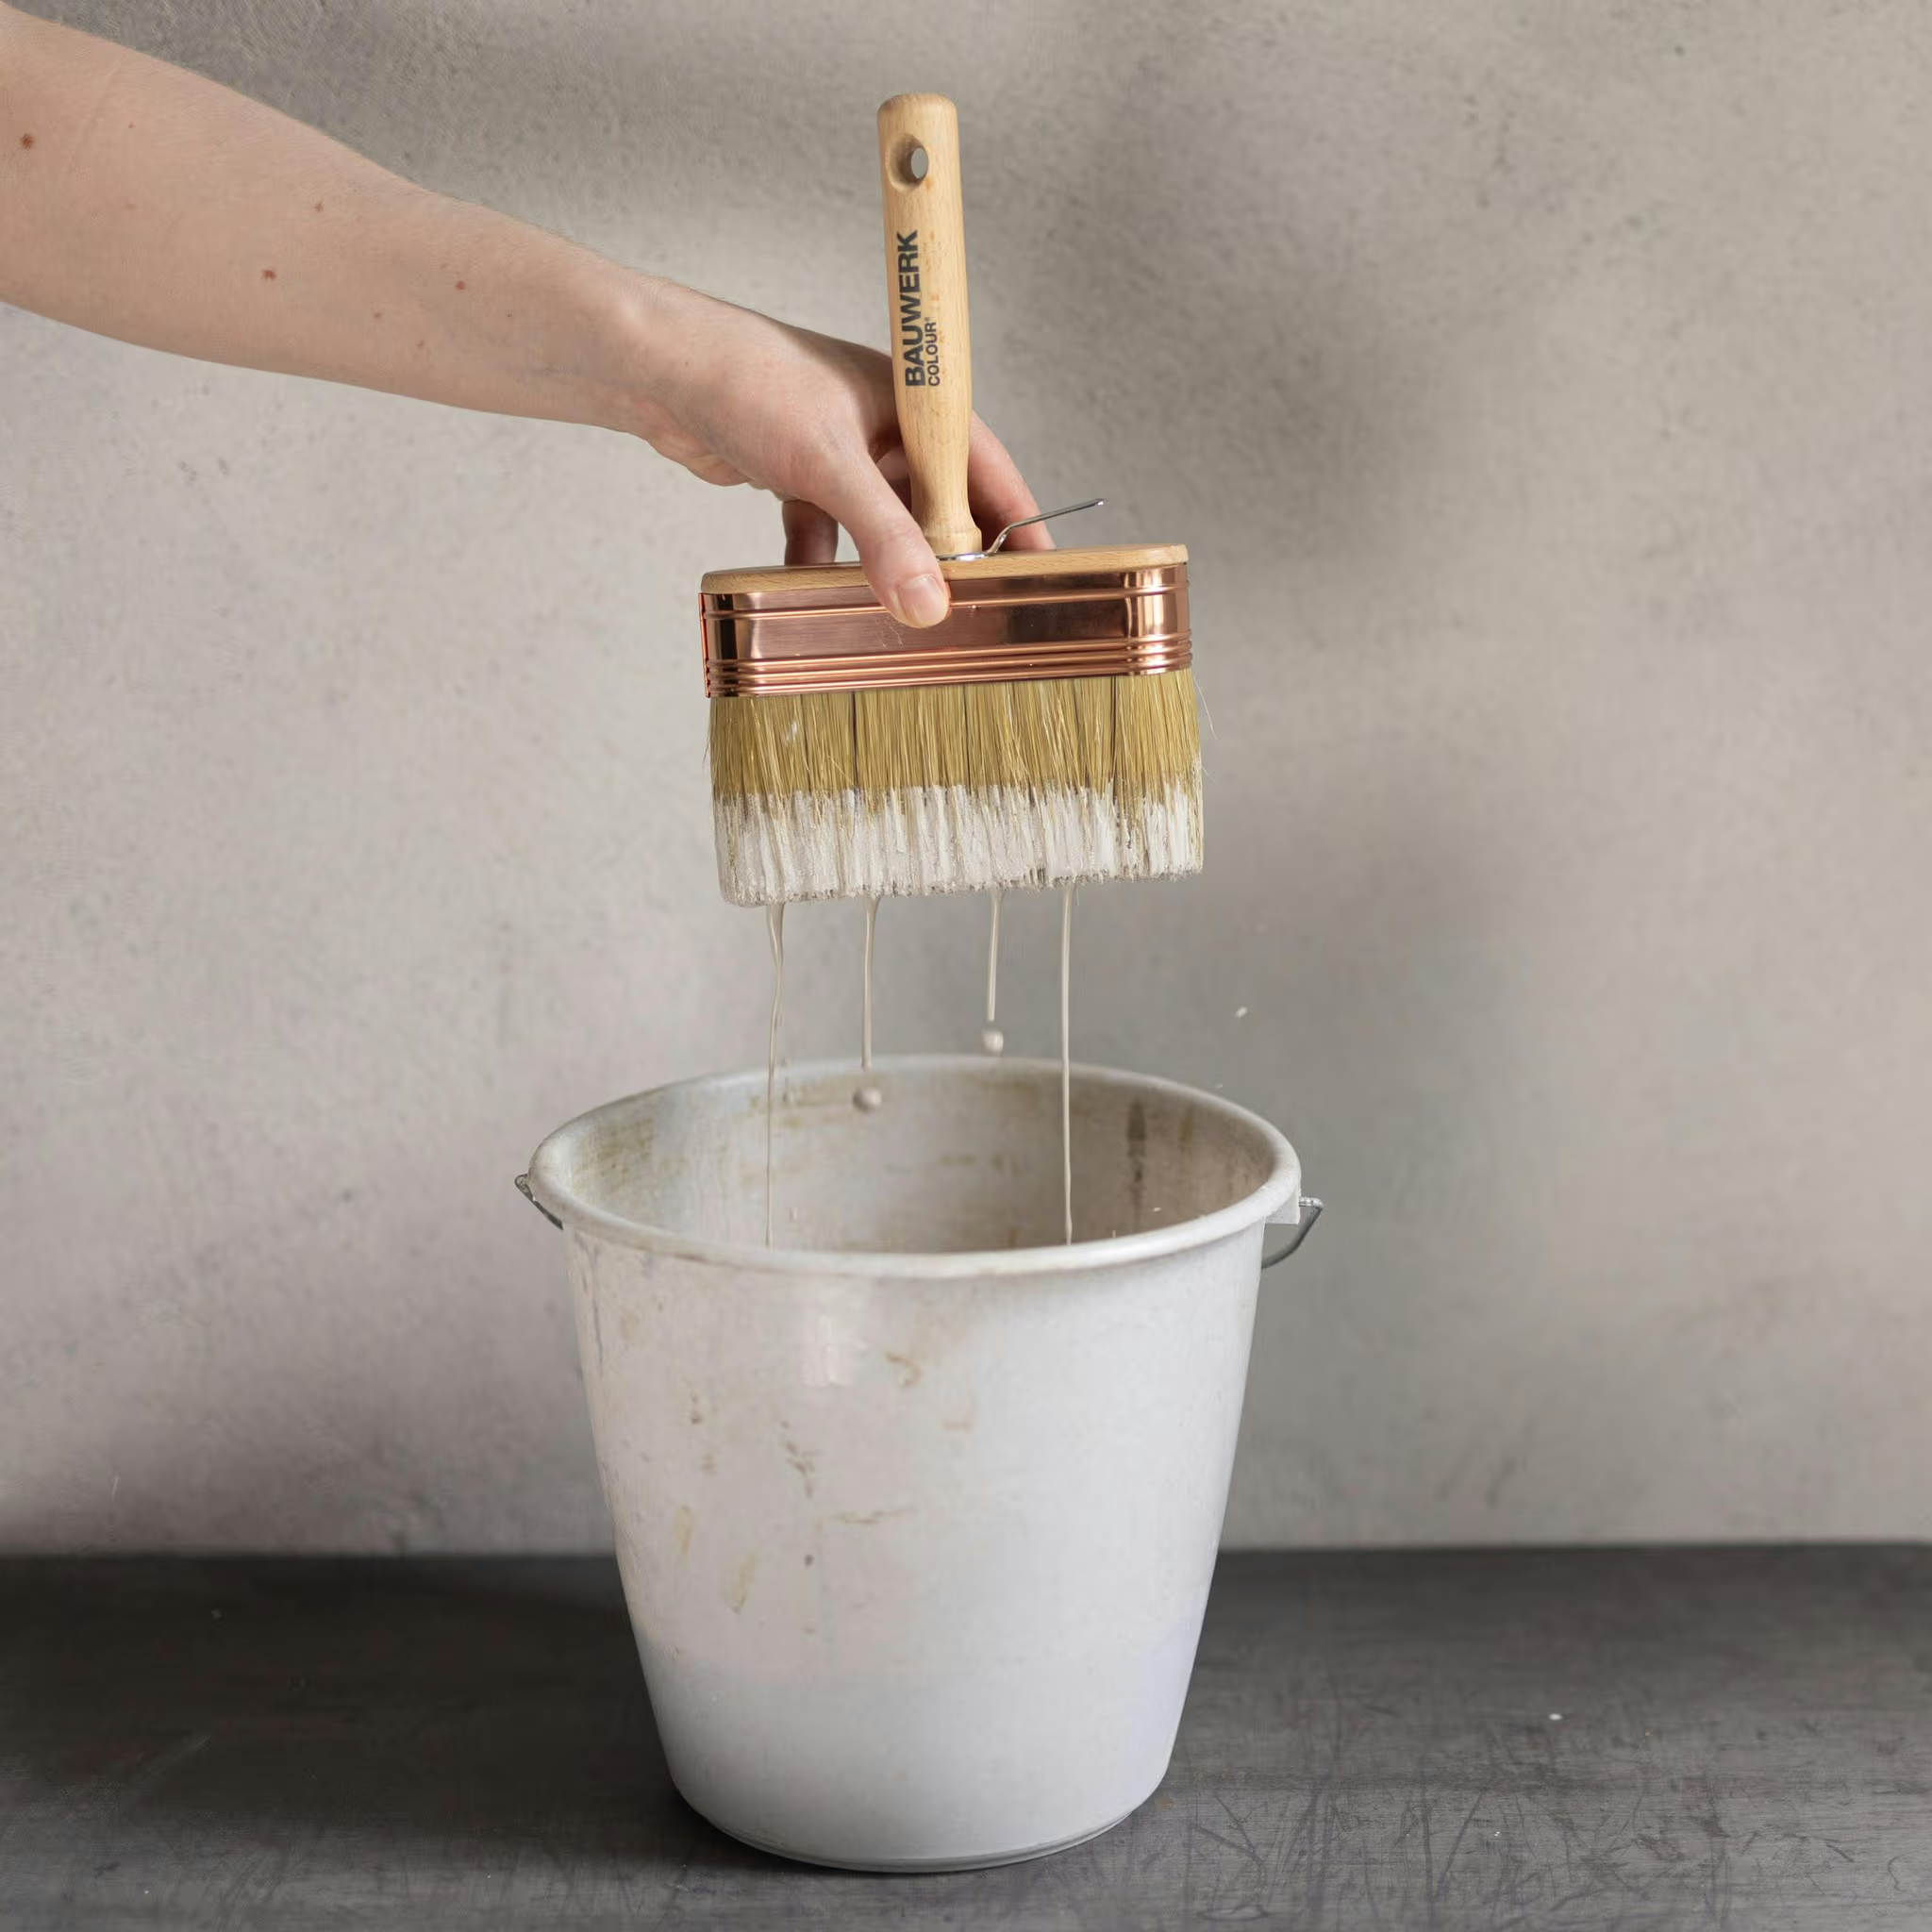
- Use an absorbent natural bristle limewash brush. Our 4 x 14 Limewash Brush is a popular size and works well for most applications.
Limewash Paint Application
Apply LaRosa Limewash:
Apply 2 coats of LaRosa Limewash Paint.
- Load your brush
Dip the brush into the limewash and flick off any excess. The brush should hold plenty of paint, but it should not be dripping.
- Start in a corner
Begin in a corner of the wall and hold the brush approximately at a right angle to the surface. For greater control, you may find it easier to hold the brush by the body rather than the handle.
- Use loose, varied strokes
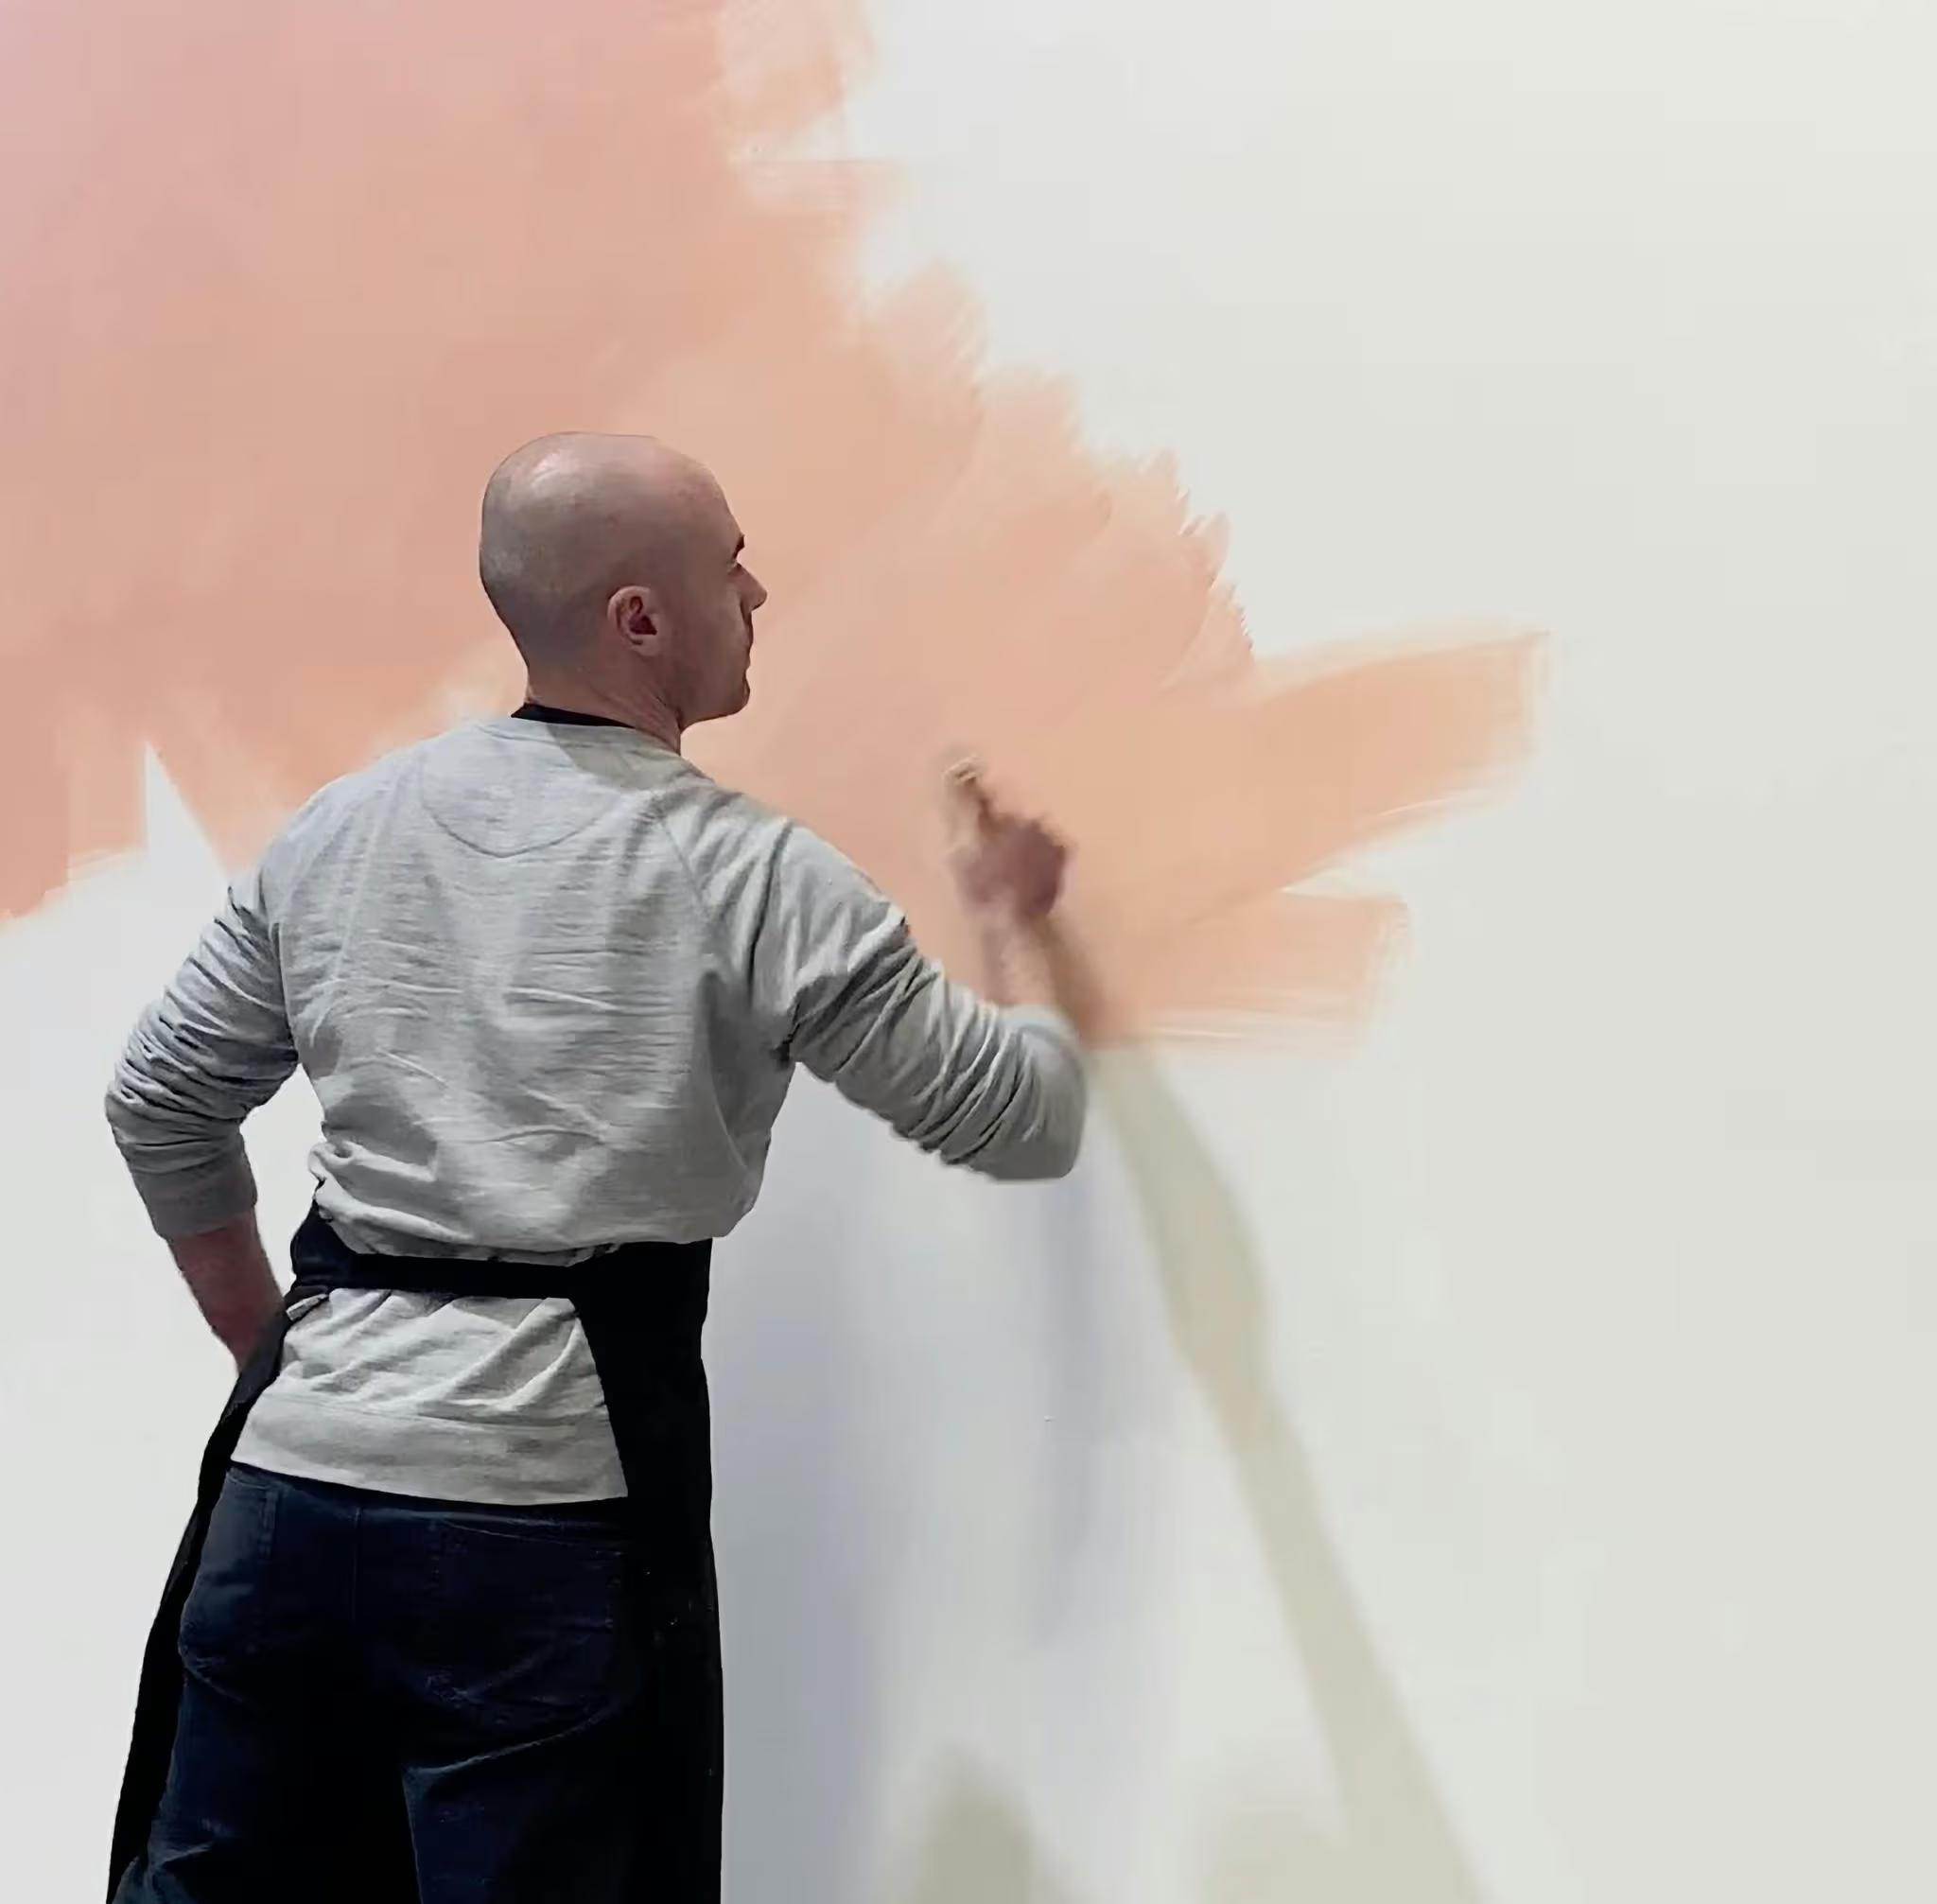
Work with loose, free strokes and allow the bristles to spread the paint across the surface. Vary the direction of your strokes as you work. There is no need to press heavily. Let the brush and the limewash create the natural movement and variation that gives limewash its distinctive finish.
- Keep the first coat thin and even
Brush out the limewash into a thin, even coat, making sure the entire surface is covered. Avoid heavy deposits, runs or drips. For most colours, maintain a wet edge as you work. This helps prevent visible lines or overlap marks as the limewash dries. Complete each coat in one continuous application where possible. If you notice a missed area after the coat has dried, don’t go back and patch it immediately. The next coat will cover any small missed areas.
- Don’t judge the colour while it’s wet
Limewash will look darker and more transparent while wet. This is completely normal. Avoid applying extra paint to compensate for the darker wet colour. As the limewash dries, it will lighten and develop the softer, more opaque appearance of the chosen colour.
- Apply the second coat
Allow at least 1–2 hours between coats, or until the first coat is sufficiently dry. Apply the second coat more quickly and loosely, allowing the first coat to provide the base. Small areas of variation are fine and contribute to the natural character of the finish. Allow the final coat to dry completely.
White Limewash Paint
When using our white limewash colours, maintaining a wet edge is less critical. White limewash is easier to blend and can generally be touched up more easily, making these colours a little more forgiving during application.
FAQs Plasterboard, Drywall and Gyprock
Can I apply LaRosa Limewash to internal plasterboard or Gyprock?
Yes. LaRosa Limewash can be applied to internal plasterboard, Gyprock and drywall when the surface has been correctly prepared. For most plasterboard surfaces, this means ensuring the surface is properly primed and applying LaRosa Prep Coat before the limewash.
Can I limewash brand new plasterboard?
Yes, but new plasterboard needs to be properly prepared first. Make sure all joins, screw holes and joint compound are finished and sanded, then apply the recommended primer before applying Prep Coat and limewash. This preparation helps prevent the joins and repaired areas from becoming visible through the finished limewash.
Do I need to prime plasterboard before limewashing?
If the plasterboard is new, unpainted or contains unprimed repairs, we recommend applying 2 coats of a suitable water-based undercoat sealer/primer before Prep Coat. If your plasterboard has already been correctly primed and the surface is consistent and free from patches, an additional primer may not be required.
How much LaRosa Limewash do I need for plasterboard?
As a general guide, LaRosa Limewash Paint covers approximately 10–15 m² per litre, per coat over Prep Coat. Two coats are required for the intended finish. Actual coverage will vary depending on the surface and application technique, so we recommend using a Sample Pot to test both colour and coverage before purchasing your full quantity.
Can I touch up plasterboard after the limewash has dried?
Try to avoid patching individual areas once a coat has dried, as this can create visible variations. Instead, allow the coat to dry and use the next coat to cover any areas that need more colour or coverage.
Limewash for Australian Homes
Plasterboard is one of the most common interior wall materials used in Australian homes, making it a popular surface for LaRosa Limewash. With the right preparation, limewash can transform an ordinary plasterboard wall into a soft, mineral inspired finish with subtle variation, depth and character. As with any lime wash application, taking the time to prepare the surface properly and test your chosen colour will give you the best result.