Brick Surface Guide
How to Apply LaRosa Limewash to Brickwork
Limewashing is a simple way to refresh brickwork while allowing the natural character and texture of the brick to remain visible. Whether you’re updating an indoor feature wall, fireplace or exterior brickwork, LaRosa Limewash can help you create anything from a soft, lightly whitewashed finish to an opaquer look.
This guide will walk you through how to:
- Apply limewash to raw clay or cement brick
- Prepare your brickwork before applying limewash paint
- Apply LaRosa Limewash for an even, natural finish
- Adjust the opacity to create anything from a subtle whitewash to a more solid finish
If your brickwork has been painted previously, see our Previously Painted preparation guide before getting started.
- Mixing whisk
- LaRosa Limewash Brush, 4 × 14
- LaRosa Limewash Paint
- Spray bottle filled with clean water
- Clean cotton cloth

Lime Wash Brushes
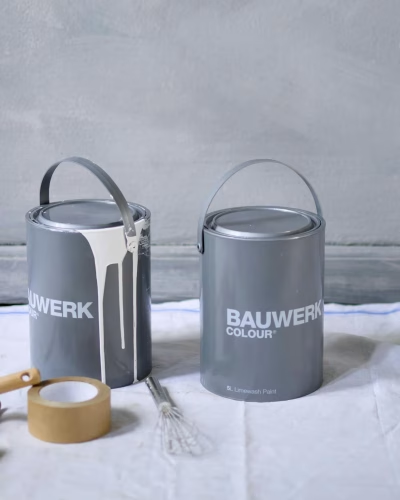
Limewash Paint

Whisk Mixing Tool
Planning and Preparation:
If you’re working on a renovation or new build, we recommend leaving LaRosa Limewash until the final stages of the project. This helps protect your finished surface from dust, equipment and other trades working nearby.
Test Your Colour First
We always recommend testing your chosen colour before starting your project. For raw, breathable surfaces such as brick, apply your sample to a separate piece of the same material where possible. Alternatively, choose a discreet area of the wall. Testing directly on the finished surface can leave a visible patch, particularly when working with a highly absorbent brick. For the most natural result, soften or feather the edges of your test area rather than creating a hard edged patch.
Coverage
On raw, absorbent and unpainted brick, LaRosa Limewash Paint covers approximately 7–10 m² per litre per coat. For full coverage, we recommend applying two coats. Coverage can vary depending on the porosity, texture and condition of your brick. Highly absorbent brick may require more product, while less absorbent surfaces may require less. For the most accurate idea of colour and coverage for your individual project, we recommend using a LaRosa sample pot and testing it under your actual lighting conditions.
Preparing Your Brickwork:
Good preparation is the foundation of a beautiful limewash finish. The great thing about limewashing brick is that your surface doesn’t need to be perfectly uniform. Small variations and imperfections can add to the character of the finished wall.
Clean Brick
Before applying lime wash, make sure the brickwork is free from:
- Dirt and dust
- Mould and moss
- Loose particles
- Flaking or unstable material
For suitable exterior surfaces, a pressure washer can be used to clean the brickwork. You can also use a stiff brush to remove loose dust and debris. Allow the brickwork to dry thoroughly before beginning your application.
Surface Repairs
Your brickwork doesn’t need to look perfect before you start. Small cracks, marks and variations can contribute to the natural appearance of a limewashed surface. If your brickwork has larger holes, deep cracks or areas requiring structural repair, these should be addressed before limewashing. For extensive restoration work, speak with your builder or contact the LaRosa team for guidance on suitable preparation.
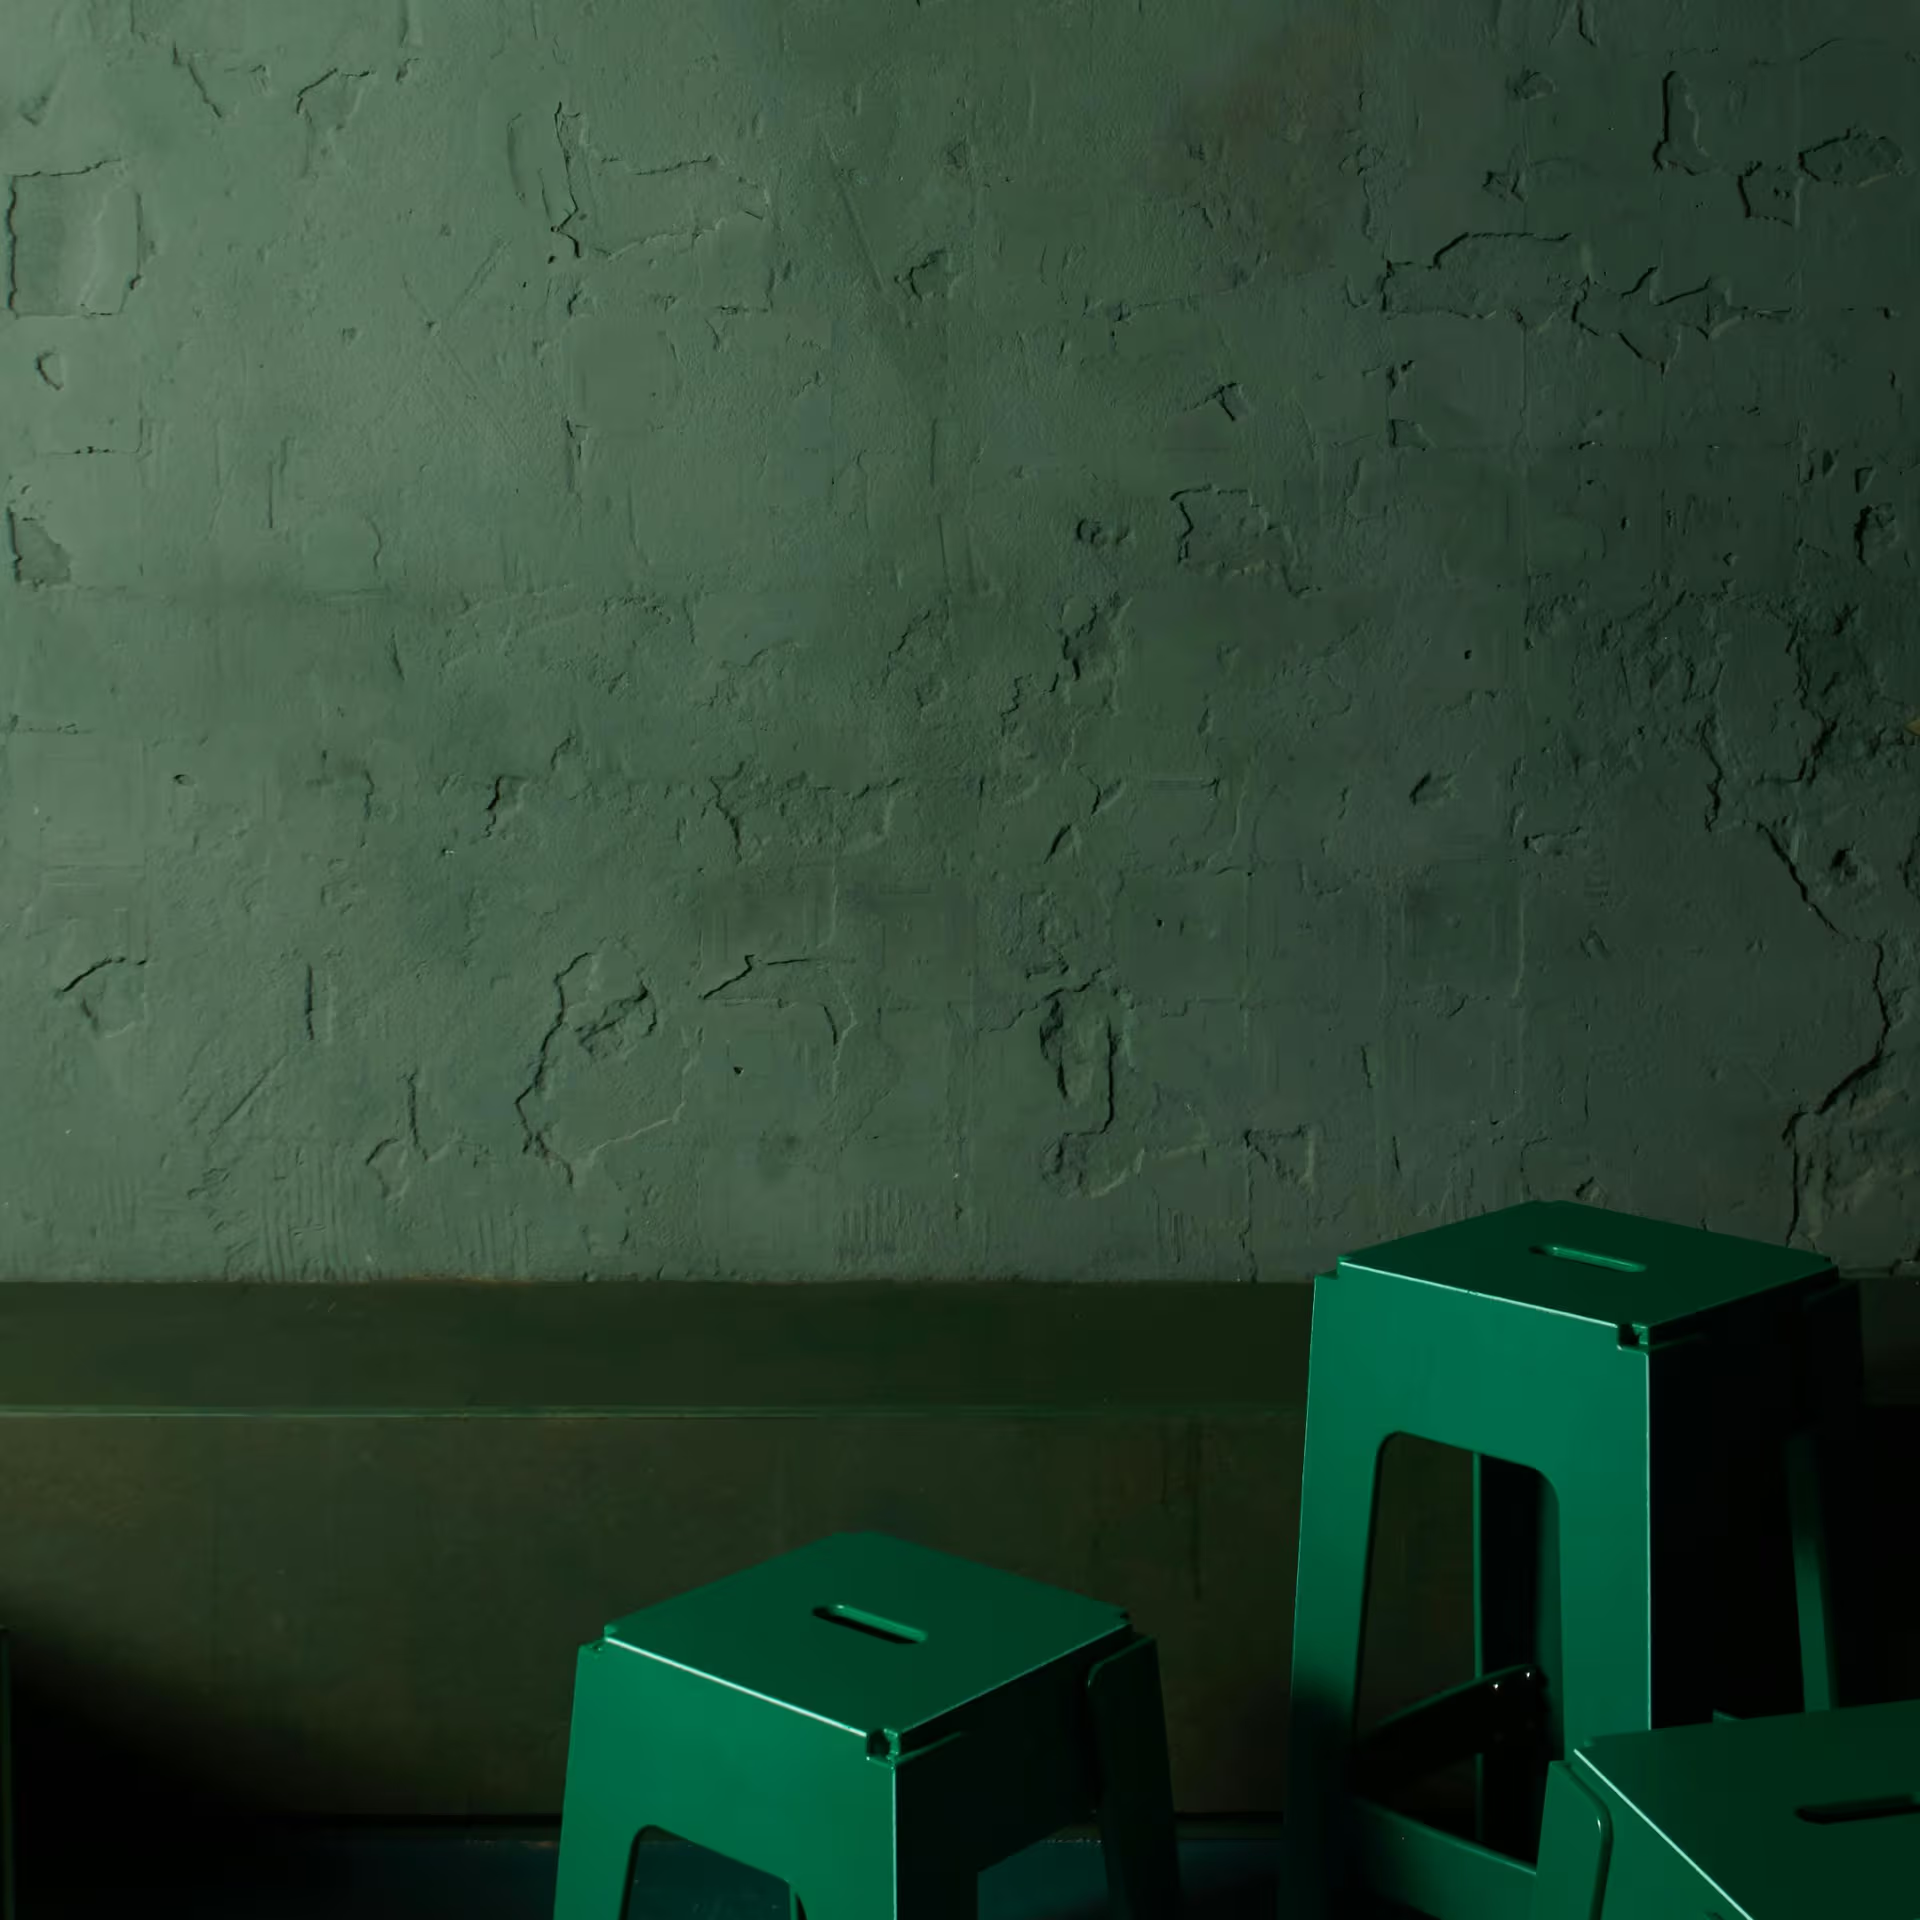
Prepare your Limewash:
Before you begin painting, give your LaRosa Limewash Paint a thorough stir. Limewash contains natural pigments that can settle over time, so it’s important to mix thoroughly and regularly throughout the application.
Get Your Brush Ready
Choose the brush that best suits the texture of your brick.
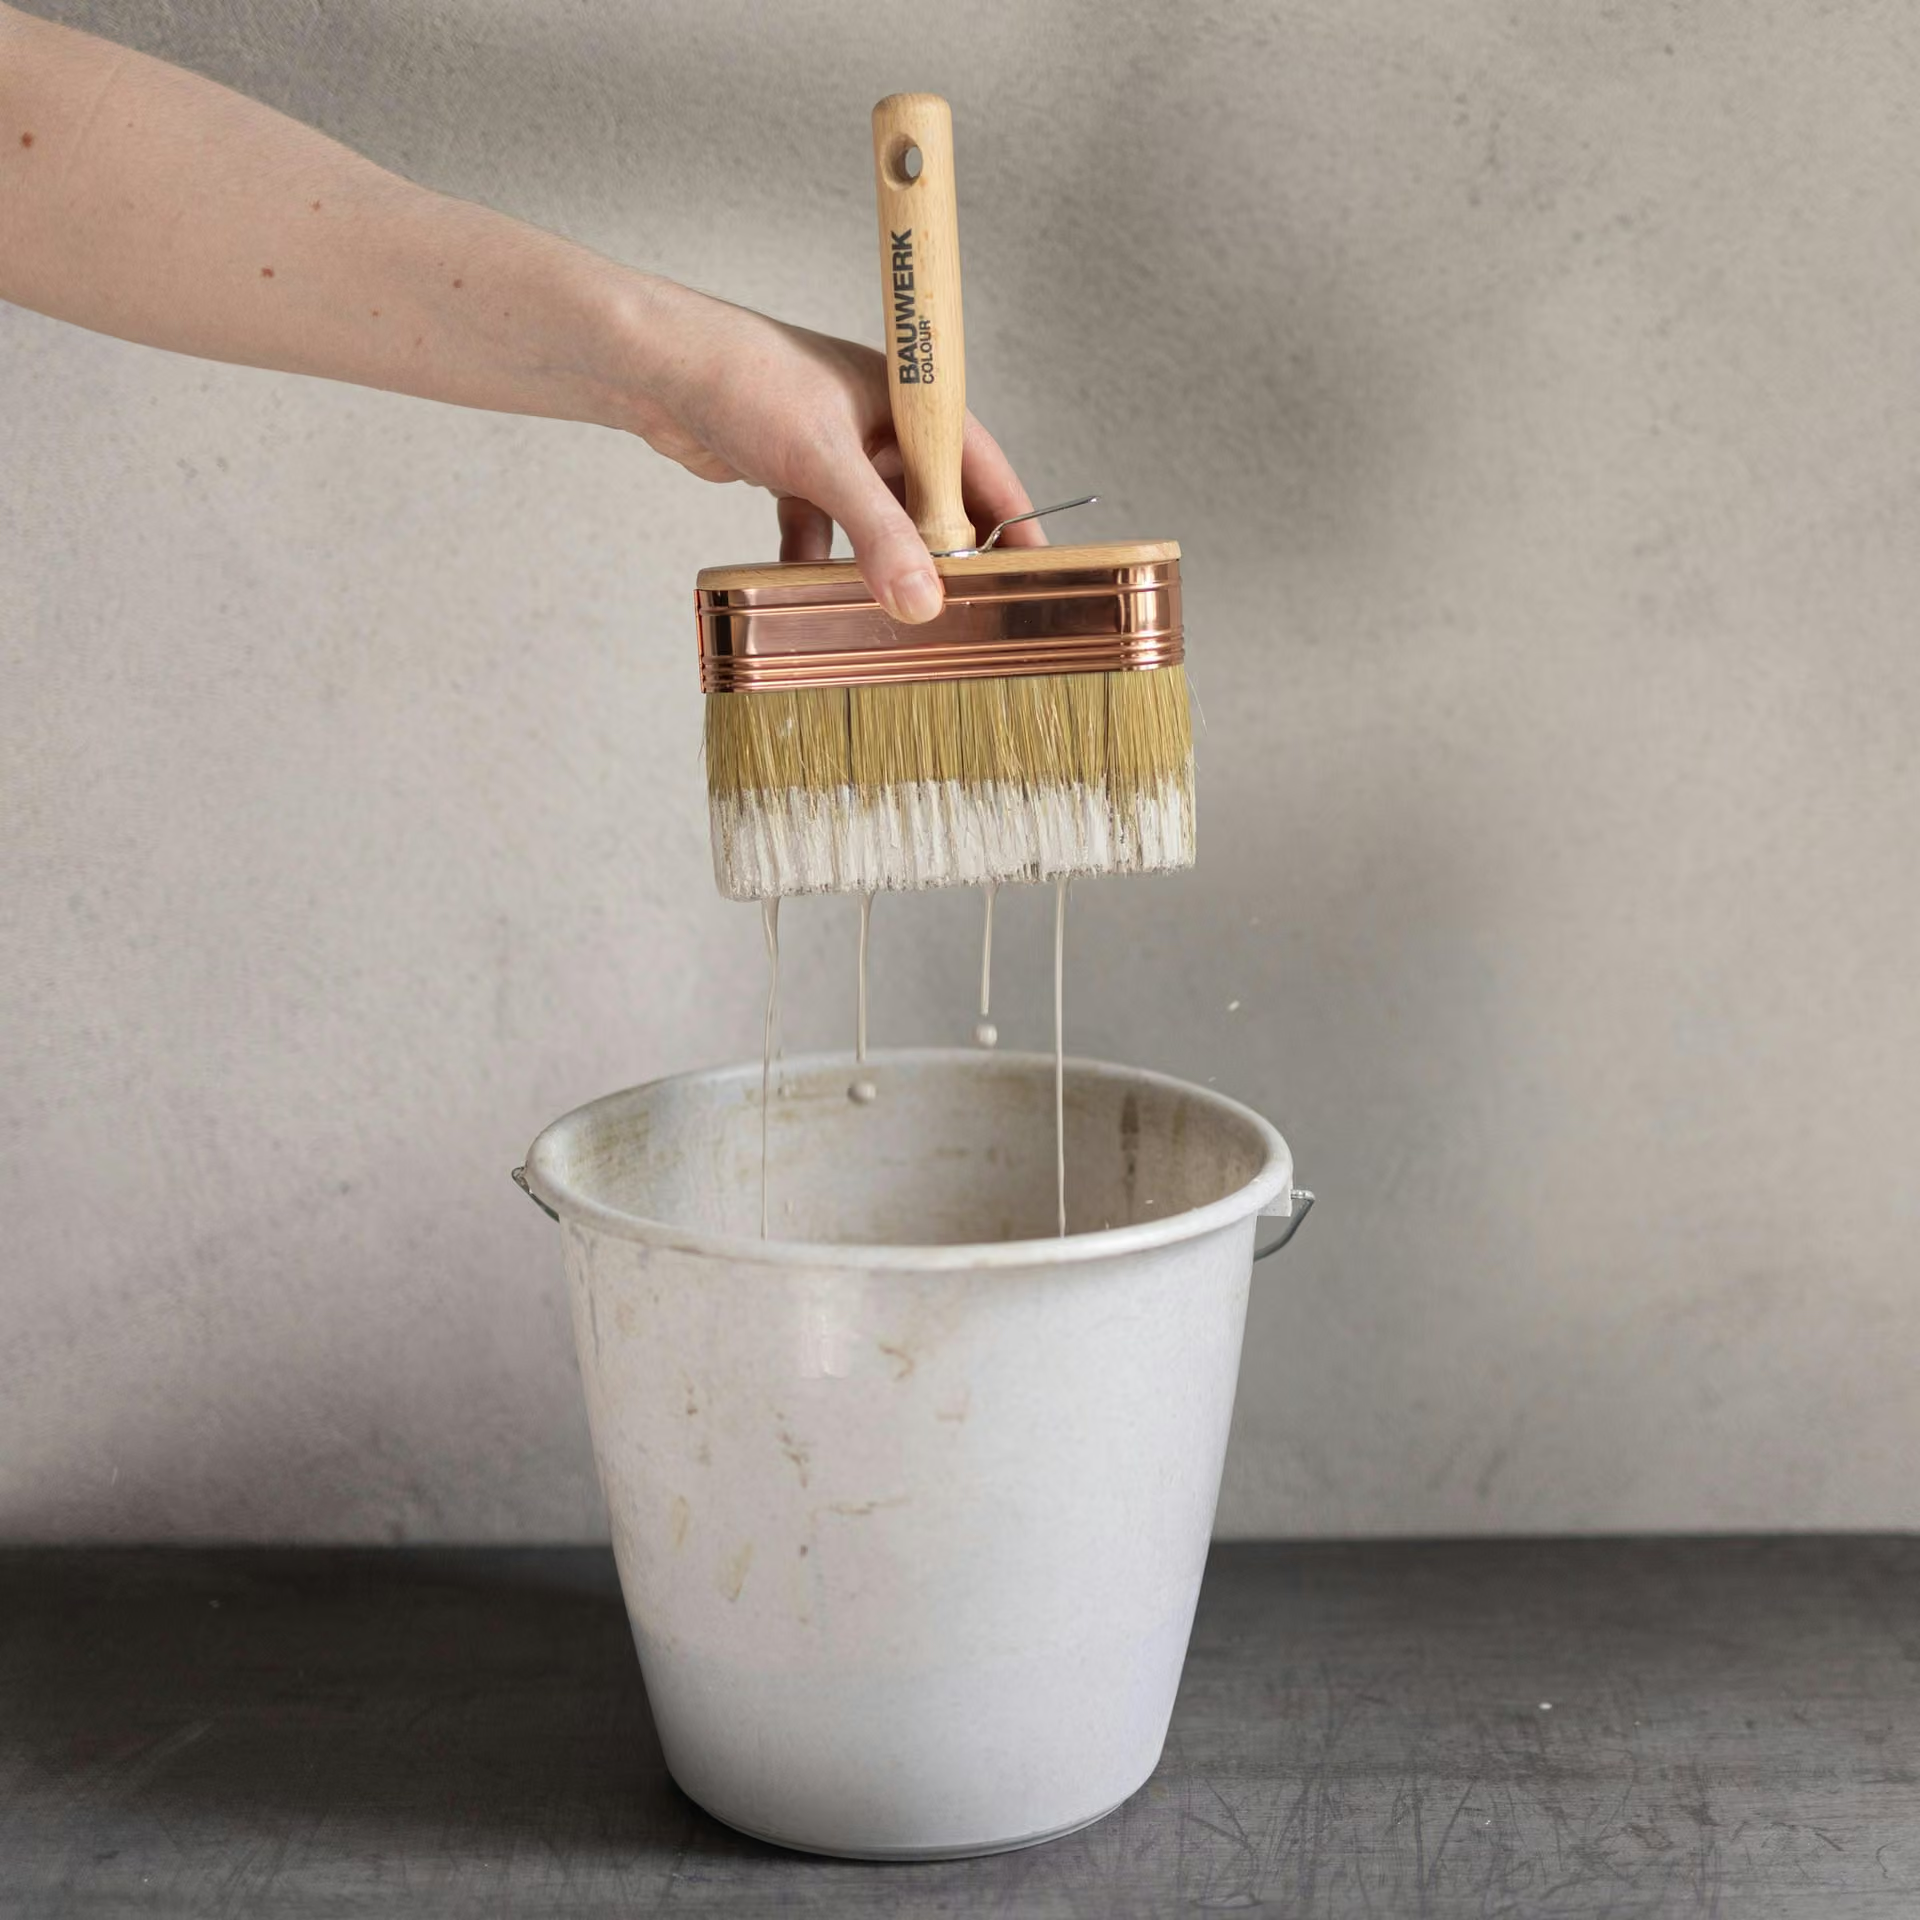
For deeper joints, grooves and recesses, a shorter and slightly firmer brush can make application easier. For flatter or moderately textured brickwork, our 4 × 14 Limewash Brush is designed to help spread the paint evenly while creating the natural movement associated with lime wash. Pour the required amount of paint into a suitable container or bucket, making sure all pigment has been thoroughly mixed from the original container. Continue stirring your limewash regularly while you work.
Applying LaRosa Limewash:
- Dampen the Brick
If you’re working on raw, absorbent brick, lightly dampen the surface with clean water before applying the first coat. A spray bottle or clean brush works well. You want the brick to be slightly damp, not saturated. Dampening helps reduce rapid absorption, giving you more time to spread the LaRosa Limewash evenly across the surface.
- Load Your Brush
Dip your natural bristle limewash brush into the paint. Remove excess paint with a gentle flick of the wrist. Your brush should hold enough paint to work comfortably, but it shouldn’t be dripping.
- Start Painting
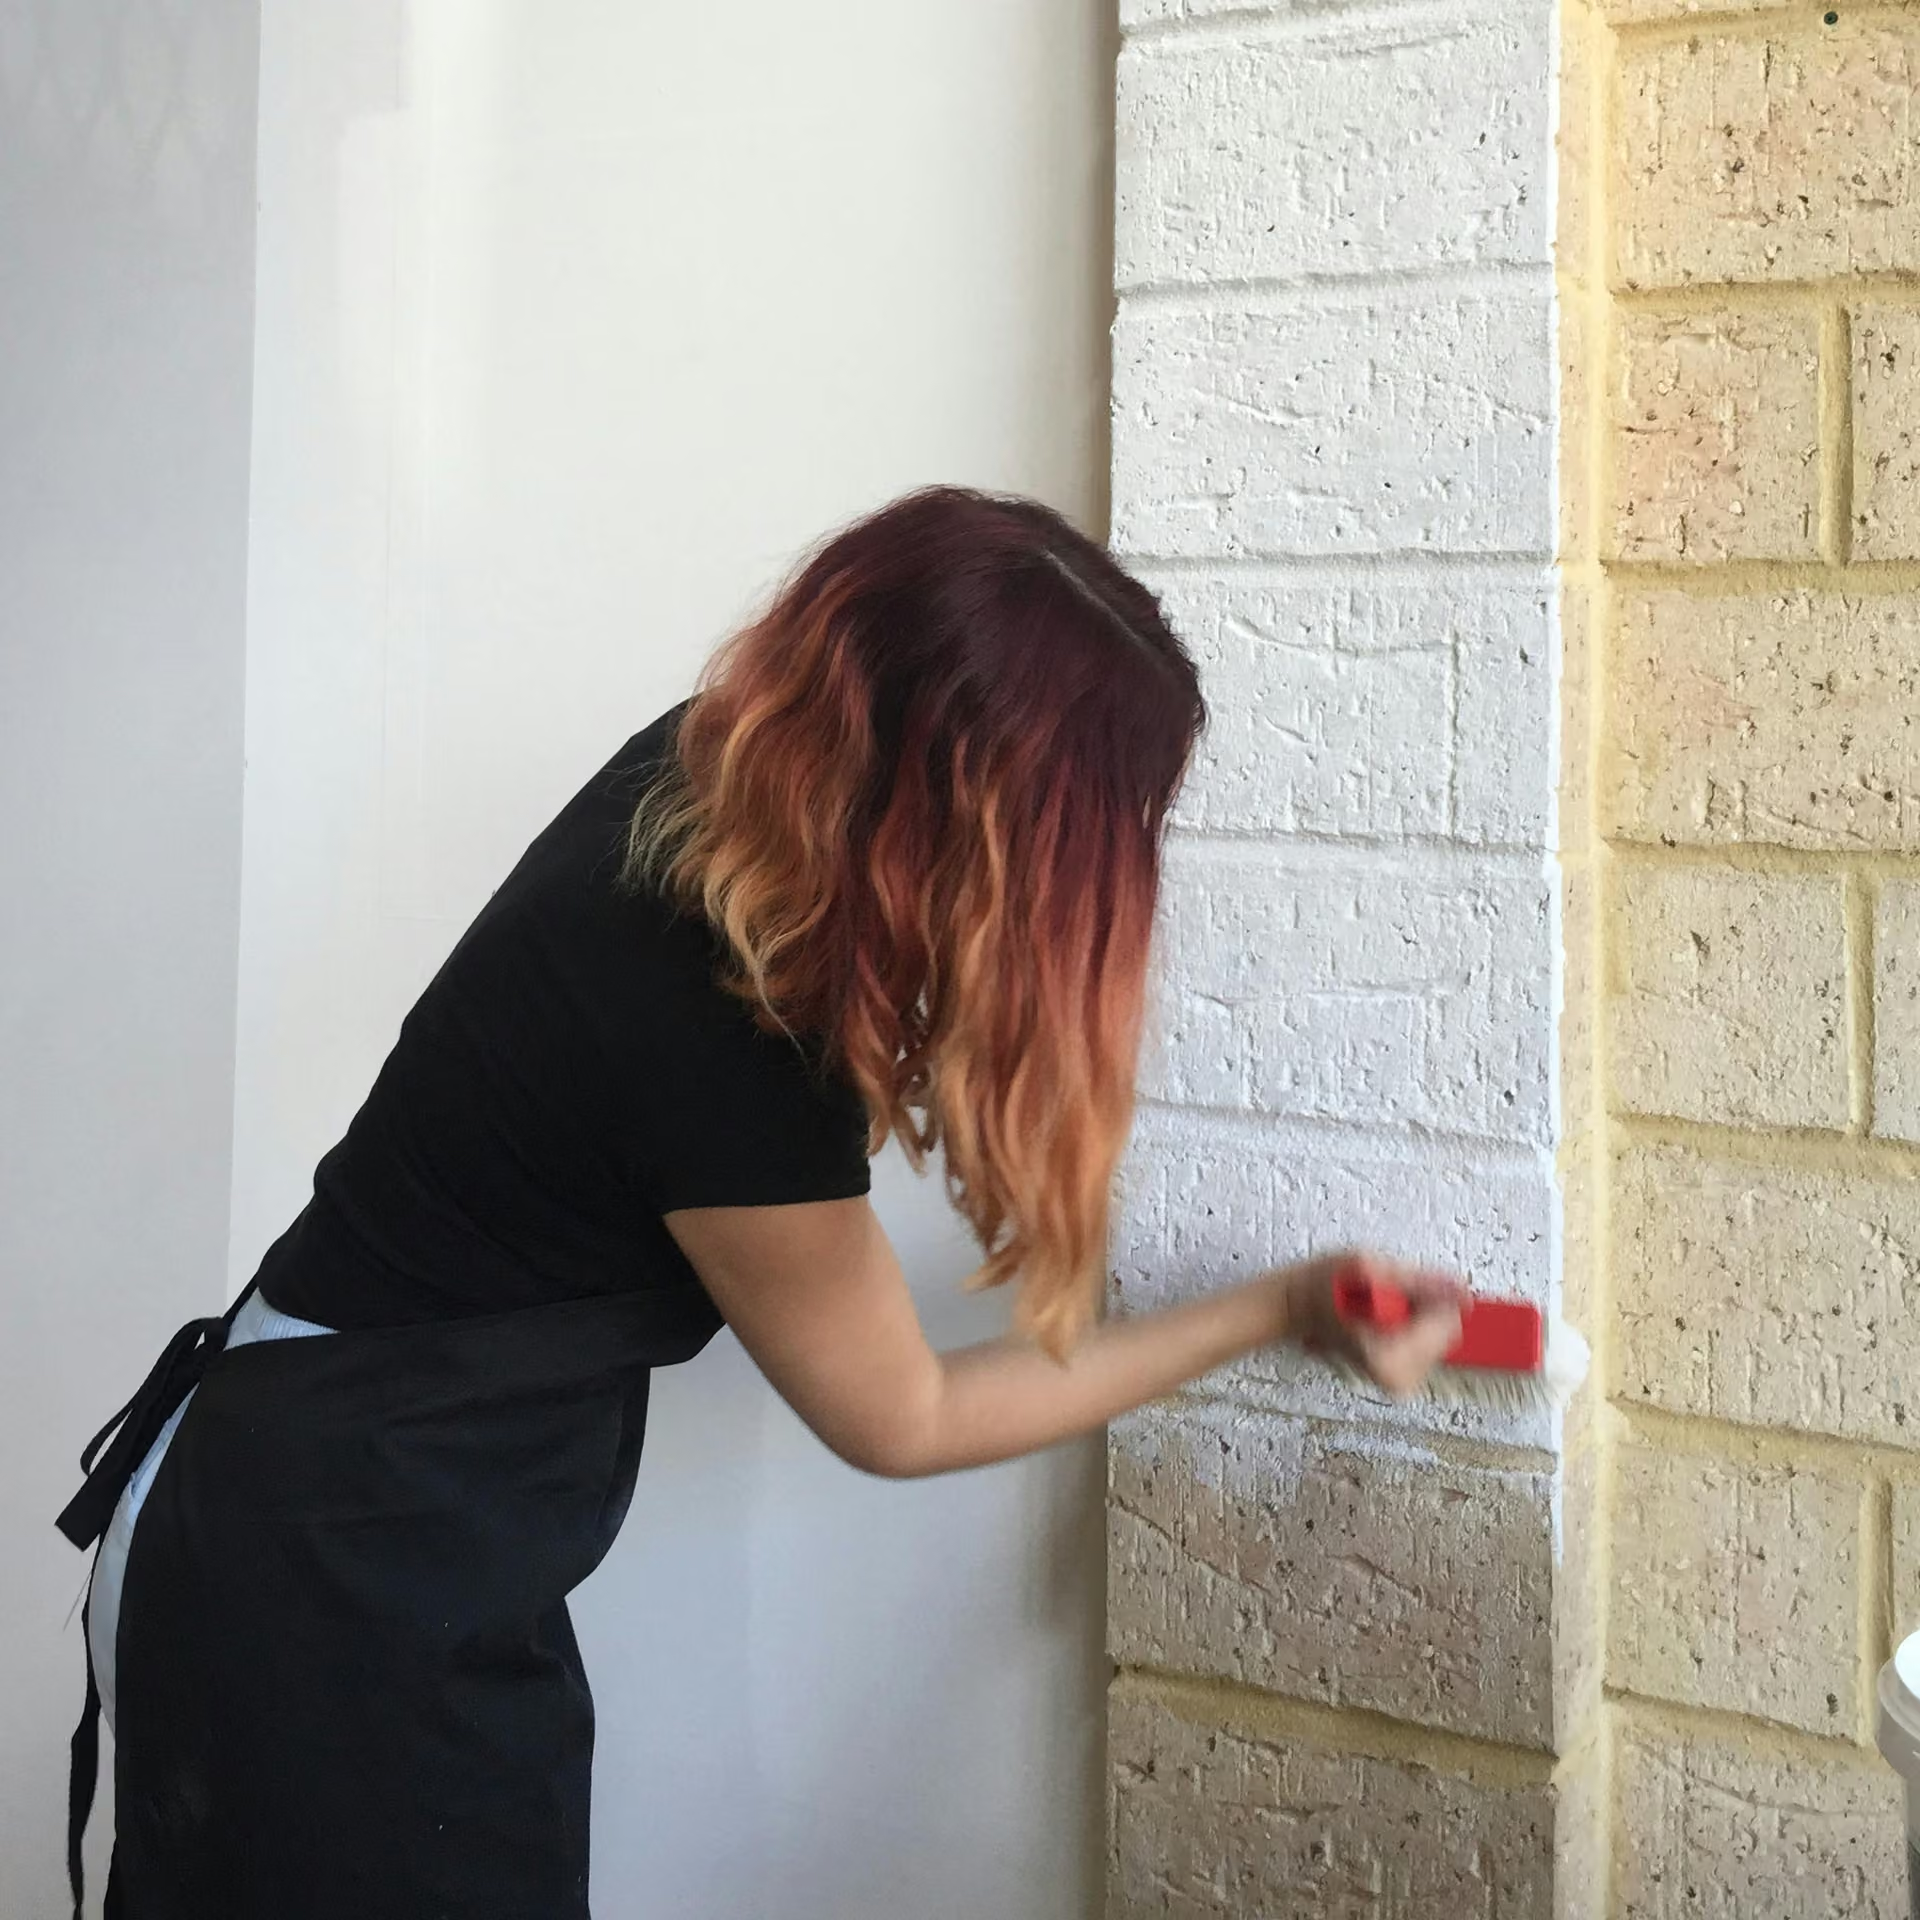
Begin in a corner of the wall and hold the brush roughly at a right angle to the surface. For greater control, you may find it easier to hold the body of the brush rather than the handle. Use loose, relaxed strokes and allow the bristles to spread the paint across the brick. Vary the direction of your strokes as you work rather than creating a uniform pattern. There’s no need to press hard. Let the brush and the texture of the brick do the work. For deeper recesses, use smaller back and forth or circular movements to work the limewash into the surface.
- Keep Your Application Even
Spread the paint into a thin, even coat and avoid allowing excess paint to collect in joints, holes or recesses. For most coloured limewash finishes, maintain a wet edge while working. This helps minimise visible lines and gives you a more cohesive finish. Where possible, complete each coat in one continuous application. Avoid going back over sections once they have begun drying. If you’re working across a large wall, use natural stopping points such as mortar joints to break the project into manageable sections.
Don’t Judge the Colour While It’s Wet, This is important! LaRosa Limewash will look darker and more transparent while it is wet.
Don’t be tempted to apply additional paint simply because the colour looks too dark or transparent at first. As the limewash dries, it will become lighter and opaquer. Give the surface time to dry before deciding whether you need another coat.
- Apply the Second Coat
Allow at least 1–2 hours between coats, or until the previous coat is dry. You don’t need to dampen the brick again before applying the second coat. Apply the second coat more freely and quickly, working wet in wet where possible. The first coat should already have covered the surface, so don’t worry if small areas appear slightly uneven during the second application. Allow the finished surface to dry completely
If you’re using one of our white limewash colours, maintaining a wet edge isn’t as important. White limewash colours can be easier to blend and are well suited to small touch ups where required.
Cleanup and Maintenance
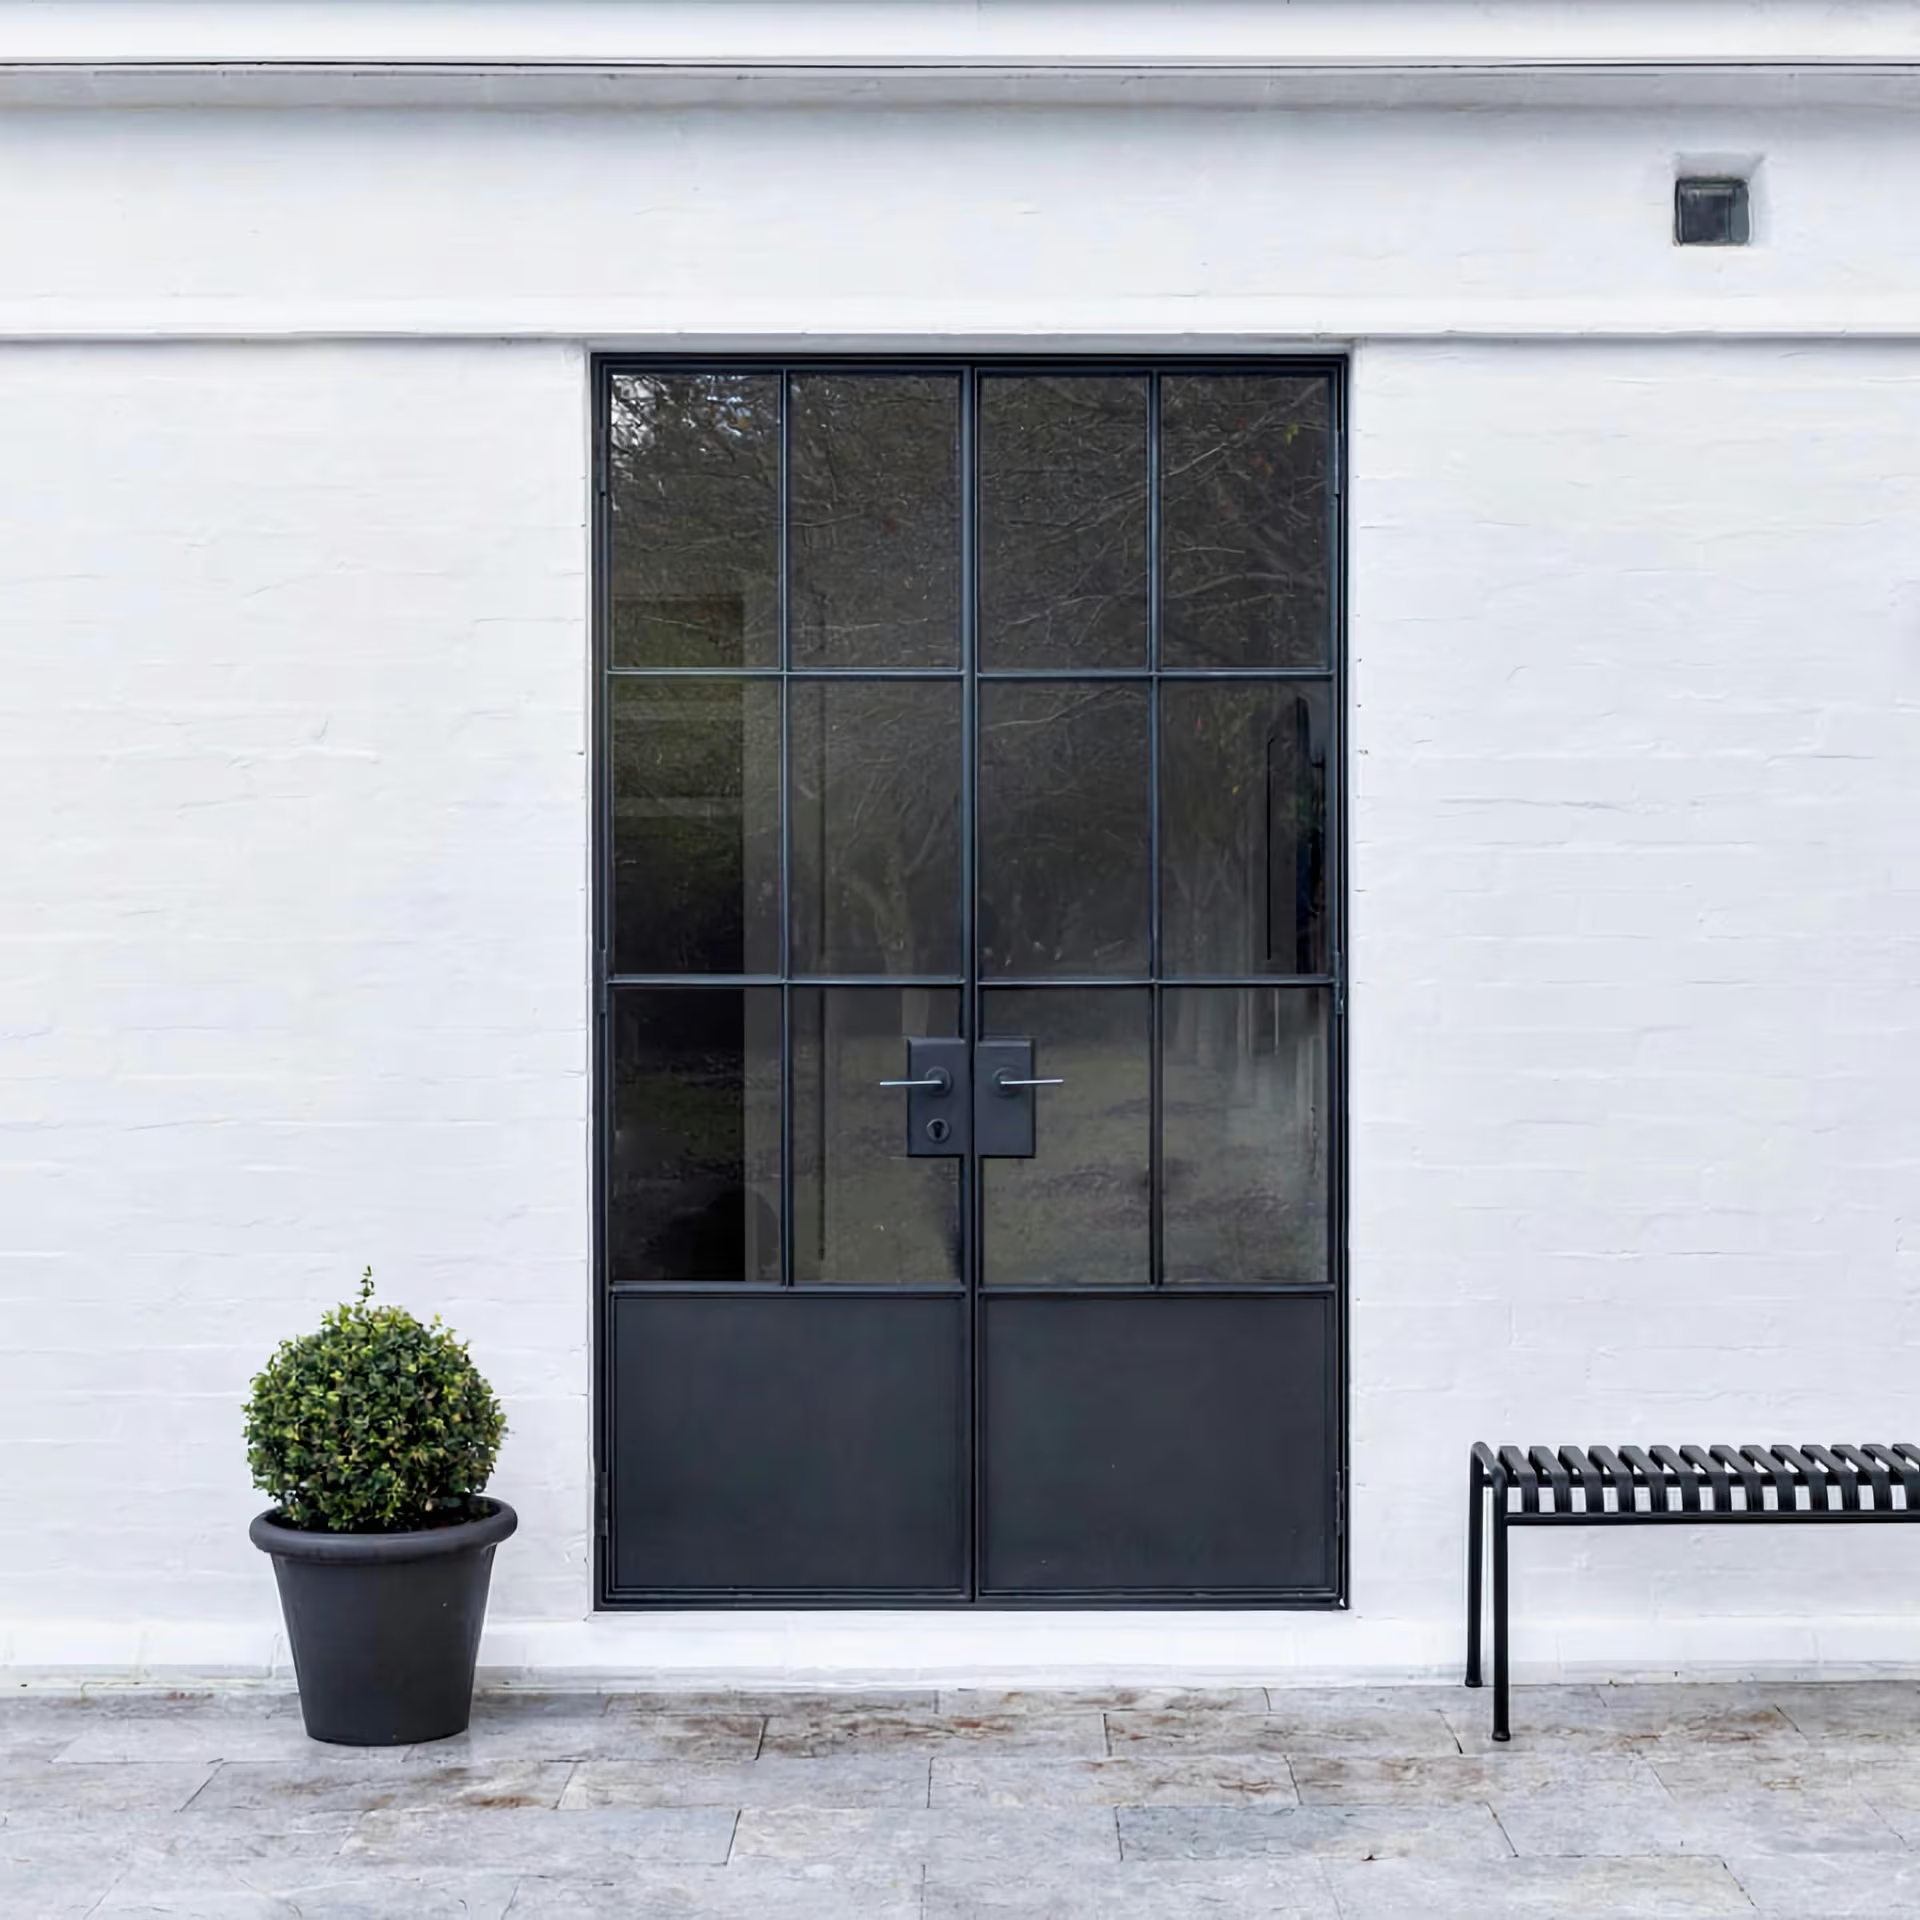
One of the benefits of LaRosa Limewash is that it doesn’t require a conventional sealer or additional topcoat. Once your limewash has dried, you can leave the finish as it is. If you’d like greater opacity or a deeper colour, an additional coat can be applied. Clean your brushes, tools and containers promptly after use with clean water. Because limewash is a mineral based finish, it creates a natural, breathable surface that can be maintained and refreshed over time. For best results, always follow the recommended application and drying instructions for your specific LaRosa product.
Creating a Whitewashed Brick Look
One of the most beautiful things about lime wash is that it doesn’t have to completely hide the brick beneath it. Instead, LaRosa Limewash allows the natural colour, texture and variation of the brick to remain part of the finished look. This makes limewash particularly effective on exposed brick walls, fireplaces and exterior brickwork where you’d like to soften strong red or orange tones without creating a completely flat painted surface. The final appearance is largely controlled by the colour you choose, the amount of water used to prepare the surface and your application technique. You can build up the finish gradually, giving you control over how much of the original brick remains visible.
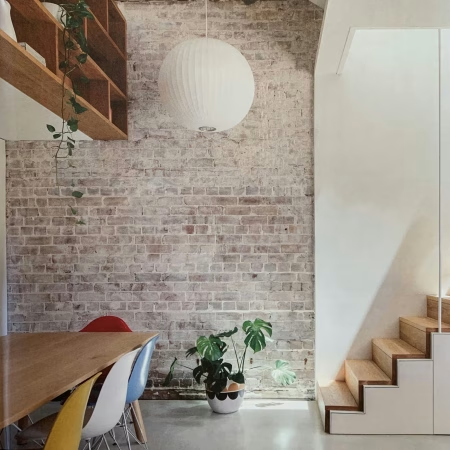
Very Transparent Finish
For a very subtle finish where the original brick remains clearly visible, choose Transparent White. This is a non pigmented limewash designed to gently soften the appearance of the brick without creating a solid white coating. Apply multiple thin coats to gradually build opacity until you achieve the look you want. This layered approach gives you excellent control over the final result.
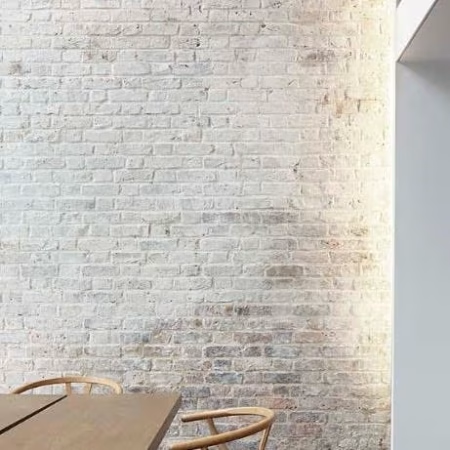
Semi Transparent White Finish
For a soft white finish that still allows some of the brick to show through, Whitewash is a great choice. Whitewash is a pure white limewash paint with no strong colour undertone. You can build the coverage gradually, starting with a light wash and adding additional coats until you reach your preferred level of opacity.

Medium to Fully Opaque Coverage
For a stronger white finish, choose Chalk. Chalk is a soft, chalky white and one of our most popular white LaRosa Limewash colours. It has no noticeable yellow undertone, making it a versatile choice for both modern and traditional spaces. Even with an opaquer colour, you can still create variation and texture using different application techniques.
Distressed Limewash Technique
Want a more weathered, textured or naturally aged appearance? The distressed application technique allows you to selectively remove excess limewash while you’re working, creating variation in opacity across the brickwork. Have a clean cotton cloth nearby before you begin.
- Prepare the Surface
Clean the brickwork thoroughly and remove any dirt, dust, mould or loose material.
- Control Absorbency
Lightly brush clean water over the brick to reduce its initial absorption. The amount of moisture on the brick will influence how transparent your finish appears. For highly absorbent brick, dampen the surface before applying your first coat. You can also occasionally dip your brush into clean water while working to help prevent certain areas from absorbing too much limewash.
- Load Your Brush
Dip approximately 1 cm of your limewash brush into the paint and gently shake or flick off any excess.
- Apply the Limewash
Hold your brush at roughly a right angle to the wall. Using light, relaxed strokes, spread the limewash in different directions. Avoid applying excessive pressure and allow the natural bristles to work the paint into the texture of the brick.
- Work Lightly and Quickly
Work across the surface while the limewash is still workable, spreading the paint as far as possible. If the brick begins to dry out and absorb the paint too quickly, lightly dampen it again.
- Remove Excess Paint
If too much limewash collects in deeper holes, joints or recesses, use your clean cotton cloth to gently remove the excess while the paint is still workable. This creates natural variation and helps achieve a more aged, relaxed whitewashed appearance.
FAQs about Render and Limewash
Can I sample LaRosa Limewash directly on my brick wall?
For raw, breathable brick, we recommend testing your chosen colour on a separate piece of the same material or in a discreet area first. Because brick can be highly absorbent, applying a sample directly to a visible section of your wall may leave a noticeable patch.
Can I apply LaRosa Limewash to previously painted brick?
Yes, in some cases. However, previously painted brick requires additional preparation because existing coatings can prevent limewash from properly absorbing into the surface. The condition and type of existing paint will determine the best preparation method.
Can I limewash an indoor brick wall?
Yes. LaRosa Limewash can be used on suitable interior brick surfaces. As with any lime wash application, the surface should be clean, stable and appropriately prepared before painting.
Can I limewash a fireplace?
Limewash can be suitable for certain fireplace surrounds and brick surfaces, provided the surface and heat exposure are appropriate. Always consider the temperature the surface reaches and follow the product’s suitability recommendations before application.
Why is limewash a good choice for brick?
Limewash is a mineral-based finish that works particularly well with porous, breathable masonry. Rather than forming a heavy, sealed coating over the brick, it becomes part of the surface while allowing the natural texture and character of the material to remain visible. For Australian homes, Australian lime and mineral based finishes are a beautiful way to achieve a natural, breathable finish with plenty of character.