
Fixing Patchy 'Tortoiseshell' Limewash Effect
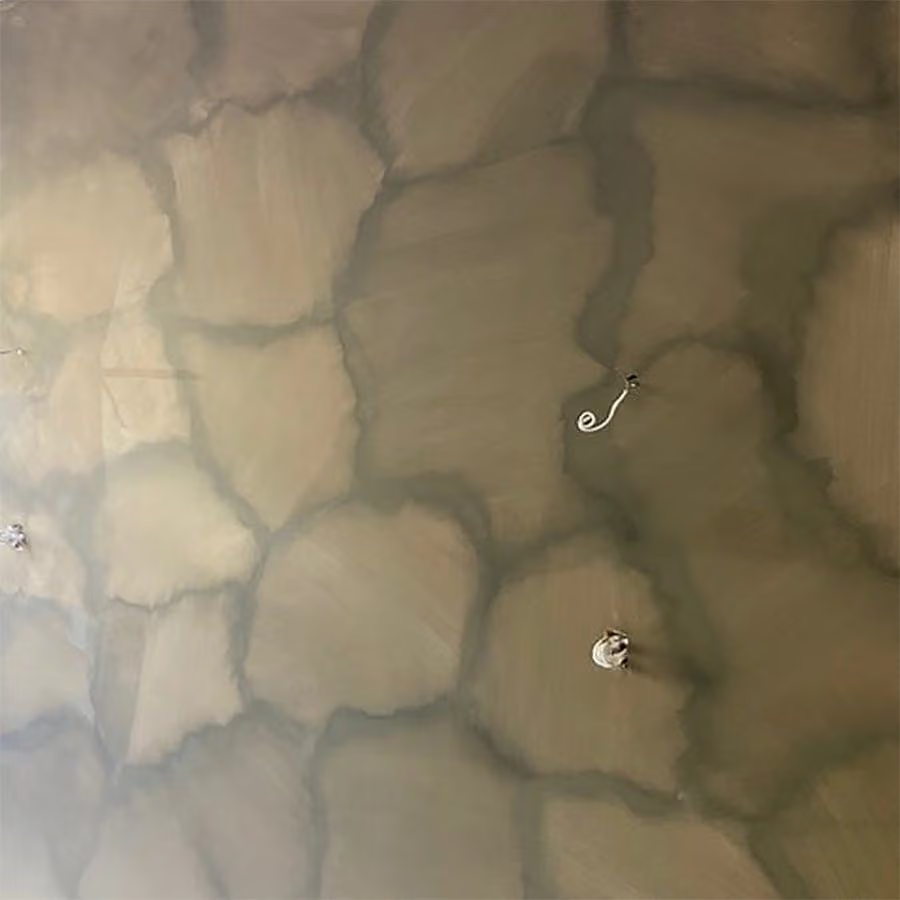
Q. Why is my limewash finish in individual patches instead of blended clouds?
Tortoise-shelling is a term that describes a limewashed wall finish that appears as tight, individual patches sitting next to each other on a wall, rather than an organic, seamlessly blended texture. This effect is due to limewash clouds not being stretched and feathered out far enough and when clouds are not blended into one another sufficiently, while the paint is still wet.
Tortoise-shelling may also occur if your surface is not absorbent, due to incorrect wall preparation. Limewash requires an absorbent surface to adhere to the wall, for the purpose of durability, but also to ensure ease of limewash application and to achieve a desirable textural finish. An absorbent surface allows the paint to blend and spread seamlessly, absorbing into the wall while blending.
See our Surface Guides to ensure you have prepared your wall correctly, and YouTube video for information on checking wether your wall is absorbent.
How to test surface absorption before limewashing
Q. How do I fix my 'tortoiseshell' patchy limewash finish?
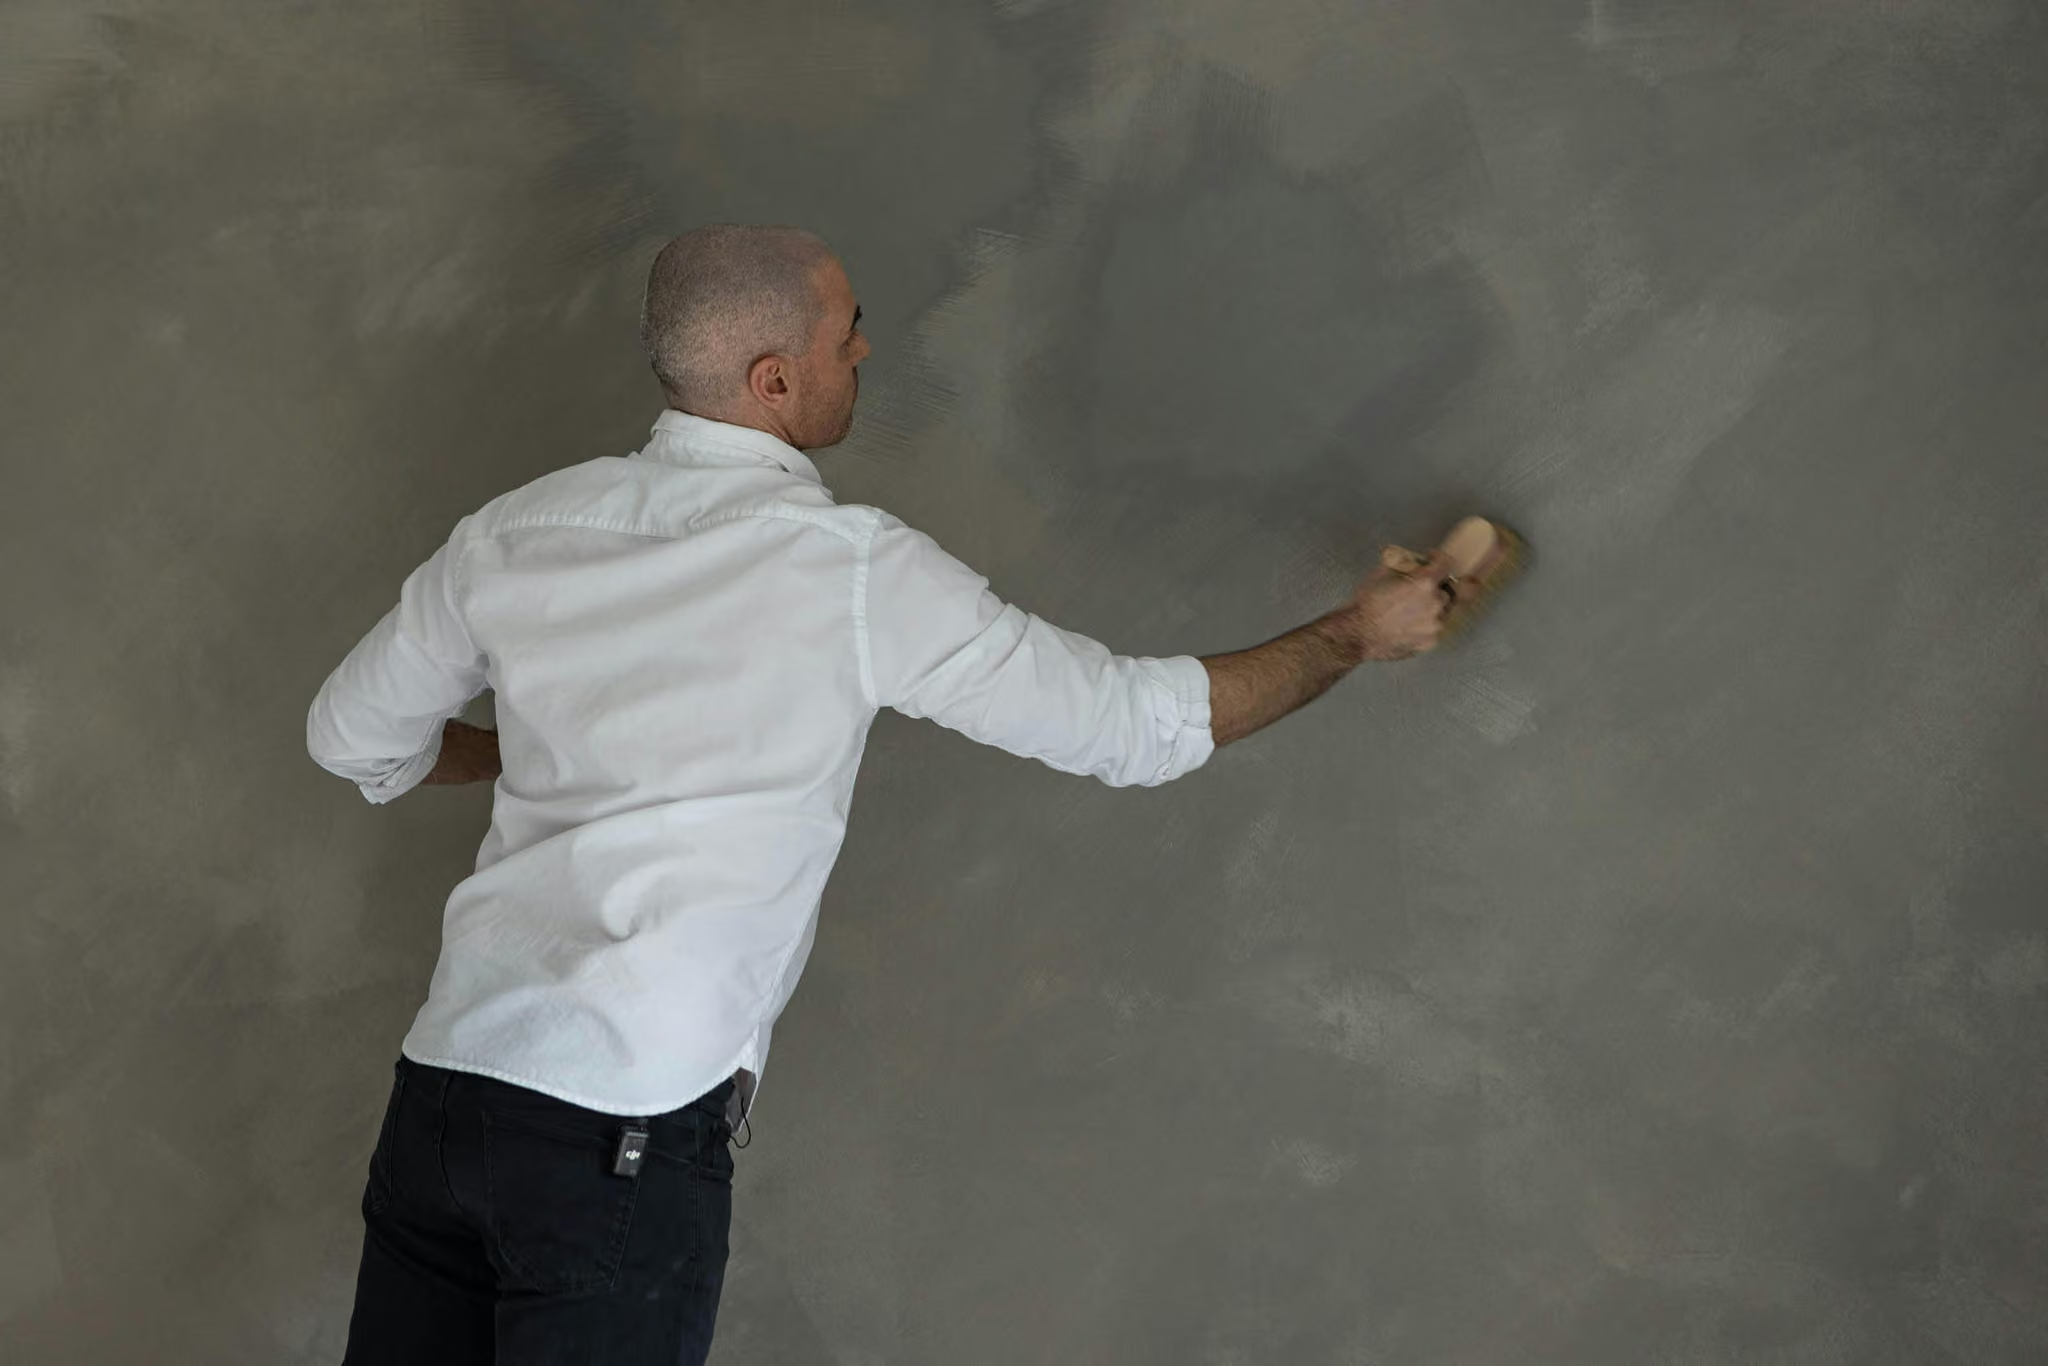
To remedy a tortoise-shelled wall, simple apply a thin, third coat of limewash, ensuring that the paint is feathered and stretched as far as it will naturally go. Don’t be afraid to use your whole arm and really stretch and feather the paint out, avoiding small, tight patches. Ensure that the pattern of cloud placement is not repeated in the same place as the last coat, keep placement of clouds organic and avoid a grid pattern.
Still not working?
If a third coat doesn’t resolve the issue—or begins to look over-applied (which can happen by the fourth coat)—consider starting fresh:
- Apply 1 coat of Bauwerk Prep Coat
- Follow with 2 coats of limewash paint, using improved blending technique.
Refer to our helpful Youtube videos with instructions and tips on how to correctly apply our limewash– a great visual way to help understand our popular cloud technique.
Tips to Prevent a Patchy Limewash Finish
- Blend clouds into each other as you go Don’t paint each cloud right up to the edge of the last—feather and overlap them for a seamless transition.
- Avoid spaced-out or randomly placed clouds Painting too far apart (or by two painters without blending as you go) can cause uneven patches.
- Keep a wet edge at all times Blend each cloud into the next while the edges are still wet to prevent harsh lines or dark patches. Avoid working in straight lines—move organically to keep all edges wet as you go.
- Vary your cloud placement Avoid placing clouds in the same positions with each coat—keep it organic, not a grid.
- Stretch and feather the paint Use your whole arm to apply thin, sweeping movements. Don’t leave small, isolated patches.
- Watch out for over-absorbent walls While not always the issue, highly absorbent surfaces can exaggerate patchiness. Follow the recommended preparation steps for your wall type to help regulate absorption and ensure a more even finish.
How to Limewash a Render Masonry Wall
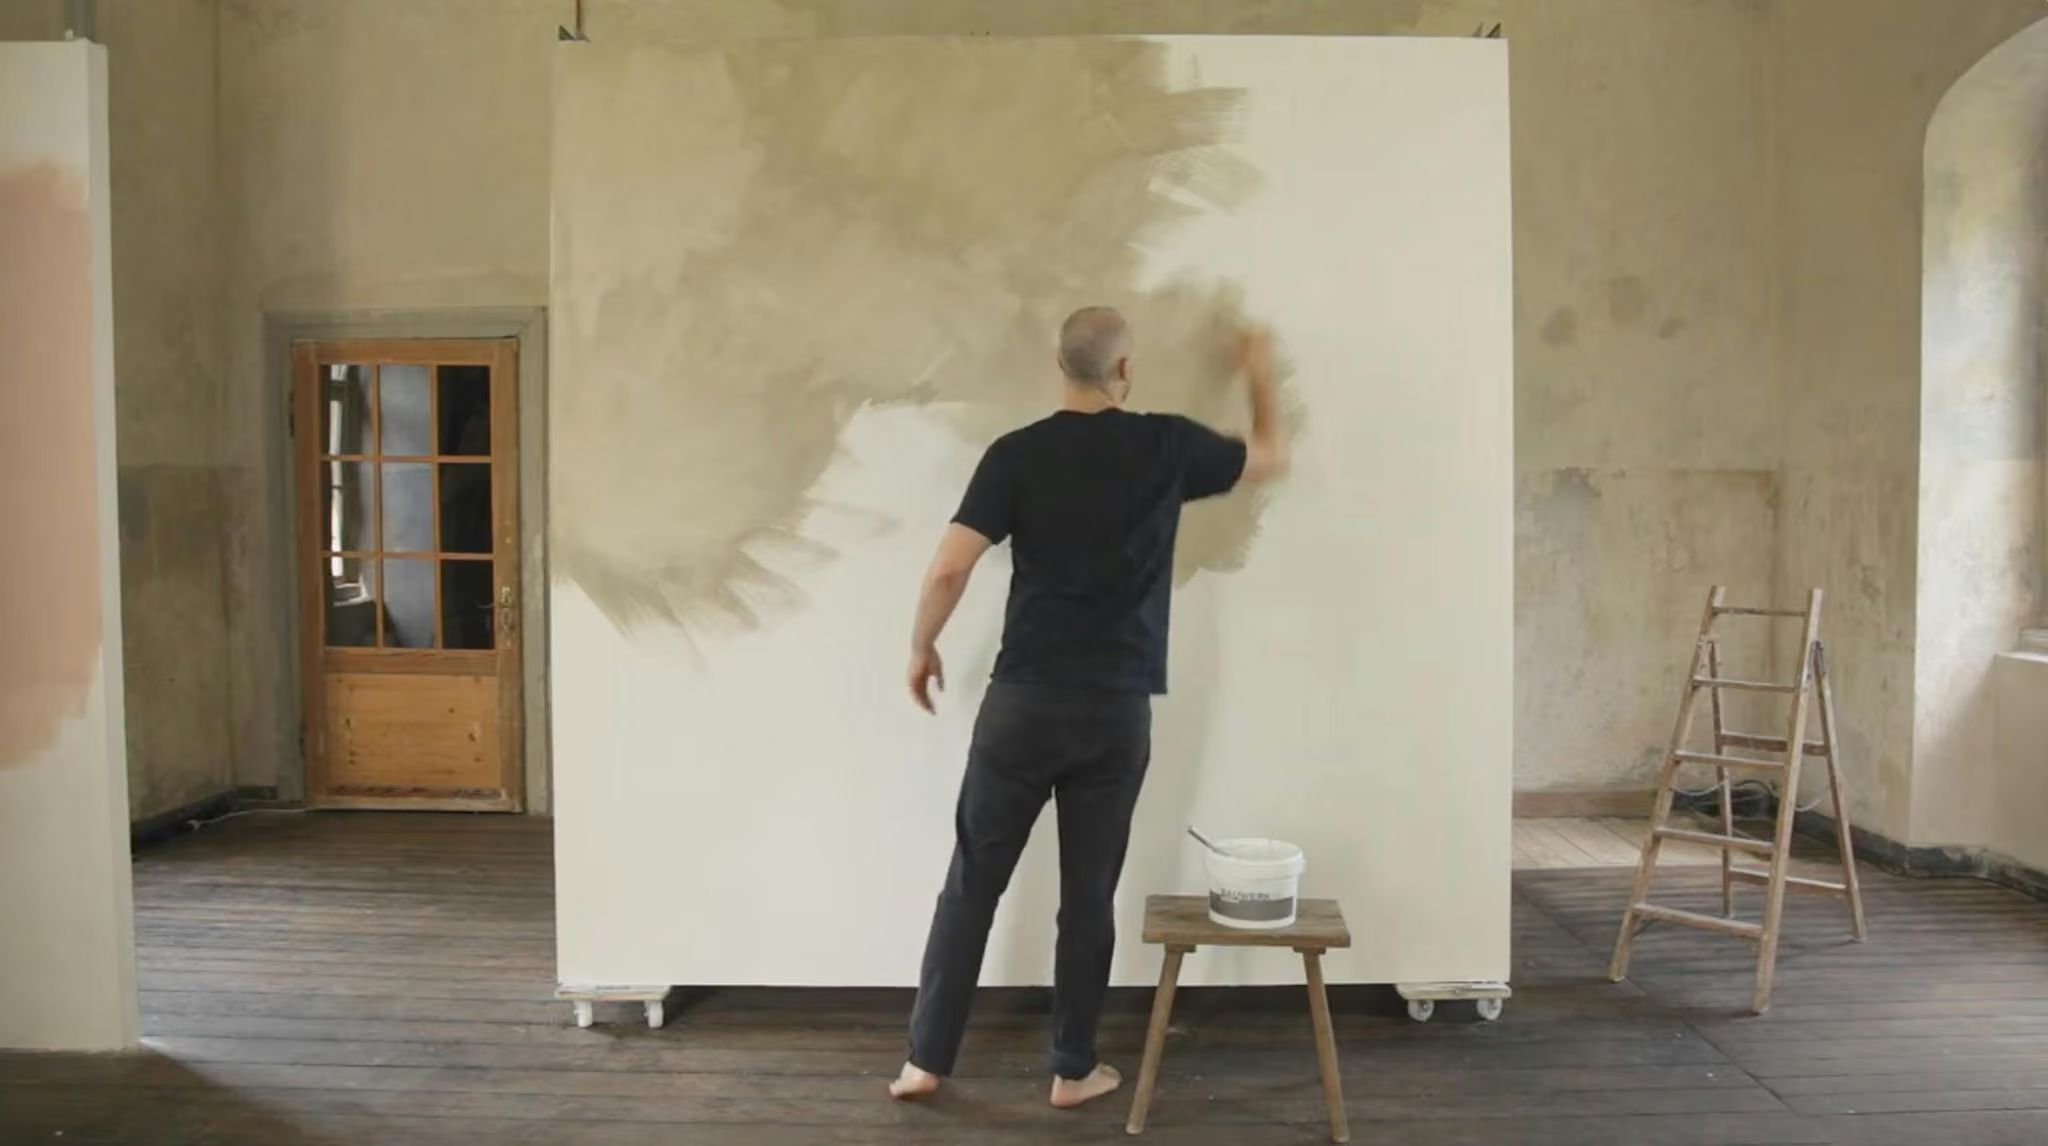
Easy steps to guide you through how to apply limewash paint to naturally absorbent walls like render
Render + Limewash FAQs
How do I sample limewash paint on a raw, unpainted, render wall?
We recommend testing your limewash paint colour(s) before application. When sampling on natural, unpainted, breathable surfaces like render, apply the colour to a separate board of the same material or a discreet area that will be covered by furniture. Applying a sample directly to the surface may leave a visible patch in the finished limewash.
Can Thin Coat Render Be Used as a Finish for Internal Surfaces?
If you have a rough surface, a repaired render or a rendered finish you are not satisfied with you can consider to apply a thin coat render with a smaller aggregate size of no more than 0.6 to 1mm on top of the existing render.
Thin coat render is a pre-blended cementitious render with the addition of additives to increase adhesion and improved workability. This will be faster, more economical and a better looking surface than any other method.
For the selection of the right type of thin coat render that may be available in your particular area you should be able to tick all of the following boxes:
☑ is factory blended with additives to aid adhesion and workability and comes ready to use in a bag
☑ is cement based and need only the addition of water for mixing it
☑ is of the right grain size (for internal application we would select between 0.6mm and 2mm maximum
☑ is not water repellant (lime wash paint needs to be able to penetrate it)
☑ is of a neutral colour or grey (not pre-coloured)
Your local building merchant may be able to assist you in the selection of the right type of material. You may also want to consult the Technical Data sheet for the product or speak to the producer.
This type of product is easy to use and very economically. Most EU countries will have several producers of this type of render. With the correct preparation of your particular substrate (surface) you will be able to re-render existing surfaces, including gypsum walls, existing renders and well adhering previously painted surfaces.
If you do this for the first time it is recommended to test the product on a sample area for suitablity at your project location.
In summary, the two most important attributes of the thin coat render you should select for lime wash painting is that it is adhering well and is able to absorb the lime wash paint.
This is what you need to consider when applying thin coat renders:
- Ensure you finished all repairs before applying on coat of thin coat render. Apply to a thickness of around 2 mm, allow some time to cure and use a sponge float to finish. If you like a surface that is smooth to the touch, but still slightly textured use a stainless steal trowel and at the right time push all grains that are proud of the surface back level to the surface.
- Allow to cure and protect the surface from all sorts of contamination, such as grease, fat, oil, wax, but also acrylic gap fillers or paint when painting door surrounds or architraves.
- Brush off dust and all loose particles prior to applying two coats of limewash paint. There is no need for any primers or Prep Coat.
- 1 litre of limewash will be enough to cover approximately 7 – 10 m² per application. We recommend two coats of limewash paint for such a surface.
Can I paint Limewash Paint on Internal Render walls and what do I need to know?
Bauwerk Limewash paint is ideal for raw masonry interiors where it can be absorbed into the walls leaving a breathable surface that is protected by the natural properties of the paint. With no undercoat or sealer required, the process is quick and simple.
Surface Requirements:
Step 1 Brush down the wall.
Step 2 Dampen walls with clean water using a brush or light mist spray to ensure easy application of limewash.
Paint Application:
Step 3 Apply 2 coats of Bauwerk Limewash using a Bauwerk natural fibre brush. Dip the brush into the bucket and flick off excess paint. The brush can hold a lot of paint, but should not be dripping.
Using loose, free strokes, stretch the paint as far as possible in all directions. Maintain a wer edge at all times to prevent colour overlays. Do not leave drips or runs. Continue to stir the paint regularly while painting.
Allow 1-2 hours between coats. When wet, the colour will appear darker and transparent. As the paint dries the colour will lighten and become opague.
Find here specifications and certificates for our paint or watch our guide on how to paint a render masonry wall here or at the bottom of the page
Tip:
With large expanses, it helps to work to a natural break in the wall such as a mortar joint or V joint or with the assistance of another person.
During construction or renovation, it is advisable to schedule Bauwerk painting as the final trade to prevent damage to the final finish caused by other trades or building equipment.
Number of Coats:
Two coats usually suffice.
Weather:
The ideal temperature for applying Bauwerk Limewash is 8°C-30°C (46°F-86°F)
Do not paint if the surface and/or air temperature falls below 5°C (41°F) during application or curing.
What do I need to consider when painting on external render?
External cement render can easily be painted with limewash paint
Surface Requirements:
External cement rendered surfaces should be free from any dirt and dust, finished to the standard that does not require additional coatings (ie crack-free). It also should be free from absorption limiting substances, such as acrylic gap sealers, overspray with other paints etc.
Render Application:
External renders are best applied in two coats to avoid ghosting of the block/brick joints. If the wall is free standing allow for a water proof capping with an overhang.
Paint Application:
You can paint directly on to the cement rendered surface, even if it is still damp.
Should the surface be dry and too absorbent to easily stretch out the paint then dampen the surface sufficiently. Do not thin the paint.
Paint wet in wet (always catch the edges before they have dried).
For large areas ensure adequate scaffolding and manpower.
Number of Coats:
Two coats usually suffice.
Weather:
Paint only with a minimum of three clear days without rain or protect the surface from rain after painting. Do not paint if the wall and air temperature is at 5 deg C or below.
What if my internal render wall is already painted, can I still use limewash paint?
Yes, just follow these simple instructions to paint an interior render wall that has previously been painted.
Surface Requirements
Step 1: Make necessary repairs and remove dust and loose particles. Sand well if the previous paint has any level of gloss.
Step 2: If your previously painted walls have been patched or repaired or have a mix of materials over the surfaces, we recommend sealing over these areas with 2 coats of a water-based undercoat-sealer/primer. If large sections of the wall have been repaired it may be best to seal over the entire surface. Sealing the wall ensures a consistent surface and prevents ghosting of patched areas coming through in the final finish.
Paint Application
Step 3: Apply 1 coat of Bauwerk Prep Coat.
Step 4: Apply 2 coats of Bauwerk Limewash Paint using a Bauwerk natural fibre brush. Dip the brush into the bucket and flick off excess paint. The brush can hold a lot of paint, but should not be dripping. Apply 2 coats of Limewash paint using a Bauwerk natural fibre brush. Dip the brush into the bucket and flick off excess paint. The brush can hold a lot of paint, but should not be dripping. Using loose, free strokes, stretch the paint as far as possible in all directions. Maintain a wet edge at all times to prevent colour overlays. Do not leave drips or runs. Continue to stir paint regularly while painting.
Allow 1–2 hours between coats. When wet, the colour will appear darker and transparent. As the paint dries the colour will lighten and become opaque.