Solving issues for Your Limewashed Surface
FAQs about Trouble Shooting:
Why Does My Limewash Look Different From the Colour Chart?
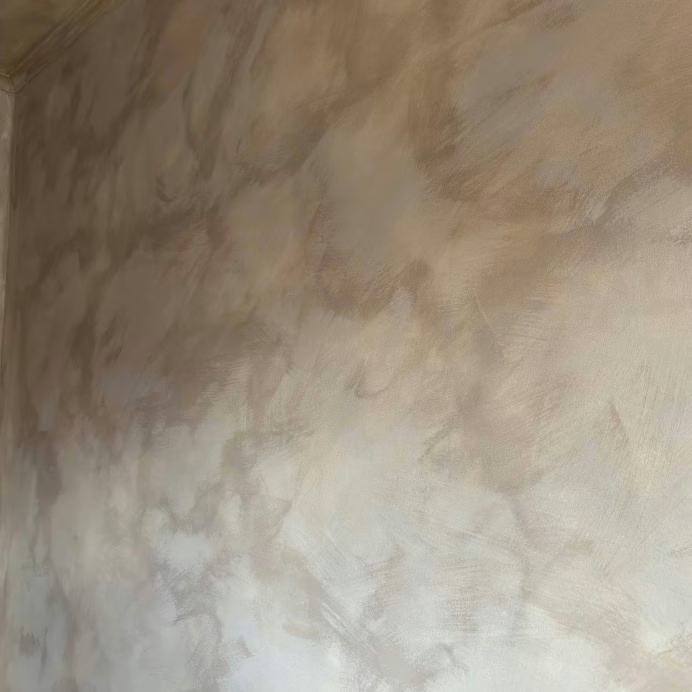
It’s completely normal for LaRosa Limewash to look different in the bucket compared with the colour shown on your Colour Card. Limewash is a natural, mineral based paint, and its appearance changes as it is mixed, applied and exposed to light.
- Mix thoroughly first. Pigments and heavier ingredients naturally settle in the bucket, so make sure the limewash is thoroughly mixed before judging the colour.
- The colour develops on the wall. Limewash can appear lighter, darker or more translucent in the bucket than it does once applied and dried.
- Lighting affects colour. Natural and artificial light can change how a limewash shade appears throughout the day.
- The surface matters. The underlying colour, texture and porosity of your wall can influence the final appearance.
- Colour Cards are a guide. They provide a useful representation of the colour, but the final result can vary slightly depending on the surface and conditions.
For the most accurate result, we recommend trying a LaRosa Colour Tester on your actual wall and viewing it at different times of the day before committing to your final colour.
Why is my limewash Paint thinner than normal Paint?
LaRosa Limewash has a naturally thin, milky consistency because it is made without the plastic based binders and thickeners found in many conventional paints.
- The thinner consistency makes the limewash easy to apply with a natural-fibre brush.
- Rather than forming a thick film on the surface, limewash is designed to absorb into porous surfaces.
- Its fluid consistency allows the limewash to penetrate the surface and create the natural depth and texture characteristic of a true limewash finish.
- Don’t be tempted to thicken the paint. LaRosa Limewash is formulated to work at its natural consistency.
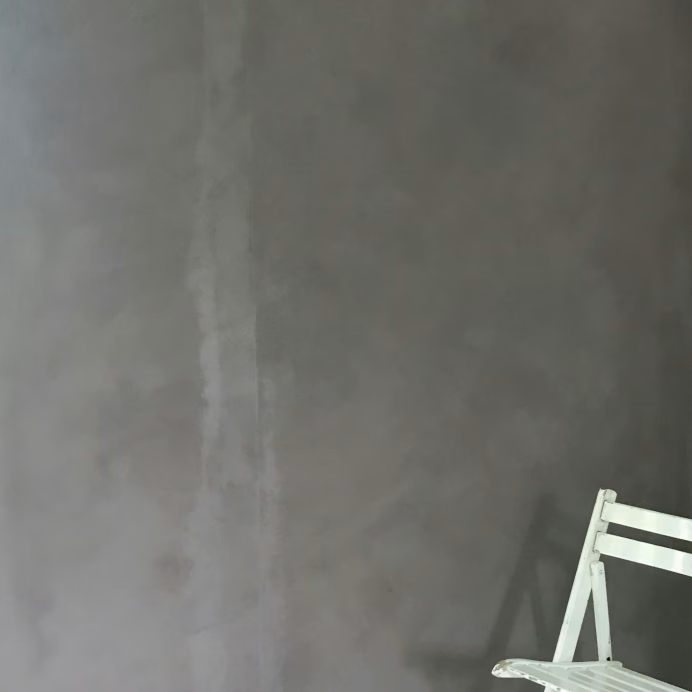
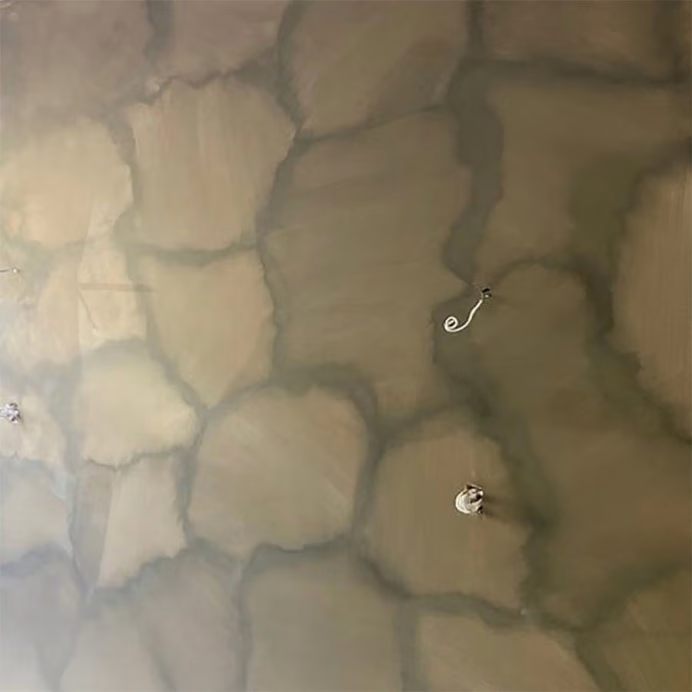
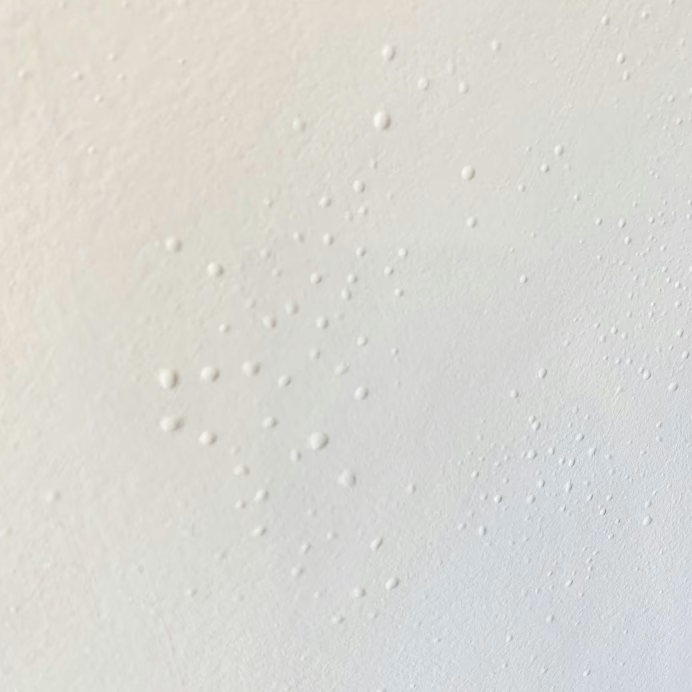
Why Are There White Patches on My Wall After Limewashing?
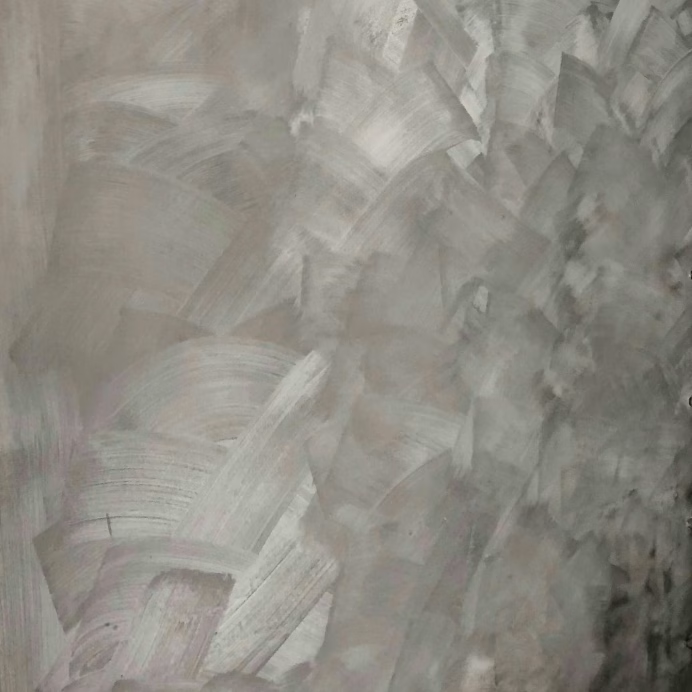
White or lighter patches can sometimes appear while limewash is drying. This doesn’t necessarily mean something has gone wrong. Limewash is designed to create natural variation, but more pronounced white patches can be caused by the surface or application.
- The surface may be absorbing the limewash unevenly. Porous or inconsistently prepared areas can take up the paint at different rates.
- The limewash may not have been mixed thoroughly enough. Pigments and heavier ingredients naturally settle, so always mix thoroughly before and during application.
- The surface may not have been properly prepared. New, repaired or highly absorbent areas may require the appropriate preparation before limewashing.
- Some areas may have dried faster than others. Differences in airflow, temperature, sunlight and surface absorption can affect the drying process.
- Don’t judge the finish too soon. Allow the limewash to dry completely before deciding whether the colour or coverage needs attention.
If the patches remain once the wall is fully dry, check your surface preparation and mixing technique before applying another coat. A further coat may help even out areas with uneven absorption while still maintaining the natural variation of the limewash finish.
I would like to use Limewash paints, but have found them chalk/powdery?
White or lighter patches can appear while limewash is drying, and some variation is a natural part of the finish. However, more noticeable white patches can occur for a few reasons:
- Uneven absorption: Porous or unevenly prepared surfaces can absorb limewash at different rates.
- Insufficient mixing: Pigments and heavier ingredients naturally settle, so thorough mixing is essential for consistent colour.
- Uneven drying: Sunlight, airflow, temperature and the absorbency of the surface can cause some areas to dry faster than others.
- Surface preparation: New or repaired plasterboard, plaster and other highly absorbent surfaces may require additional preparation before limewashing.
- Allow the paint to dry fully: Limewash can change considerably as it dries, so wait until the surface is completely dry before assessing the final result.
If white patches are still visible once the wall has fully dried, check that the surface was properly prepared and that the limewash was thoroughly mixed. A further coat may help even out areas of uneven absorption while maintaining the natural variation of the limewash finish.
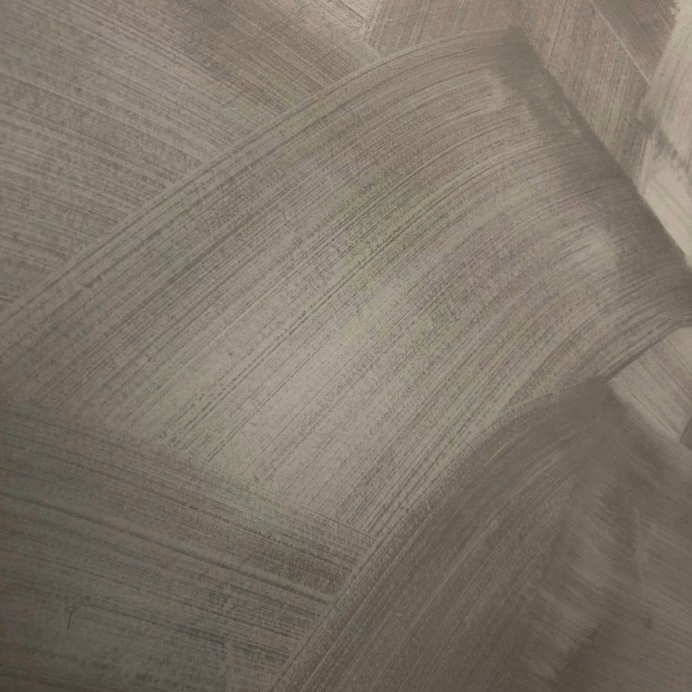
How Do I Fix a Visible Patch After Touching Up My Limewash?
If you’ve gone back over an area you missed and can now see a noticeable patch, don’t worry. This is common with limewash, as the new application can absorb and dry differently from the surrounding area.
To blend the patch back into the wall:
- Allow the area to dry completely before making any further changes. Limewash can look quite different while wet and continue to develop as it dries.
- Mix your LaRosa Limewash thoroughly before applying another coat. This ensures the pigments and heavier ingredients are evenly distributed.
- Avoid painting directly over the patch only. Instead, extend the new coat beyond the affected area and gradually blend it into the surrounding wall.
- Keep a wet edge while working, using loose, overlapping brush strokes to soften the transition between the new and existing limewash.
- Apply a thin, even coat rather than adding a heavy layer to the patch. Building up the surrounding area helps create a more natural and seamless finish.
- Allow the wall to dry fully before deciding whether another coat is needed.
For the best result, avoid repeatedly touching up small areas. Limewash is designed to have natural variation, and working across a larger section will usually create a much more cohesive finish.